We may earn money from the companies or products mentioned in this post.
Last month I showed you the first reupholstering job I’ve ever done. I was thrilled with how 2 of my 4 Patio chairs turned out. I ran out of that fabric though, and was stuck on what to finish the next 2 chairs in. Since I wasn’t sure I could get the exact same yellow, many of you suggested a print fabric with a little yellow in it.
I promise I was totally going to take your advice until I actually ended up at the fabric store with Mark in tow. Since these are patio chairs, we wanted to make sure the fabric would hold up in rough weather. All of the fabric we found with a little yellow had designs that we just were not fond of. So we went a different direction. I took more pictures this go around as well, so you can see just how easy this project was.
When I first got the chairs they were covered in this swirly red plastic fabric that was becoming washed out in numerous places. When reupholstering something, you can either just cover what was there, or you can take it completely apart and start from the bones. I decided to start with the bones, but it became obvious the last owners, chose to just cover up the original fabric. A fun, though still outdated orange flower fabric. I believe the cover up was solely because of tears in the original cushions. I had 2 layers of staples to pry out of this chair!
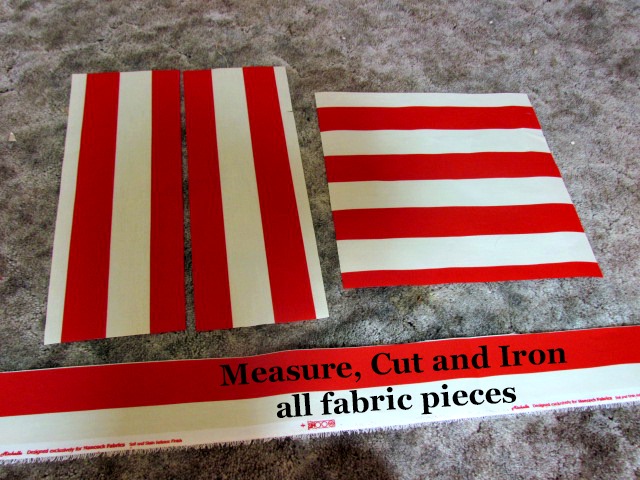
Once you have the old fabric removed, you can assess the bare bones. Do you need new padding, new wood? Although I definitely could have replaced the wood and padding on these chairs, they weren’t that bad. So I left them be. My next step was measuring, and cutting the fabric.
I added a 1/2 inch to each measurement for a seam allowance. On top of the seam allowance though, you must add extra for around the edges. So the side of the seat cushion received an extra 2 inches in width so I have enough to staple it back to the bottom of the seat. The back cushion I added another 1 1/2 inches to the length for easy stapling to the bottom of the board.
Onto the sewing! At this point the kids must have been getting wild, or I must have gotten too into finishing it, because I have no more pictures until the finished product.Sorry I meant to have more. But I’m sure you can figure my directions out from here.
I used a straight stitch, and 100% Rayon Upholstery thread. The hardest part with the sewing was attaching the edge to the seat cushion. There’s 72 inches of long stiff fabric that needs to go around a square piece of fabric. The corners needed to be just right, so they looked good on the outside as well. I’m still figuring out the best way to do this.
Key note here – because the corners of my cushions were rounded, I found (after the yellow chairs were finished) that when sewing around the corners instead of creating a right angle, try curving around them to match the cushion. It will look nicer, and fit better.
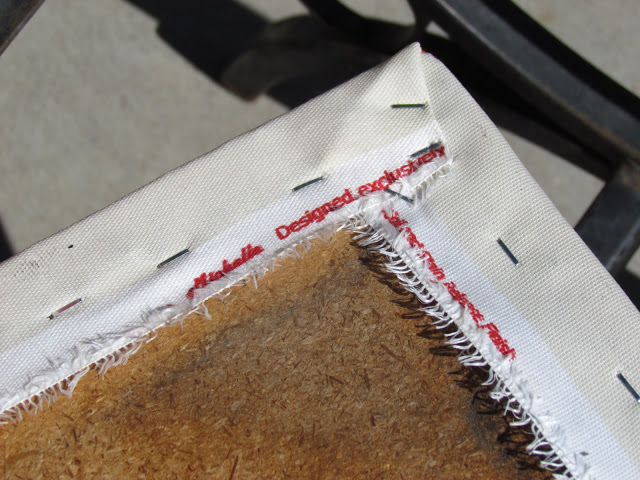
Now that the deconstruction is done, and your new pieces are all sewed together, it’s time to reattach it. Grab your handy staple-gun (oh my goodness friends, the staple gun is my new favorite toy!), and get to work.
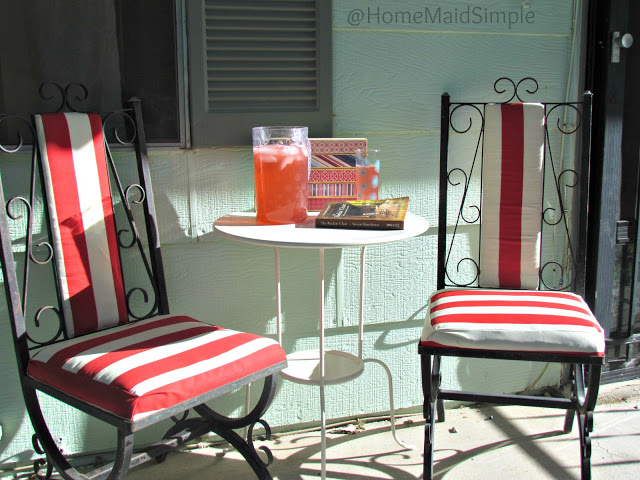
Make sure your fabric is on straight with the cushion and then start with the four corners. Once the corners are done, staple down the edges while pulling the fabric tight. If you have an extra set of hands to help you grab them! Then voila! Enjoy your new chairs.
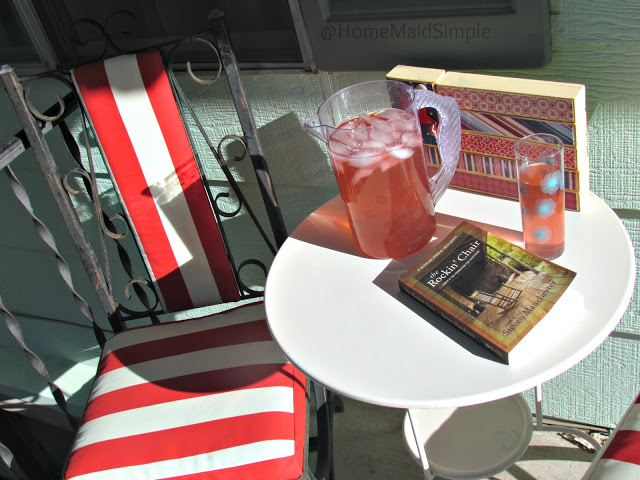
Now I can sit in comfort and style, enjoy some lemonade and a good book all while the kids ride bikes,and blow bubbles in the fresh summer air.


Ok, so I have no excuse for not redoing my dining room chairs that the kids have destroyed.
Do it! And then send me pictures please 🙂
omg those look fantastic!! You make everything so easy I love you lol… now to just get handy with a sewing machine 😀
as long as you can do a straight stitch you'll make it through these.
You have a spa in your backyard now. They came out great.
Thanks Diane.
Love how these ended up! The red and white stripes are awesome! 😀 Love it and great job!
Believe it or not, my husband picked it out. I probably would not have chosen it if he wasn't there with me. He's my style and color adviser on most projects.
Have you linked up with the Friday Flash Blog Linky Party yet? Link up your ONE best post of the week and check out other people's awesome entries. You may just get highlighted next week!
Jennifer @ The Jenny Evolution
http://thejennyevolution.com/category/linky-parties/friday-flash-blog/