We may earn money from the companies or products mentioned in this post.
Don’t throw those old receiving blankets out just yet. So your kid outgrew these special blankets, but now you can turn them into an heirloom to grow with your kid. Upcycle receiving blanket into a quilt that your child will love to snuggle with. This post contains affiliate links and I will be compensated when you click on and purchase through them.
 After having 3 girls, I started accumulating pink receiving blankets. My kids grew out of them very quickly, and with Rosalina we mainly used them as burp rags instead. For quite some time now they’ve been sitting in a closet, taking up precious space.
 I was thrilled when I saw Heather from Handmade Haven had turned her receiving blankets into a baby quilt! A novel idea, I thought, and then they still sat around my house, just no longer in a closet. I finally decided the receiving blankets had to be taken care of before they were all lost. It was time to do a little upcycling!
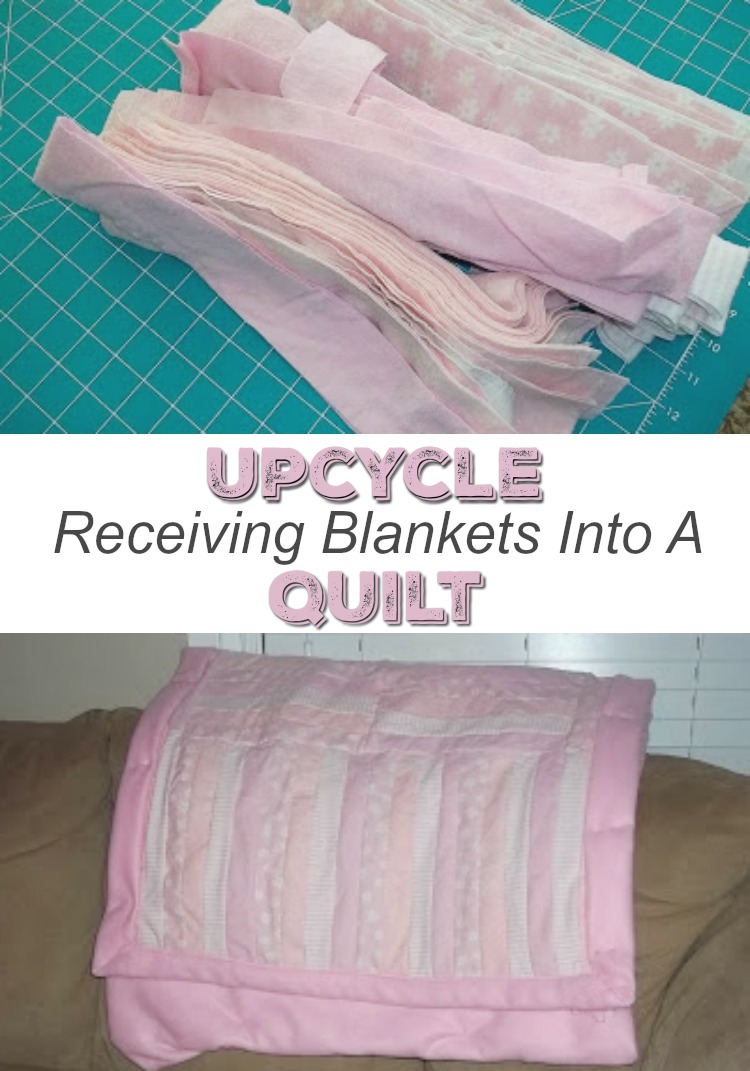
Upcycle Receiving Blankets into a Toddler’s Quilt
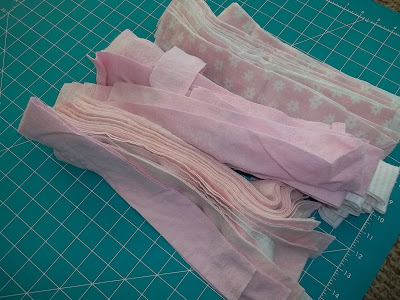
To start out, cut up your receiving blankets. This can be done easily by folding them in half, and then cutting 2-inch strips.


Next, cut through the fold so each 2-inch strip is now 2, 2-inch strips.
Now you have fun designing your quilt! Don’t worry if some pieces are longer than others you can either trim them down now or after they are sewn together.

If you desired you could cut your strips down further to make separate blocks, but let’s face it, I’ve got 3 kids running around, I could only keep those scissors out safely for so long.
Once you’ve got your quilt designed, it’s time to start sewing! Make sure you have plenty of bobbin thread and spool thread. Using a 1/2 inch seam start at one side of the quilt and begin sewing the strips together.
Once you have it sewn, trim any edges, and dangling thread. Iron out the seams so they lay flat going the same direction.
Cut out the quilt backing – make it about 3 inches larger than your finished top.
Roll out the quilt batting, and then take your new quilt top and lay it on top. Cut the batting so it is the same size as the quilt.

Lay out your quilt back, wrong side up. Lay the quilt top and batting on top with the quilt side facing up. A simple cotton fabric works best for the backing since this is all sewn on the machine.

|
Fold the backing over so it touches the edge of your quilt top, and then again a second time over the quilt top’s edge. Iron the edge down, then pin all three layers.
Using a coordinating thread color, sew around the edge to finish your quilt. If you use fleece, remember it’s bulky, and it will “shed” into your machine. Take the time between edges to clean out your bobbin case.
TIP: Most machines come with a cleaning brush, but if yours is missing like mine, a soft paint brush does the trick as well.

|
You can make your quilt any size, I chose toddler bed size, but if you have more receiving blankets than me, you could make it bigger!
Leave a Reply