
We may earn money from the companies or products mentioned in this post.
After I reupholstered our patio chairs, I got antsy to keep going. Who knew upholstery could be so easy, and fun. I admit, there may have been a slight feeling of ecstasy every time I used the staple gun, but I think the joy mostly came from creating something beautiful for my home.
Sorry I couldn’t help myself. Normally I like the suspense – show you the ugly before first, and then BAM awesome cool After – but I just love how this turned out. Alright, let’s take a look at the piano bench when we first bought it (used by the way).
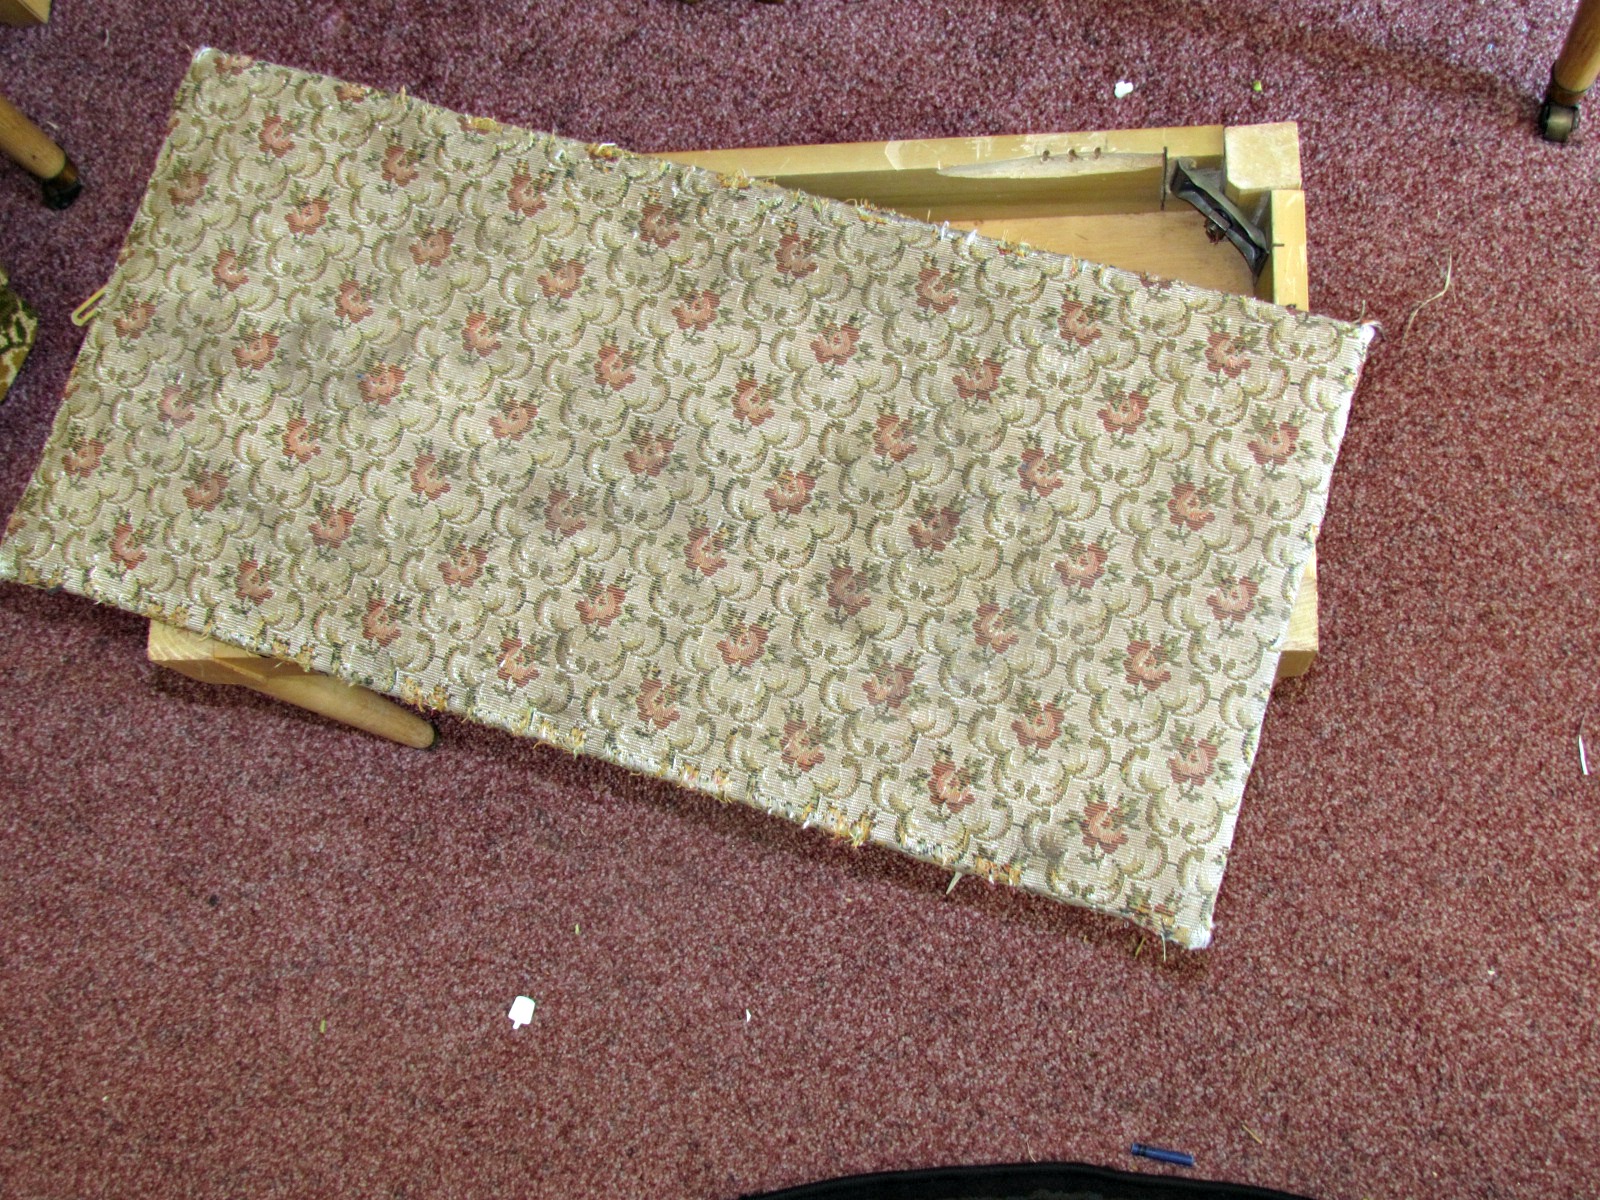
As you can see this fabric is not faded – no it is more towards the blackened side, gross! Plus all the corners and edges were fraying pretty bad. I’m sure it was a pretty fabric at one point, but it was time to move on.
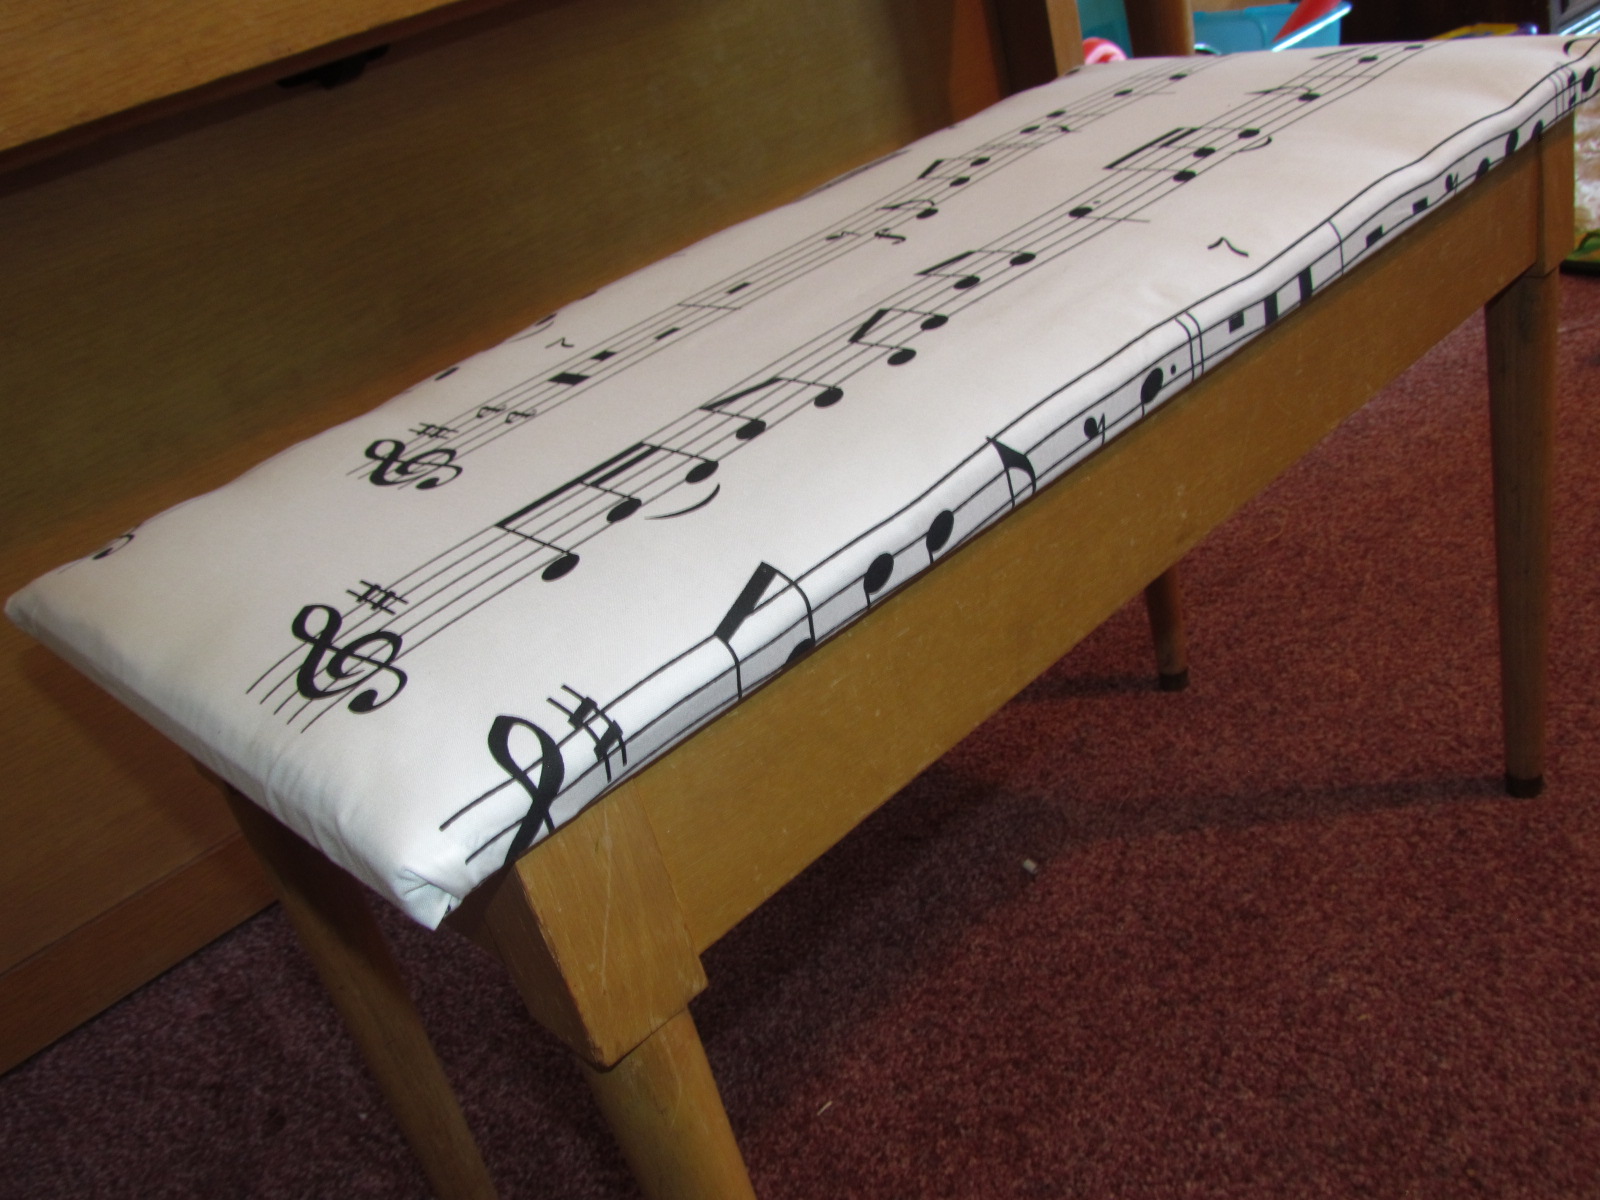
The following fabric we found at IKEA (and trust me, moving from 2 hours away to 10 minutes away, just may become a financial problem!) Originally I was going to make it into curtains for Mark’s band room. That project was continually put off, and now that he no longer teaches band, I had all this cool fabric, and nothing to do with it….or did I?

Awesome right? Now if you’d like to reupholster your piano bench, here’s a quick step by step guide for you.
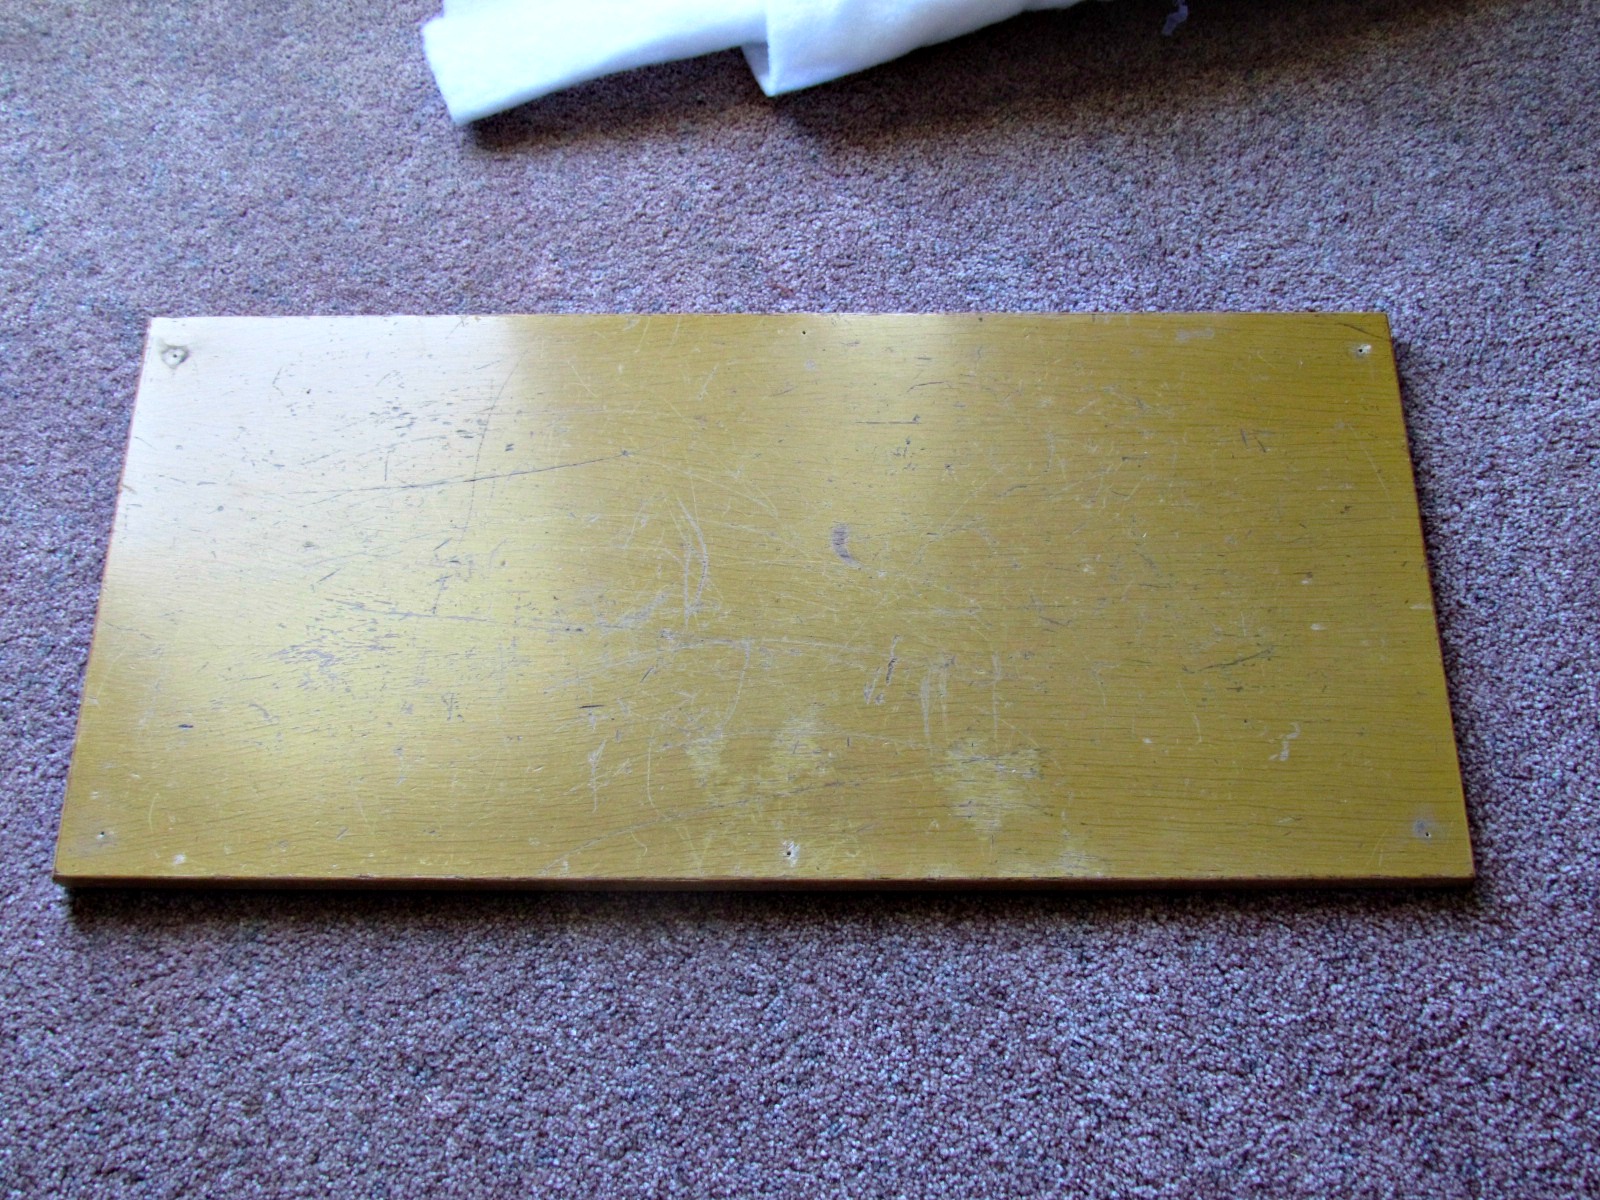
- Remove top of seat from the bench legs
- Remove all current fabric and cushioning.
- Measure and cut new fabric and quilt batting
- Iron the new fabric. No one wants creases in their pretty bench.
- Lay batting on top of bench seat. Add the fabric and adjust to desired area. Make sure you have enough on all sides to wrap around the bottom of the seat.
- Carefully without moving the fabric and batting around, flip your seat over.
- Fold fabric once under itself to create a nice clean edge.
- Grab your staple gun and attach the fabric.


Very nice! I love the fabric. Thanks for sharing at my Pin Me Party!