We may earn money from the companies or products mentioned in this post.
In honor of Utah’s Pioneer Day, I wanted to share this extremely SIMPLE recipe for Cherry Jelly with you today. If you’ve never heard of Pioneer Day, it’s a good bet you don’t live in Utah and you’re not a Mormon. I happen to be both but have only ever celebrated since moving back to Utah. We have parades, races, and fireworks. It’s like a second 4th of July here. This post contains affiliate links that will compensate me when you click through and make a purchase.

Why? Because we’re celebrating our ancestry. A large part of Mormon history and the history of Utah are the pioneers who crossed the plains in covered wagons and handcarts. It was a hard and arduous journey, but one they did in pursuit of religious freedom.

What does Pioneer Day have to do with Cherry Jelly you ask? Well, the majority of my ancestors came across the plains, some losing their lives before they ever got to Utah, while many made the full trek. They were hard workers and self-reliant. In honor of them, this past month I’ve spent a lot of time at my mom’s picking, pitting, juicing and canning tart cherries. It’s hard work! But so very rewarding in the end.

I may not face the same trials as my ancestors crossing the plains, but I can learn from their hard work and resilience how to be a better person, and provide nutritious food for my family.

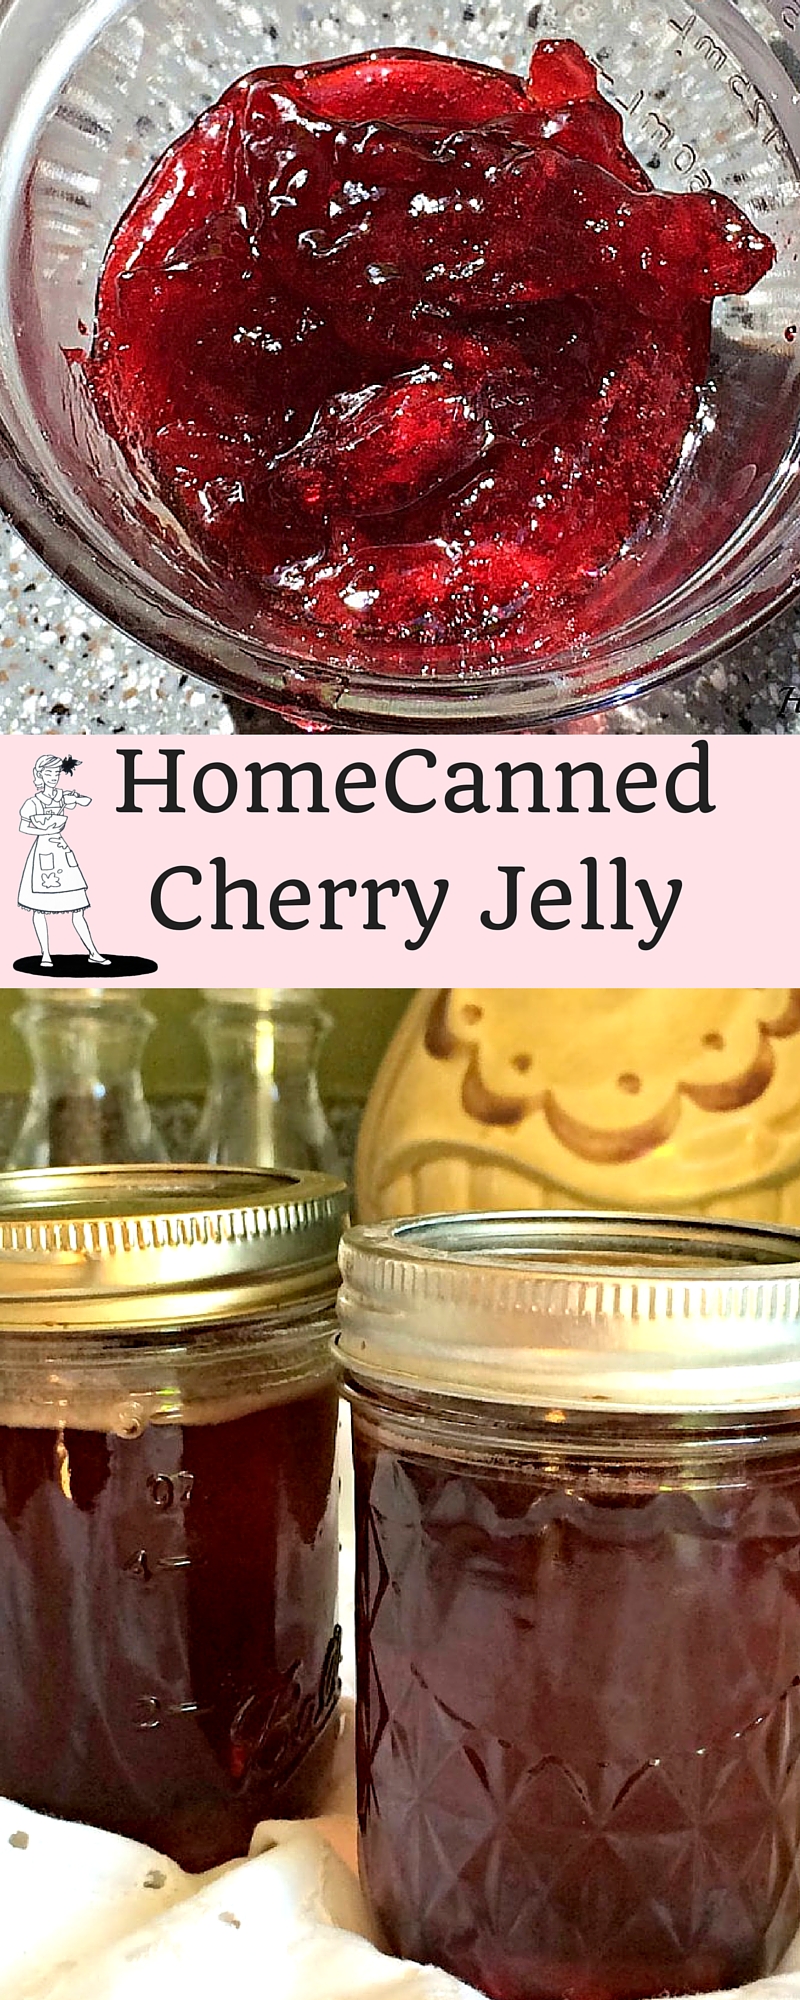
Cherry Jelly
Cherry Jelly
2016-06-29 06:55:18
Ingredients
- 4 cups Cherry Juice
- 3 cups Sugar
Instructions
- Bring the cherry juice to a rolling boil.
- Add Sugar. Bring back to a rolling boil, and time 5 minutes.
- Turn down to medium/low heat and simmer.
- To test if jelly is done, dip a metal spoon into the jelly, and let it slide off. When the jelly drips off the spoon in one drip, it’s ready to can.
- This can take 25-30 minutes, but don’t let it burn!
- Ladle the jelly into sanitized pint sized canning jars.
- Spoon off the foam, wipe down the rims, and can.
To can
- Boil a small pan of water, and dip the canning lids and rings in for a few seconds.
- Use tongs and place on jars filled with jelly.
- Tighten rings and let sit.
- Leave on your counter until you hear popping noises. This is the jars sealing themselves.
- No need to water bath your jelly!!
Home Maid Simple https://www.homemaidsimple.com/
Leave a Reply