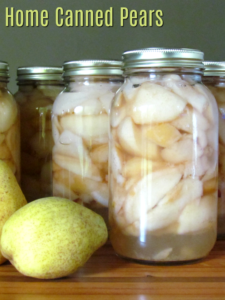
Everything You Need for Home Canned Pears
It’s time to store some fruit for the winter. OK, we’re in the 21st century, but if you’ve never canned anything before, I think you’re missing out. Canned pears are one of my utmost favorite home canned products. This post contains affiliate links and I will be compensated if you click on and make […]
Read More
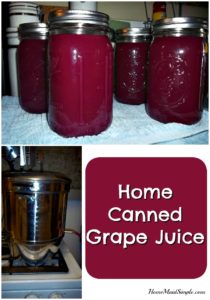
Home Canned Grape Juice
Fall is here, and it’s my favorite time of the year to start putting up produce. Canning fruits are one of the easiest ways to save produce to eat throughout the year. This home canned grape juice is fabulous with a little club soda. This post contains affiliate links and I will be compensated if […]
Read More
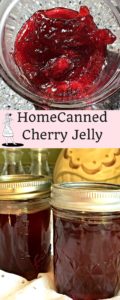
Cherry Jelly
In honor of Utah’s Pioneer Day, I wanted to share this extremely SIMPLE recipe for Cherry Jelly with you today. If you’ve never heard of Pioneer Day, it’s a good bet you don’t live in Utah and you’re not a Mormon. I happen to be both but have only ever celebrated since moving back to Utah. […]
Read More
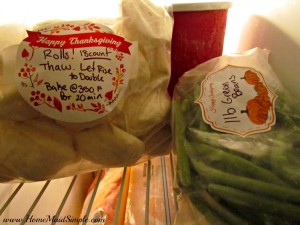
Prepping for Thanksgiving is easy with Freezer Rolls
Freezer Rolls were made possible by FreezerLabels. All opinions are my own. Less than one week until Thanksgiving now! If there’s any way to prep for the holiday feast, I like to do it. As much as I love being in the kitchen, I love making it as simple as possible on the day of […]
Read More
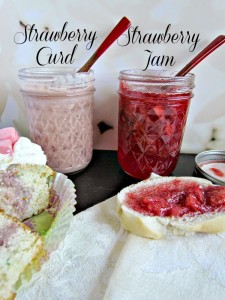
Strawberry Jam and Strawberry Curd
When someone posts on facebook that Walmart has Strawberries for 88cents I don’t waste any time in heading out and grabbing some. Our store is notorious for running out of things fast, especially when it’s on such a great sale. Once I had the kids out the door to school, I headed over to […]
Read More
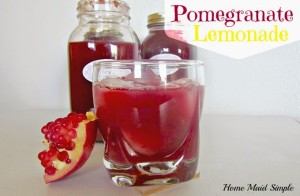
Pomegranate Lemonade Recipe
Holidays are upon us! Have Pomegranate Lemonade on hand to add to a little sparkling beverage and you’ll always have a delicious special drink to share. One night, while I’m putting the kids to bed, Mark receives a phone call. When I come out, he tells me someone is coming by with some pomegranates. Cool, […]
Read More

Polish Plum Butter
We headed to Nana and Opah’s house this weekend, and the first thing I noticed when we walked in was the abundance of plums. They were everywhere. Buckets, bowls – you could hardly see their table due to the plums. Throughout the weekend, my mom had neighbors stop by, and she’d send them back […]
Read More
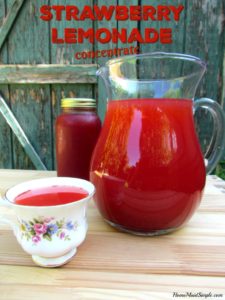
Strawberry Lemonade Concentrate Recipe
Summer is here and with it, my desire for a cool drink of Lemonade. I could almost live off the refreshing lemony taste. It gets even better when you add berries. Strawberry Lemonade Concentrate allows you to have a cool drink all summer long with half the work of making it. This post contains affiliate links […]
Read More
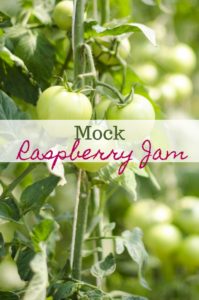
Mock Raspberry Jam and Other Ways to Use Green Tomatoes
The growing season is ending, but you find yourself with an abundance of green tomatoes still! What do you do with them? Make this mock Raspberry Jam of course. This post contains affiliate links and I will be compensated when you click on and make a purchase through them. One of my first years gardening as […]
Read More