We may earn money from the companies or products mentioned in this post.
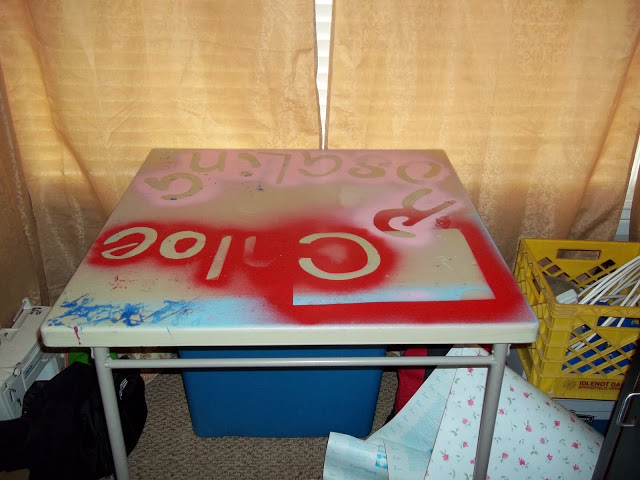
Due to my design impasse yesterday, I found another outlet for creativity. My card table. It was ugly, but I wanted to be able to use it wthout having to throw on a table cloth. The mind sparked, and I grabbed the rolls of contact paper my sister in law gave me last summer (I knew they’d come in handy someday!)
| Before |
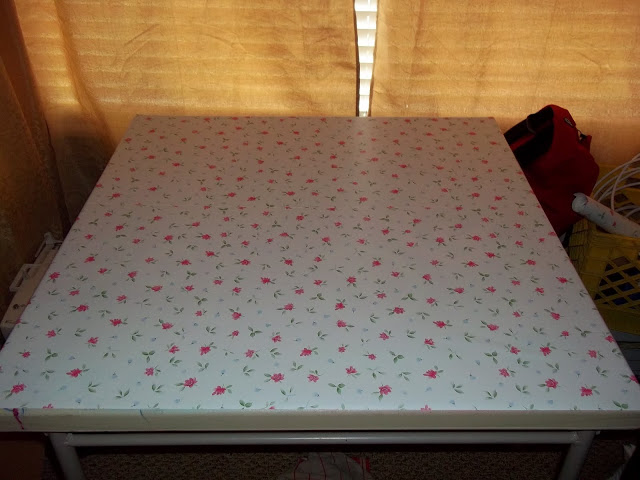
| After |
I am just loving this new table top! It was so easy too! I originally thought what I had was wall paper, but it wasn’t, it was contact paper. You need to clean and dry the surface first, or it won’t stick. Measure and cut your paper to the desired length. I had to use two sheets to cover the whole table, but they blended nicely. I cut mine about 2inches longer than the table’s top so I could wrap it around the edges. Peel off the backing and stick! The directions suggest using a straight edge to push any bubbles out and to get it all to stick. I just used my hand and it worked nicely. And Voila! this is my new craft and puzzle table!


great idea! love the way it turned out 🙂
Good work!
I would have never thought to use contact paper! It looks great!
I kind of liked it before…
It looks really pretty now. Grandma Priddis made a cover for our card table once. It fit over the top and hung down fitted to the floor to make a playhouse. On one side was a door and two other sides had windows. It was pretty cool. The kids loved it.
What a fun idea. I definitely need to make my card table a little more fancy.
Looks nice! Very clever : D
Stopping by from Giveaway Corner. Well done. What a great idea.