We may earn money from the companies or products mentioned in this post.
I love the tradition of taking “First Day of ___ Grade” photos with the kids. It’s something we can afford to do and keeps memories alive for years to come. Use this Picmonkey tutorial to make the best out of your photos! This post contains affiliate links and I will be compensated when you click on and purchase through them.

Here’s the kicker, we don’t have the money nor the space to buy full props to really make some of those amazing pictures you see. So I turned to my trusty photo editing friend, PicMonkey, to make our First Day school pictures pop just a little more while sticking to a budget. I hope you enjoy this tutorial.
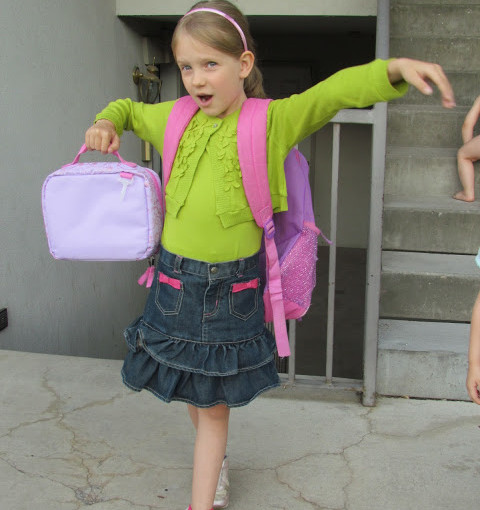
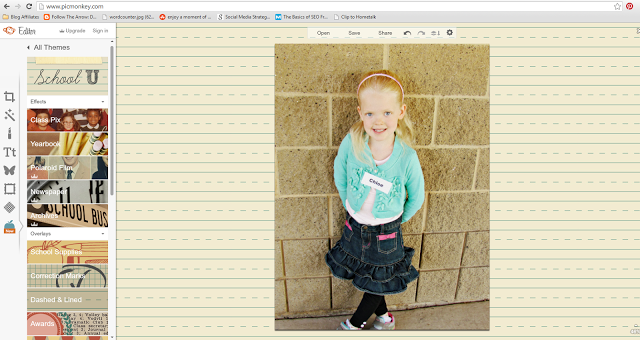
Raw, Unedited Photo.
A simple Auto-Adjust and Crop take out any unwanted visuals (like naked babies climbing stairs) and give you a more vibrant color. From here you can play with the color brightness, RGB Levels and more but I’m usually pretty happy with the auto-adjusts setting.
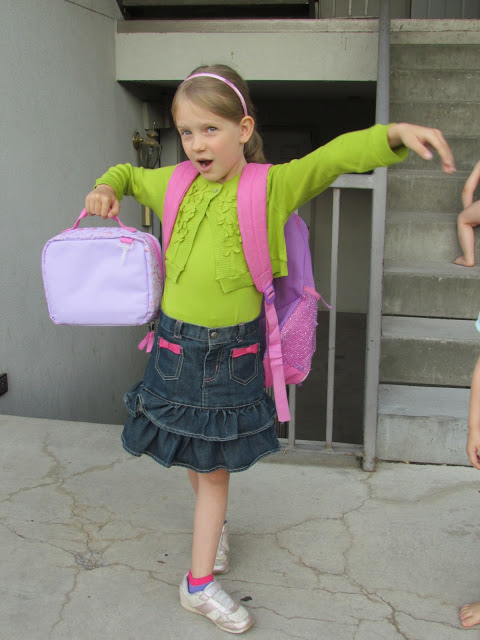
For the First Day School pictures, I like to browse around PicMonkey’s School U theme. I grabbed a chalkboard shape it overlay and played with the color until I was satisfied. To make it look more natural after adding the overlay, in the little edit box that pops up with it, there is an eraser button. Using that I very carefully erased the part of the chalkboard covering her thumb. Voila! An instant home made chalkboard that needs no space in your home.
To finish up, I used the Eraser Dust text to write our First Day Of… on the chalkboard.

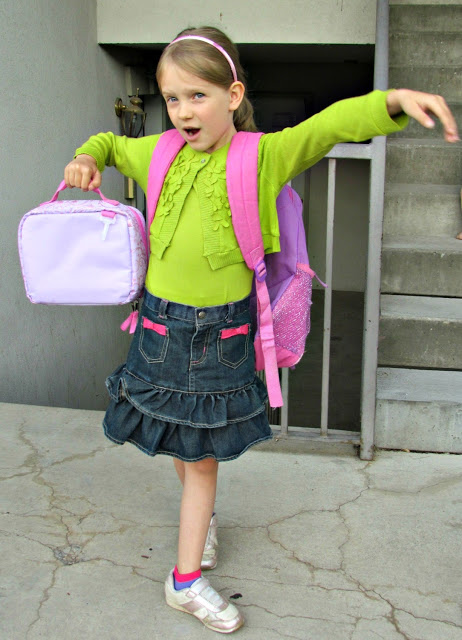
Let’s do it again, but this time I’ll show you inside the super simple editor.

Upload your photo into PicMonkey’s photo editor. On the very to left is an icon with 3 lines and dots. This has your general editing tools – crop, rotate, contrast, etc. Click that to find the auto adjust and cropping tools.
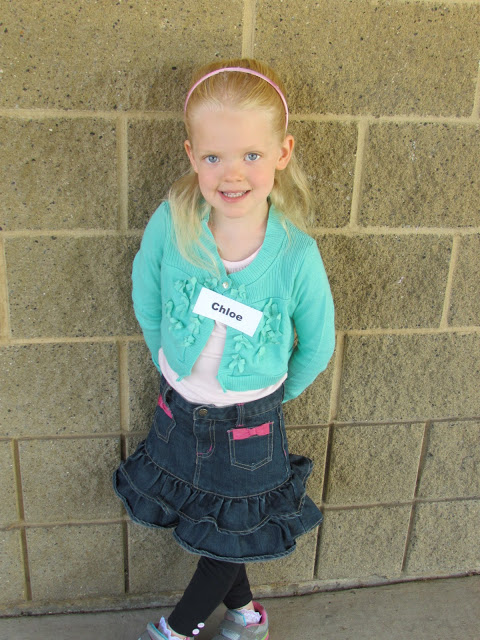
For this one, I chose to use an effect on top of the color adjustment. At the bottom left you’ll see an apple. This has the different themes. Once in there choose School U. For Princess C I added the yearbook effect which made the brick behind her a little less harsh and put a slight yellow tint to it.
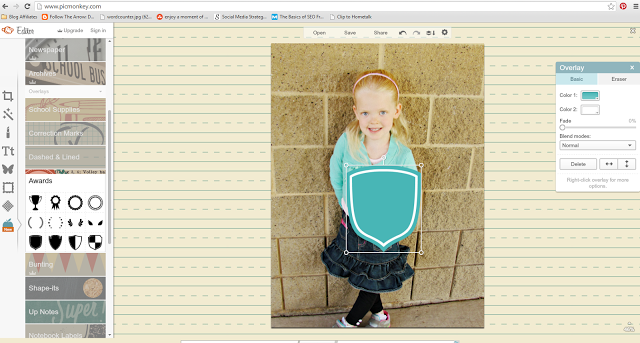
Instead of a chalkboard overlay, I thought Princess C had the perfect pose to add a shield. Black was a bit hard though, so on the right is the item edit box. Here you can play around with the colors of different items you add to your photo. You can choose colors straight from your photos too!
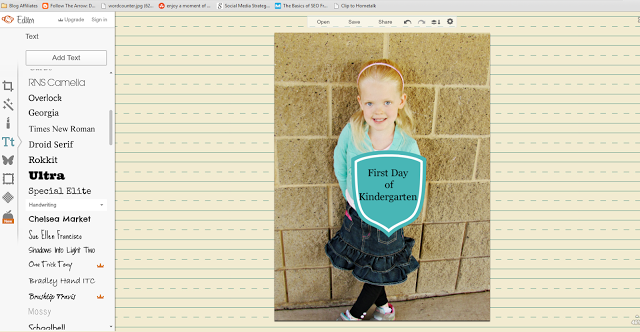
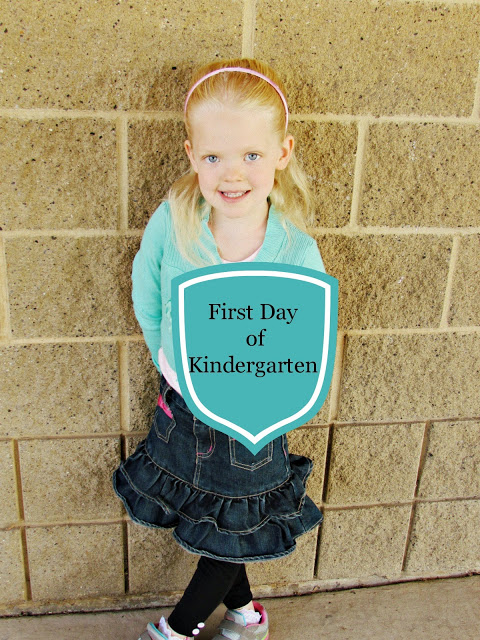
Finally, add your First Day of __ Grade and Export to your computer.
I hope this little tutorial helps some of you. Picmonkey has a FREE version, but for only $7.99/month ($3.99/month if you pay yearly) I find the Royale version to fit all my photo editing needs. I use it on an almost daily basis.
If you have any questions on how to use Picmonkey, I’m more than happy to help you out! Just shoot me an email, or leave a comment.
Leave a Reply