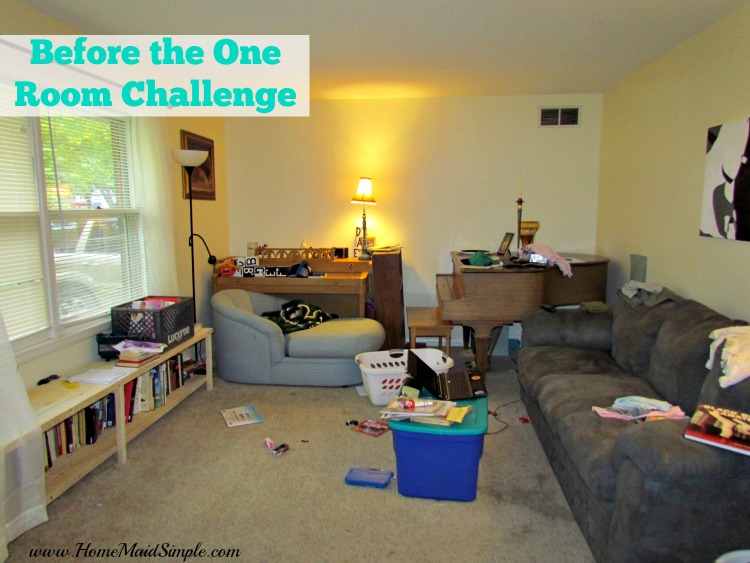
In this easy tutorial you’ll learn how to stretch your own canvas print over a frame so you can hang a bit of yourself on the wall.

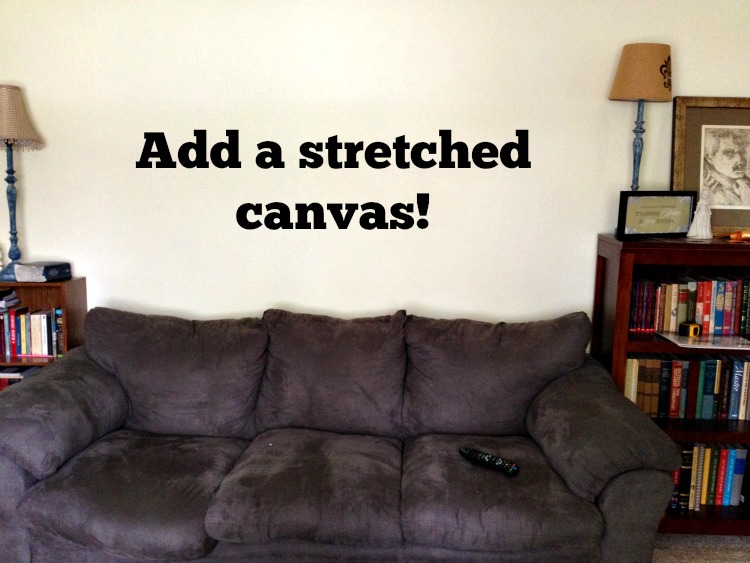
When I started imagining what to hang over our couch, I knew it needed to be something besides a family picture. I wanted something new and fresh, that we hadn’t hung up before. I figured we’d probably check out the thrift stores and see what we could find.
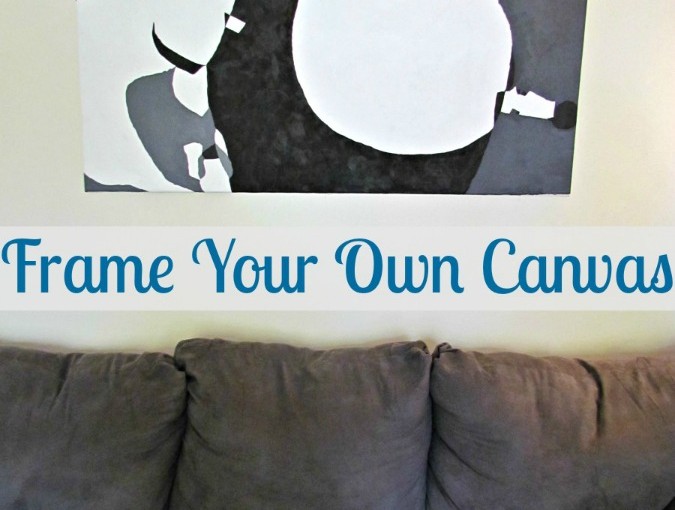
But then I did something else – I started browsing my old college art folder. I’ve got a number of really cool pieces I had forgotten about, like the hanging skeleton, and Alexander Graham Bell – but it was my abstract black and white that caught my eye. Rolled up in the bottom I knew it was the piece I was looking for.
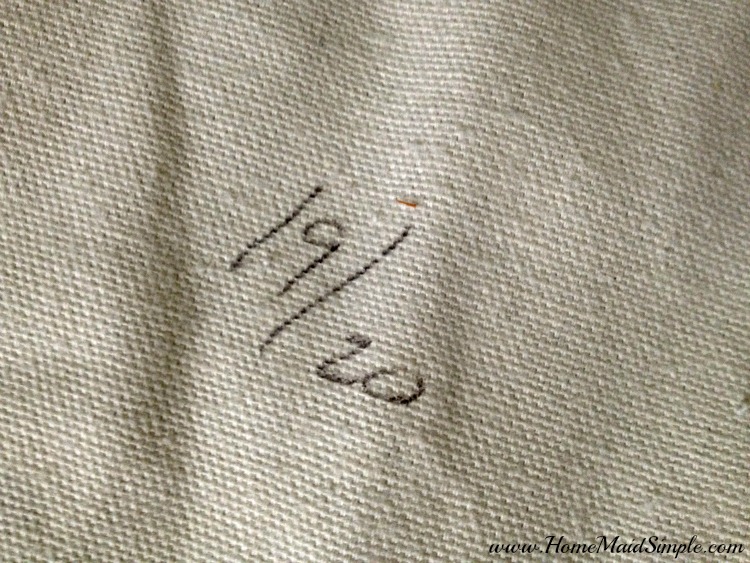
I even got a pretty good grade on it! I mean 19/20 for someone who had never gone beyond middle school art class must mean the art gene didn’t completely skip me over right?
The big question I had to ask myself at this point though, was why didn’t we frame it in class? I had no idea what I was doing here, so reached out to a couple art friends – all who also had never actually stretched canvas before. Feeling a bit better about that I headed to Pinterest where I learned of these nifty things called Stretcher Bars.
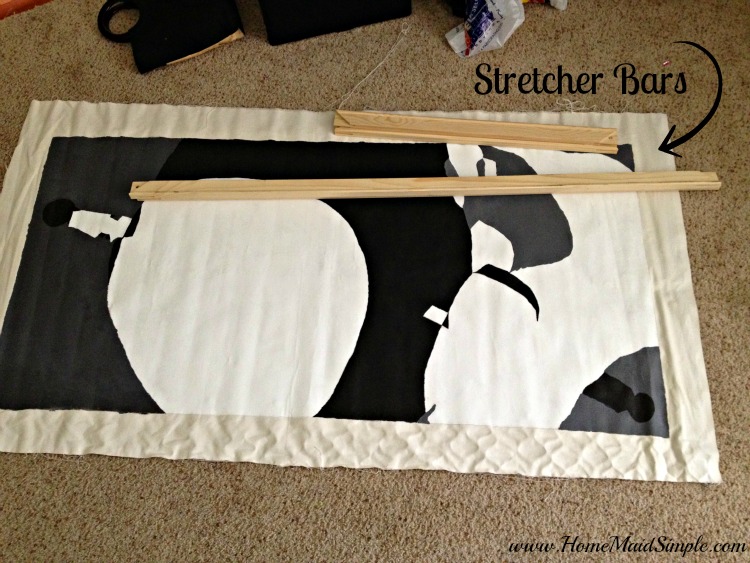
I made a couple phone calls and found Hobby Lobby sold them in all different sizes, but you can also get them on Amazon. If it hadn’t been for pinterest, I would have attempted to build my own wooden frame, and also would have gone about it completely wrong!
See for canvas, apparently you don’t want the canvas to lay directly on the frame. These premade stretcher bars are slightly raised right on the ends to keep the rest of your painting off the boards. Plus, no need to figure out those corner angles because it’s all done for you.
First things first here now! You need a painted canvas! If you don’t have one laying around from an old college class….please tell me if you do!….then go buy some canvas and paint it! It will be a lot of fun!
Next, measure your painting. Buy your stretcher bars in the right sizes. My painting is 4 feet by 23 inches. So I picked up 2 48″ stretcher bars and 2 23″ bars. Insert the stretcher bars together at the corners, and VOILA! You’ve just build your frame!
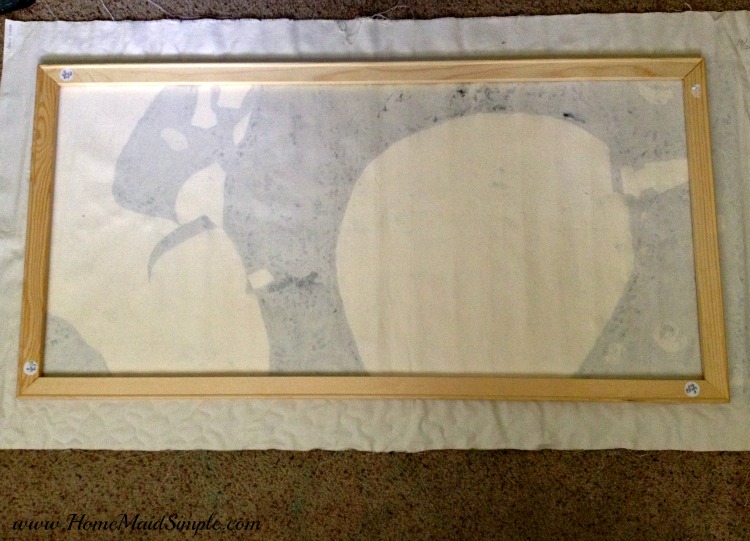
To stretch your canvas now, you’ll lay your painting upside down. Place your frame on top of the painting, lining it up as best you can to the edges of the actual picture. Hopefully you’ve got a good 3-4 inches to overlap over your frame.
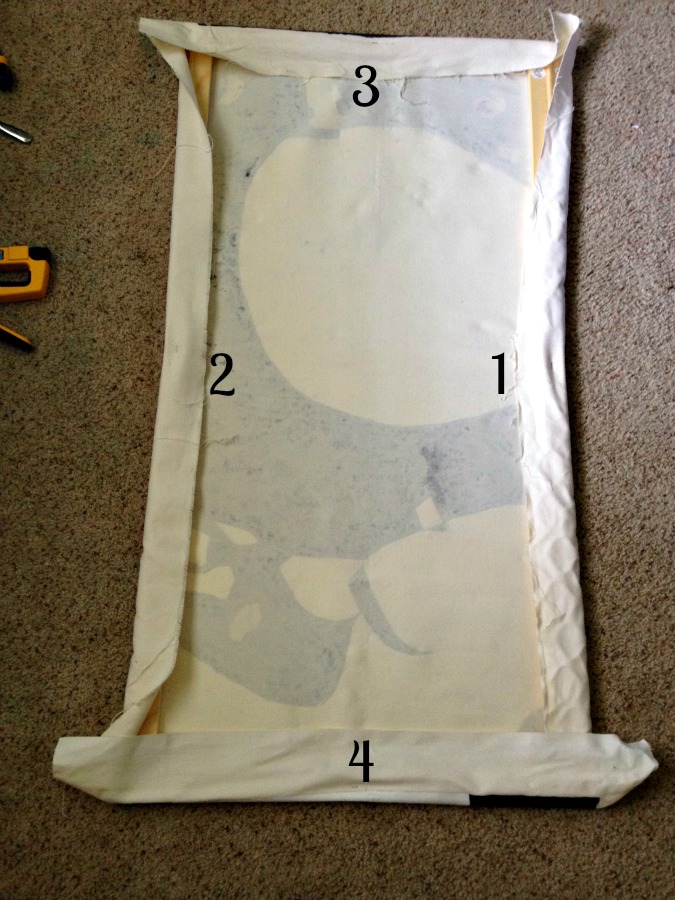
After the painting, this next part is my favorite! It’s time to pull out the Staple Gun! Following the numbers below staple each side in succession. So 1 staple in side 1. Then side 2, 3, and 4. Then go back to side 1. It will take awhile, but that’s how you get a nice smooth and straight stretched canvas. Depending on how large your canvas is, 2 sets of hands can be very helpful here.
Wasn’t that exciting? Slowly but surely this Everything Room is getting put together! With a nice piece of personal art – that finally grew on Mark – we have a bit of a color pallete to help guide the rest of the room.

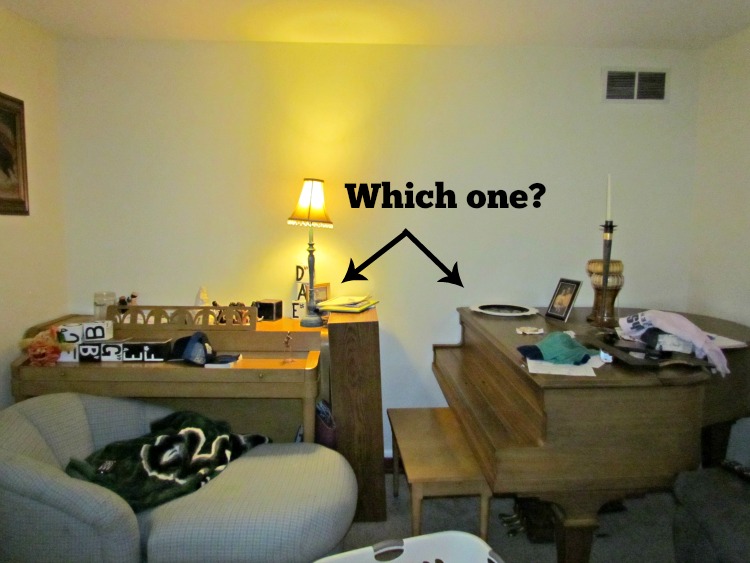
Join me again next week to see which piano we decide to keep, and how it will affect the room arrangement!

Linking up with Calling it Home for the One Room Challenge!