Tag: upholstery

  • Outdoor Patio Set Redo – Creating a Work Zone near my kids

    Outdoor Patio Set Redo – Creating a Work Zone near my kids

    When we decided to rent this house before actually seeing it in person, one of the biggest sale points for me was the fenced in backyard and attached deck. The vision was real – a workplace outdoors where I could enjoy the sounds of nature and let the kids play in a safe area that wouldn’t make my heart pump with anxiety.

     
    We moved in on July 1st, and I started looking for a good patio set. We happened across a yard sale one saturday and found this 2 seater set for only $18. I had to double check with the owner that I wasn’t reading the price upside down and he really wanted $81. Nope $18 was correct! There was no way I could leave this behind, it was perfect!
     

    The first step in redoing this set was picking out colors. The whole family came with me to our trusty Walmart, and together we picked out a nice Dark Purple spray paint. There’s an excess of bugs around these parts, so we wanted a fun color, but not one that would attract the bees. After the purple was chosen, I found this pretty damask upholstery fabric on sale too! There was just enough left for our seats. 


    While the paint dried on the chairs and table frame, we got to work on the seat cushions. The original seats were so old, there was no salvageable parts. I picked up precut wood rounds from Menards, and the padding from Walmart.

    How to Reupholster patio seats. 

    What you need:
    Wood Rounds
    1-2inch foam padding
    fabric
    hot glue
    staple gun with staples

    Use the wood rounds to trace a circle on the foam padding. Using a razor blade, or sharp knife, carefully cut around the padding. Lay the padding on back side of fabric. I used a permanent marker to measure straight out and leave dots around the seat. I gave myself a good 2 inches extra fabric to attach to the underside.
    Connect the dots, then cut our the fabric. Place padding on the center of fabric, then wood round on top of the padding. At this point it is great to have a second pair of hands helping out. Really push down on the wood as you pull the fabric around, and attach in place with the hot glue. Now the fabric is attached, give it a second go around with the staple gun. Between the two, bugs and inclement weather should be kept out of the seat.

     
    I now have a fantastic colorful work zone outside! It’s also going to be a great place to relax with friends while the kids run around outside. If you’re ever in the area and want to join me on the patio, come on by!
     
     
    When I’m not using the table, I’ve found the kids enjoying it too. This week they were building bubble castles. My vision has come to life, and is now updated to see many many family memories being made around it. 
     
    Do you have an outdoor space to enjoy?
  • Piano Bench Makeover

    Piano Bench Makeover

    After I reupholstered our patio chairs, I got antsy to keep going. Who knew upholstery could be so easy, and fun. I admit, there may have been a slight feeling of ecstasy every time I used the staple gun, but I think the joy mostly came from creating something beautiful for my home.

    Sorry I couldn’t help myself. Normally I like the suspense – show you the ugly before first, and then BAM awesome cool After – but I just love how this turned out.  Alright, let’s take a look at the piano bench when we first bought it (used by the way).


    As you can see this fabric is not faded – no it is more towards the blackened side, gross! Plus all the corners and edges were fraying pretty bad. I’m sure it was a pretty fabric at one point, but it was time to move on.

    The following fabric we found at IKEA (and trust me, moving from 2 hours away to 10 minutes away, just may become a financial problem!) Originally I was going to make it into curtains for Mark’s band room. That project was continually put off, and now that he no longer teaches band, I had all this cool fabric, and nothing to do with it….or did I?

    Awesome right?  Now if you’d like to reupholster your piano bench, here’s a quick step by step guide for you.

    1. Remove top of seat from the bench legs
    2. Remove all current fabric and cushioning.
    3. Measure and cut new fabric and quilt batting
    4. Iron the new fabric. No one wants creases in their pretty bench. 
    5. Lay batting on top of bench seat. Add the fabric and adjust to desired area. Make sure you have enough on all sides to wrap around the bottom of the seat. 
    6. Carefully without moving the fabric and batting around, flip your seat over. 
    7. Fold fabric once under itself to create a nice clean edge. 
    8. Grab your staple gun and attach the fabric. 
    Got it?  Now you’re all ready to go tackle your own piano bench right?  I actually debated not recovering the bench when I saw how nice the wood seat was, but then I would have had to add some wood putty and stain, and have you ever sat on an uncushioned piano bench? So I stuck with the plan and got this covered.
    Are you ready for it?  The new and improved – and much loved – Piano Bench Makeover!!
    You can find me joining these Fun Parties!
    *This is NOT a sponsored post. I have no affiliation with IKEA besides my love of shopping there. No compensation was given for this post or the mention of any product used.*
  • Reupholstered Patio Chairs #Tutorial

    Reupholstered Patio Chairs #Tutorial

    Last month I showed you the first reupholstering job I’ve ever done. I was thrilled with how 2 of my 4 Patio chairs turned out. I ran out of that fabric though, and was stuck on what to finish the next 2 chairs in. Since I wasn’t sure I could get the exact same yellow, many of you suggested a print fabric with a little yellow in it.

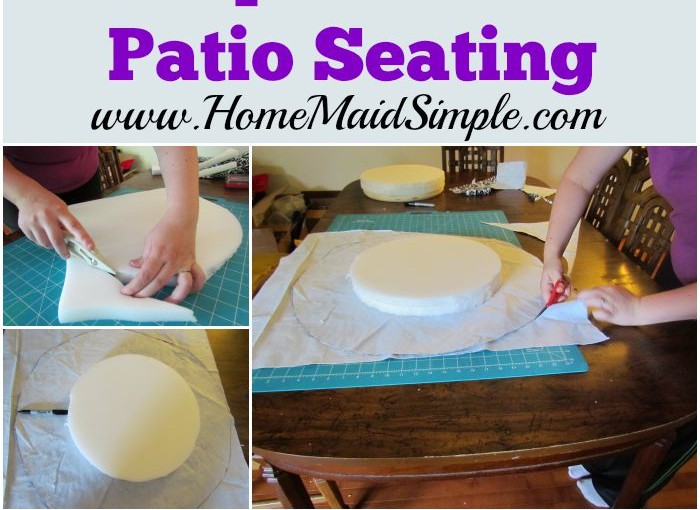
    I promise I was totally going to take your advice until I actually ended up at the fabric store with Mark in tow.  Since these are patio chairs, we wanted to make sure the fabric would hold up in rough weather. All of the fabric we found with a little yellow had designs that we just were not fond of.  So we went a different direction. I took more pictures this go around as well, so you can see just how easy this project was.

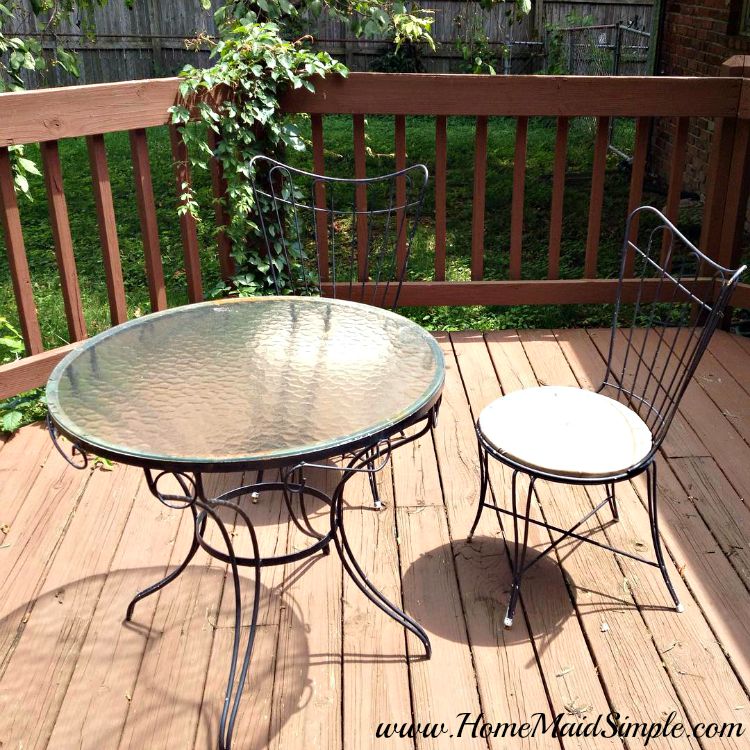
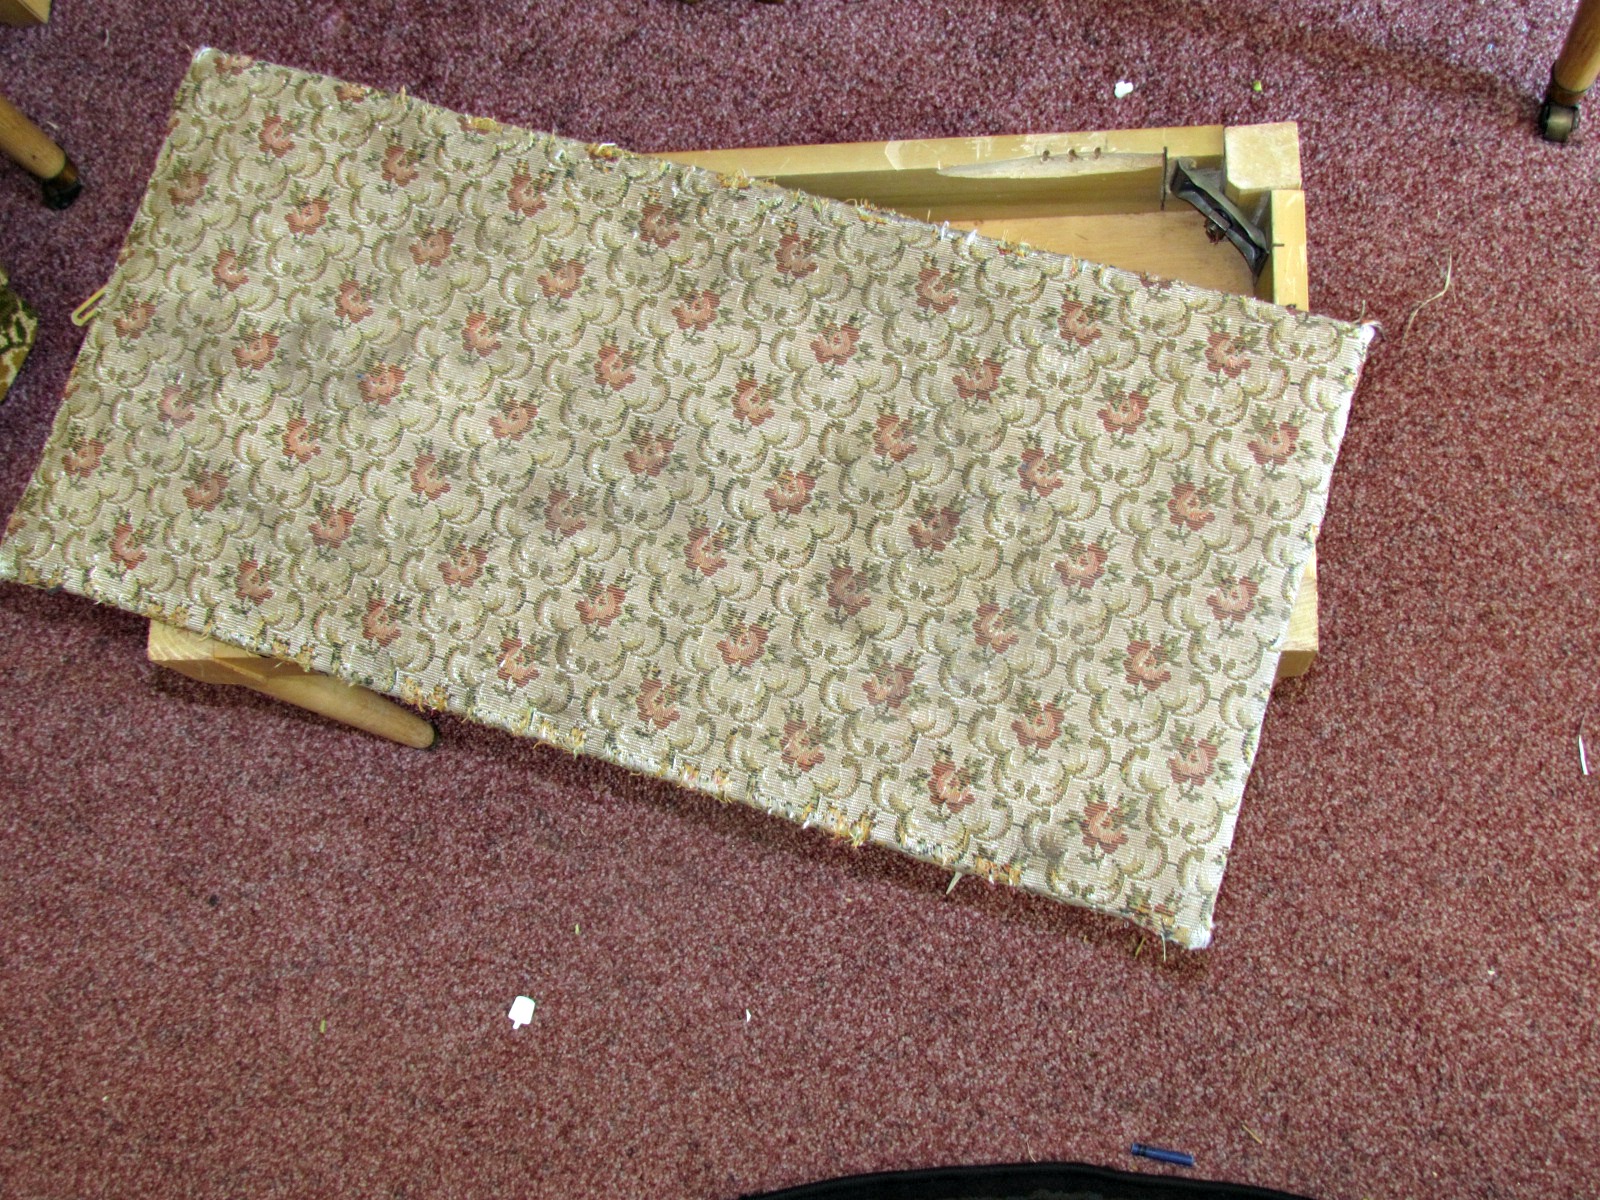
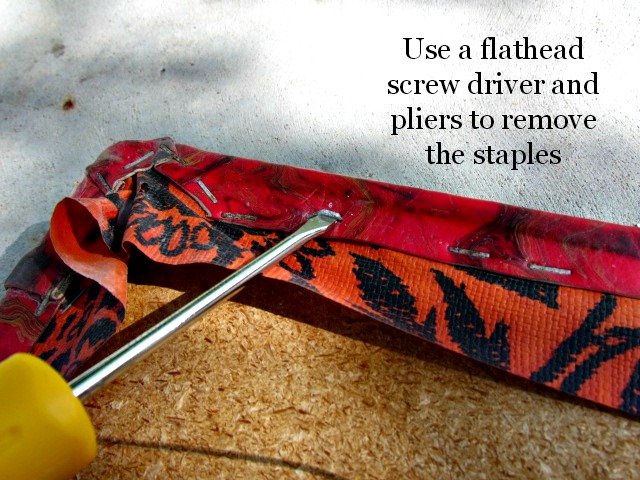
    When I first got the chairs they were covered in this swirly red plastic fabric that was becoming washed out in numerous places. When reupholstering something, you can either just cover what was there, or you can take it completely apart and start from the bones. I decided to start with the bones, but it became obvious the last owners, chose to just cover up the original fabric. A fun, though still outdated orange flower fabric. I believe the cover up was solely because of tears in the original cushions.  I had 2 layers of staples to pry out of this chair!

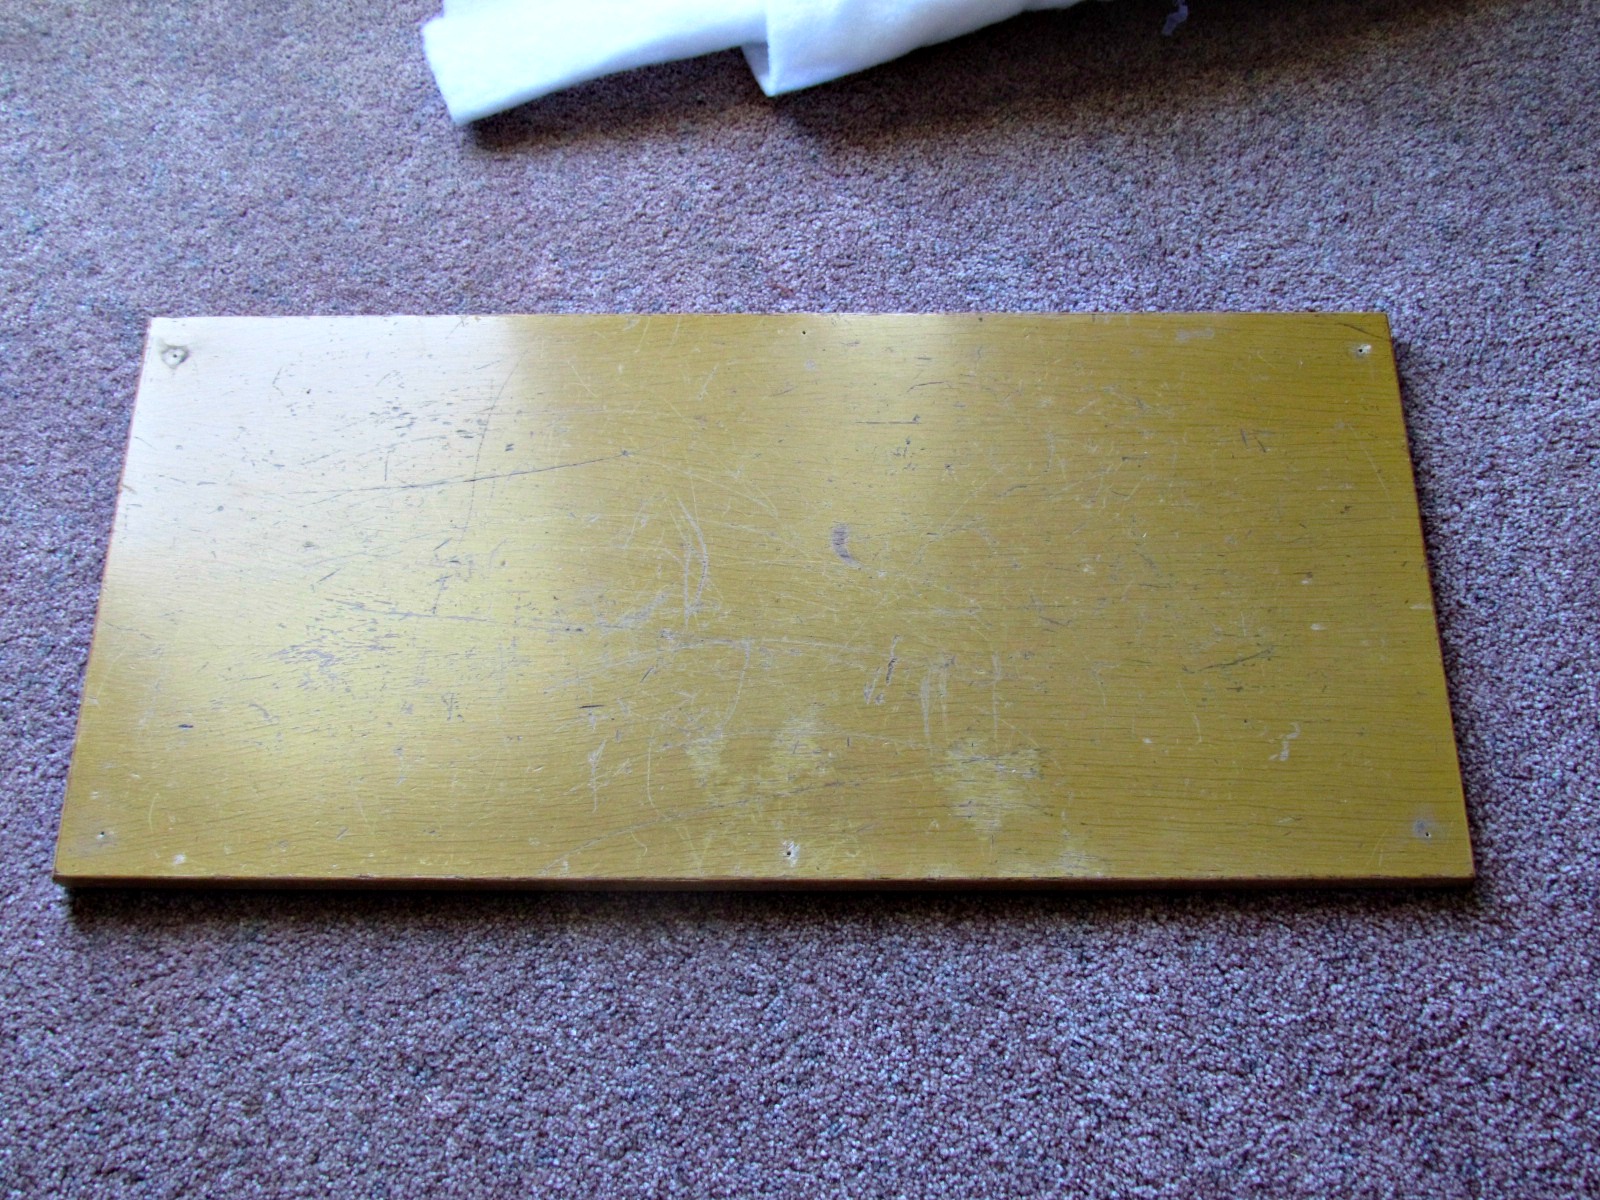
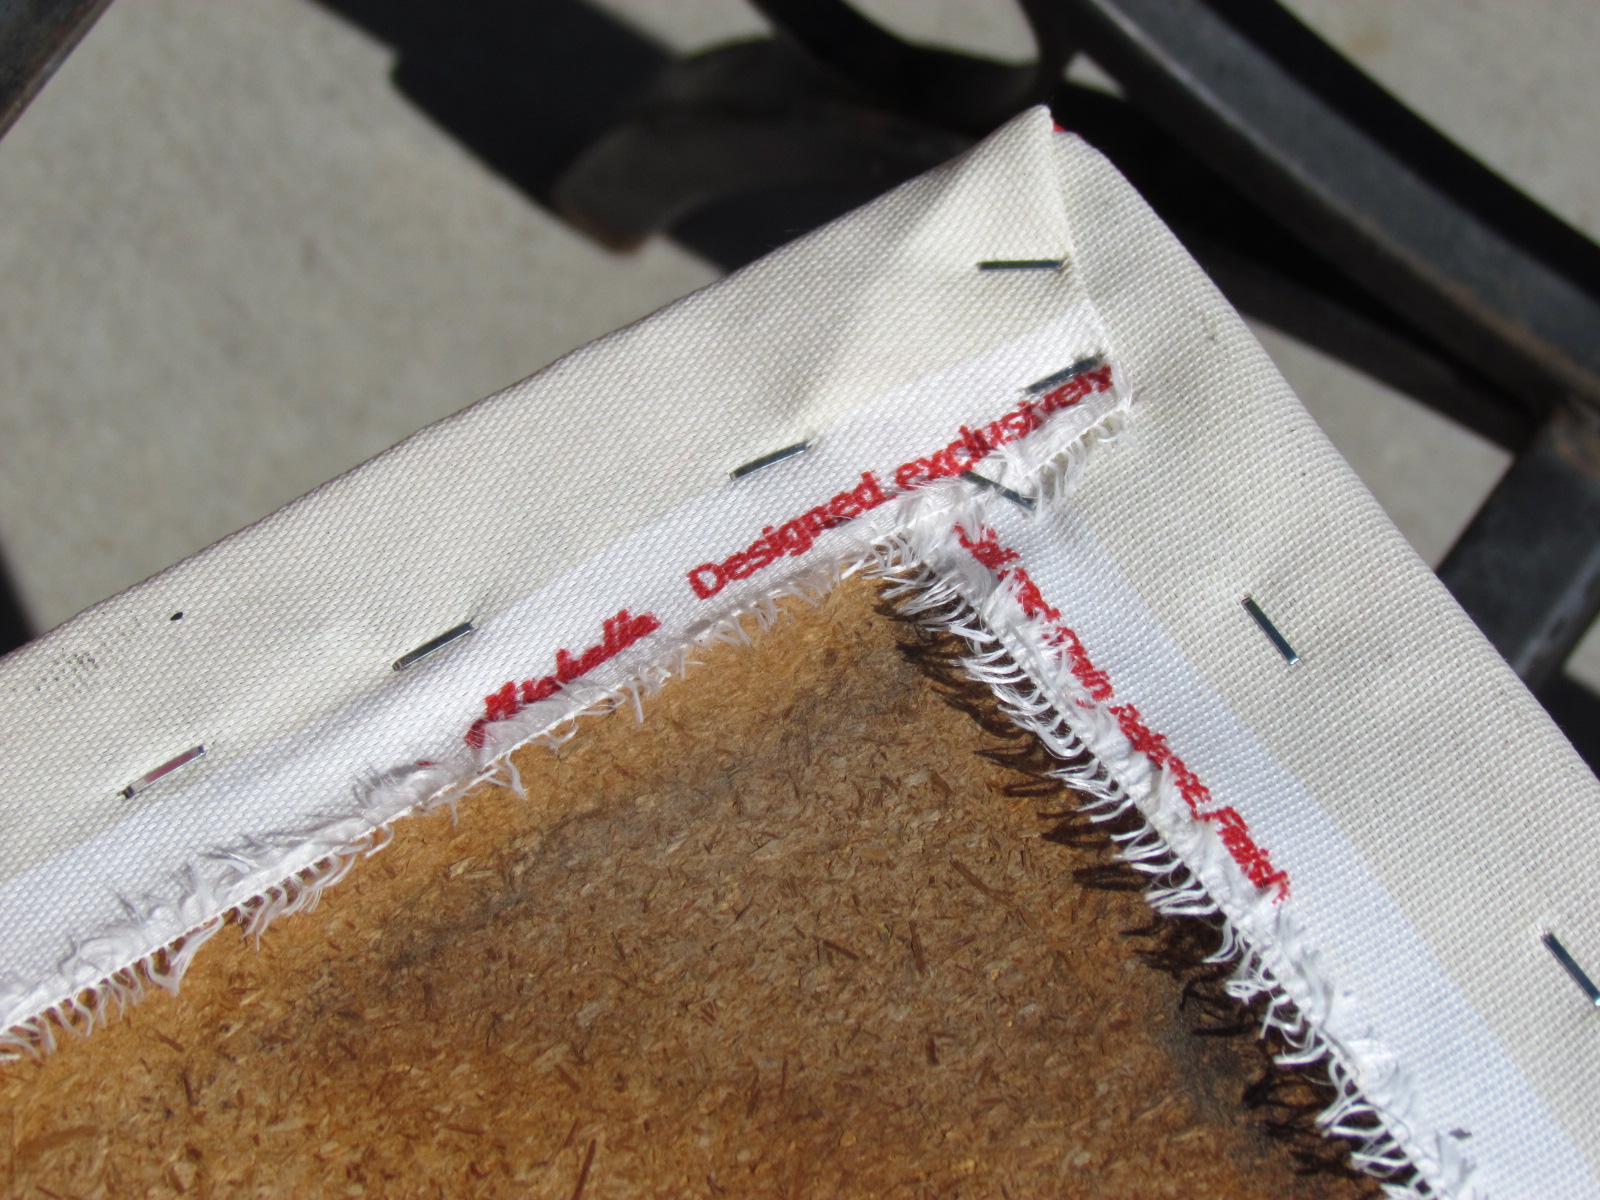
    Once you have the old fabric removed, you can assess the bare bones. Do you need new padding, new wood?  Although I definitely could have replaced the wood and padding on these chairs, they weren’t that bad. So I left them be. My next step was measuring, and cutting the fabric.

    I added a 1/2 inch to each measurement for a seam allowance. On top of the seam allowance though, you must add extra for around the edges. So the side of the seat cushion received an extra 2 inches in width so I have enough to staple it back to the bottom of the seat. The back cushion I added another 1 1/2 inches to the length for easy stapling to the bottom of the board.

    Onto the sewing!  At this point the kids must have been getting wild, or I must have gotten too into finishing it, because I have no more pictures until the finished product.Sorry I meant to have more. But I’m sure you can figure my directions out from here.

    I used a straight stitch, and 100% Rayon Upholstery thread. The hardest part with the sewing was attaching the edge to the seat cushion. There’s 72 inches of long stiff fabric that needs to go around a square piece of fabric. The corners needed to be just right, so they looked good on the outside as well. I’m still figuring out the best way to do this.  

    Key note here – because the corners of my cushions were rounded, I found (after the yellow chairs were finished) that when sewing around the corners instead of creating a right angle, try curving around them to match the cushion. It will look nicer, and fit better.

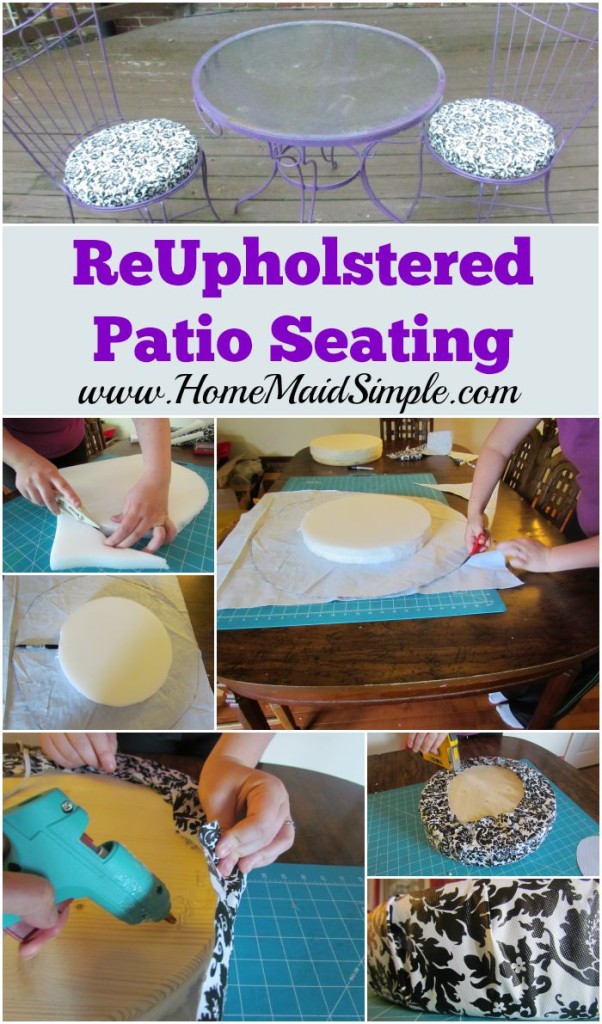
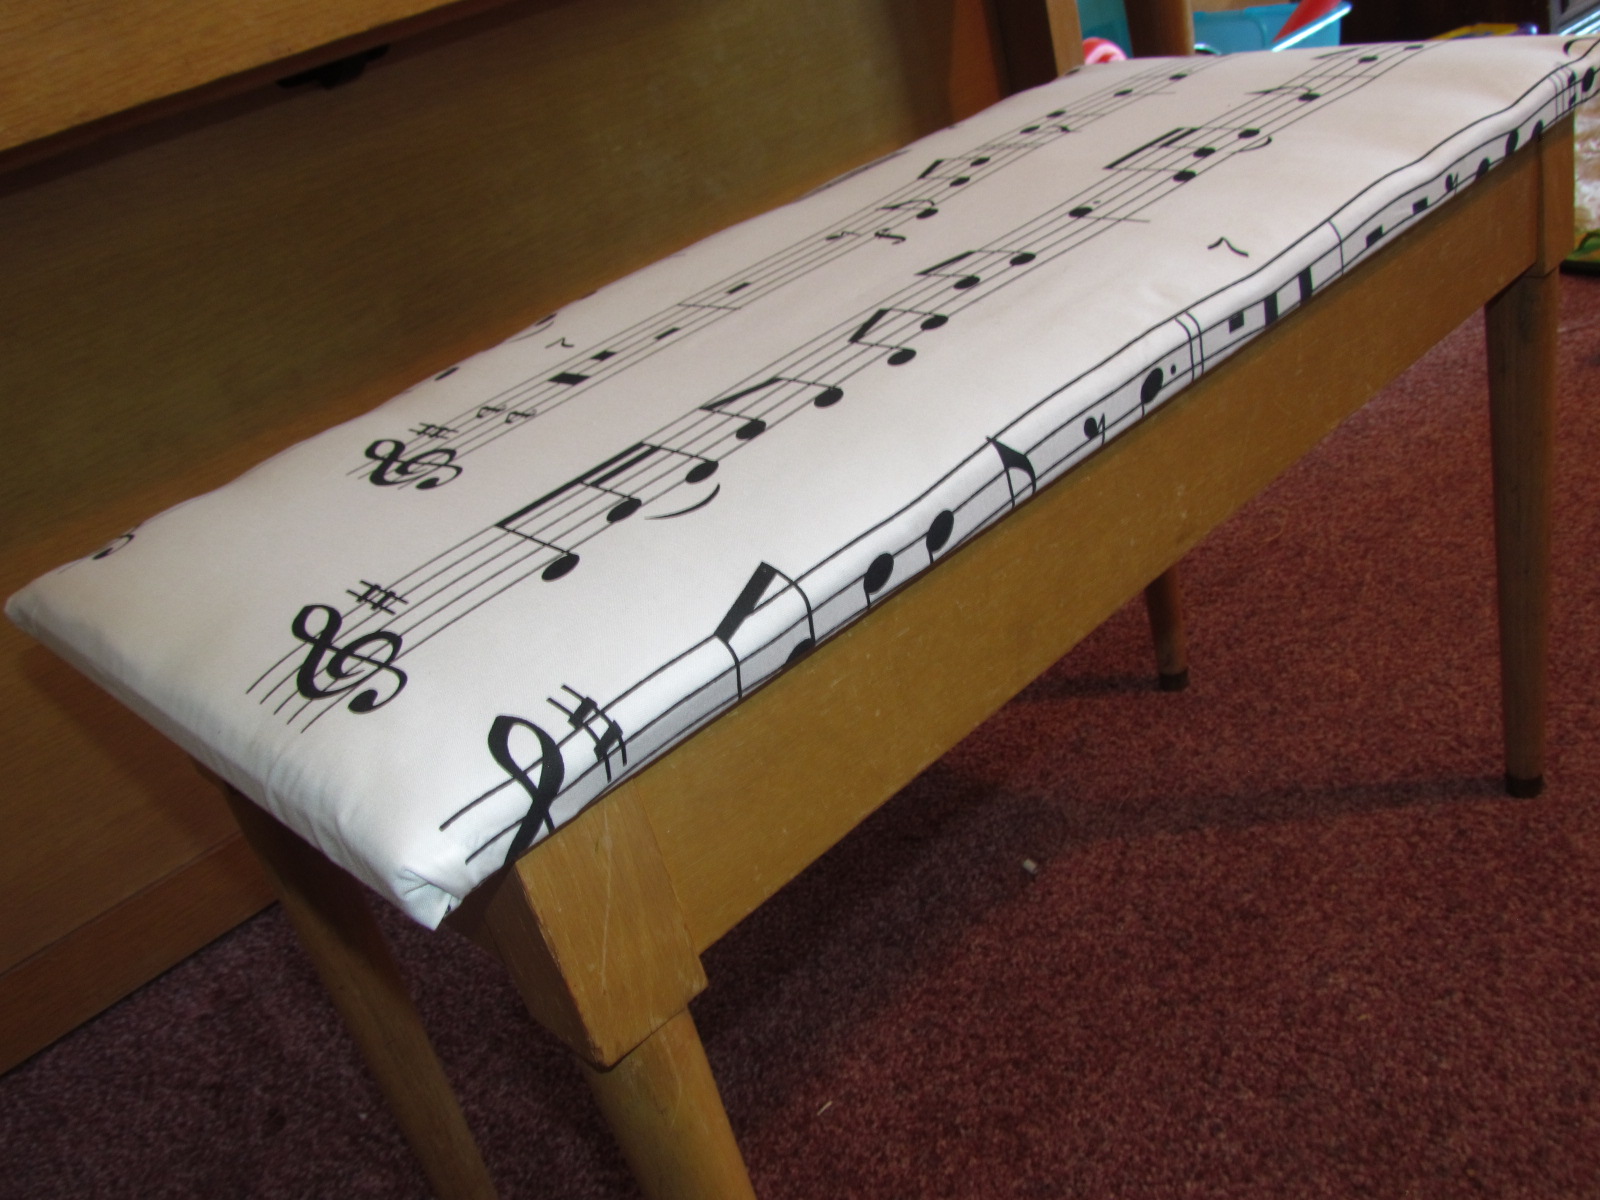
    Now that the deconstruction is done, and your new pieces are all sewed together, it’s time to reattach it. Grab your handy staple-gun (oh my goodness friends, the staple gun is my new favorite toy!), and get to work.

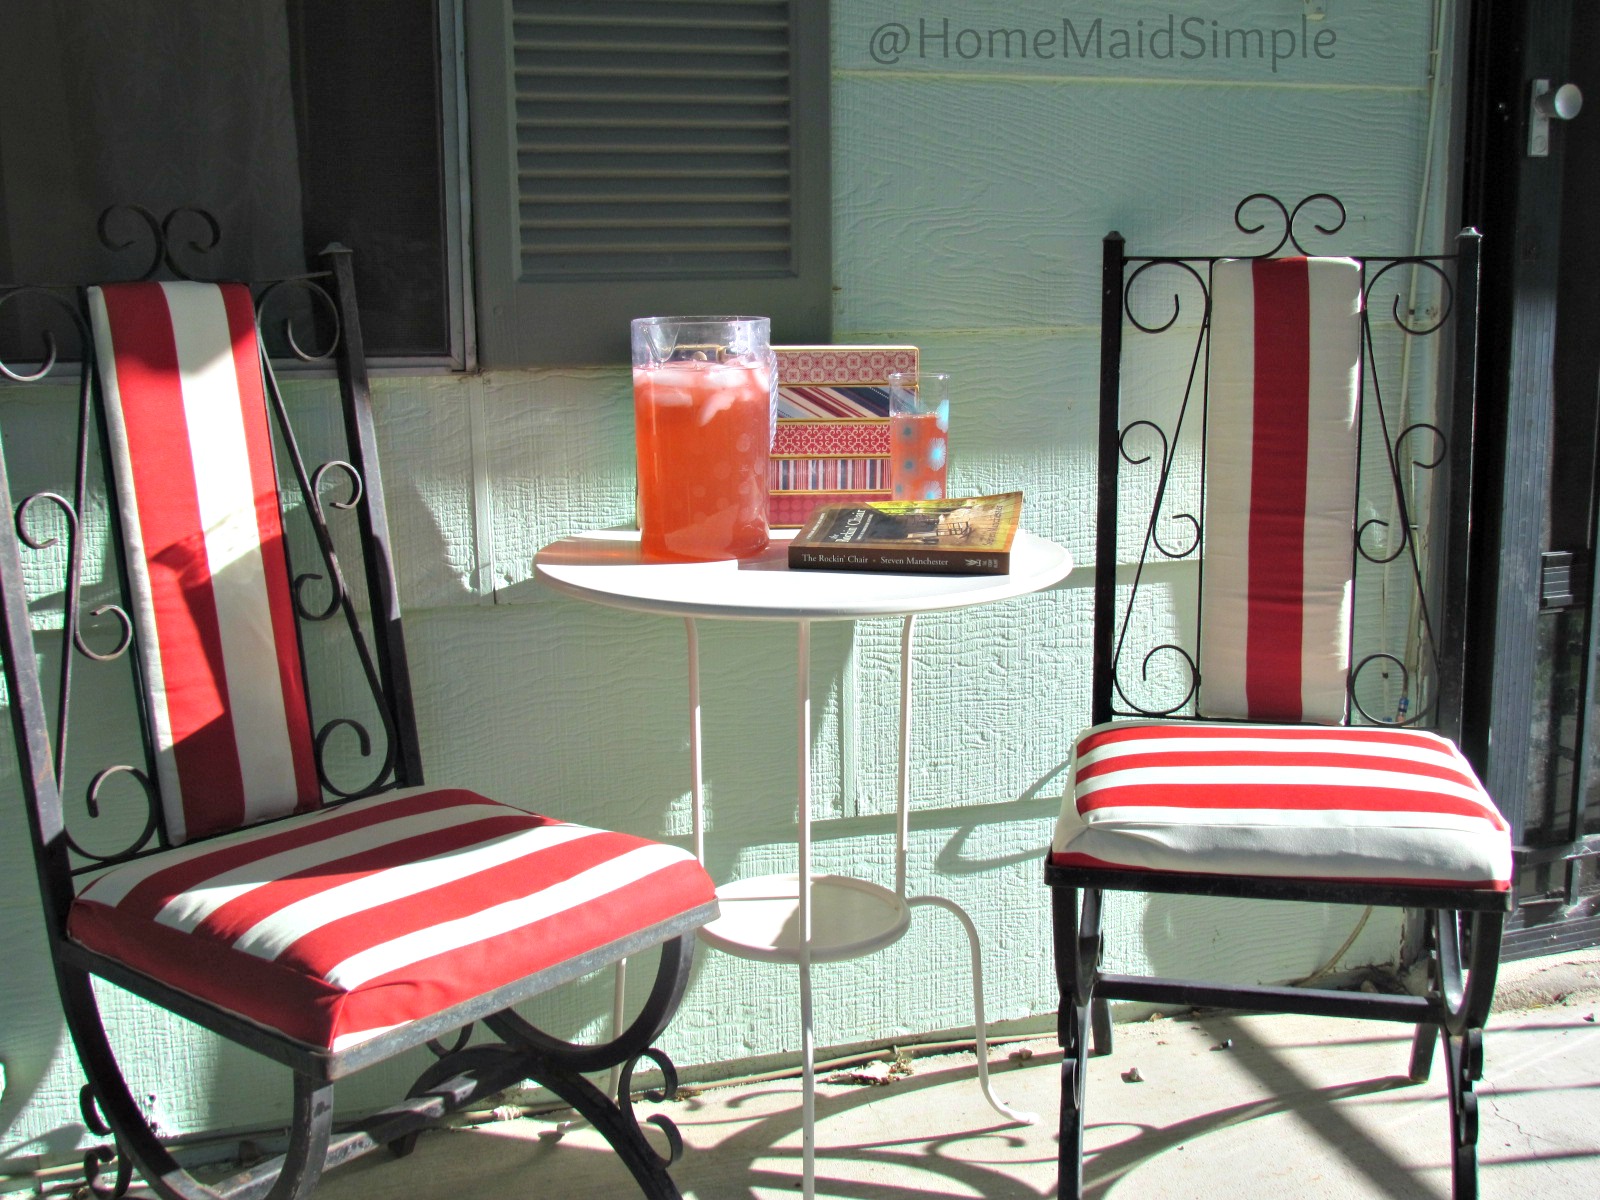
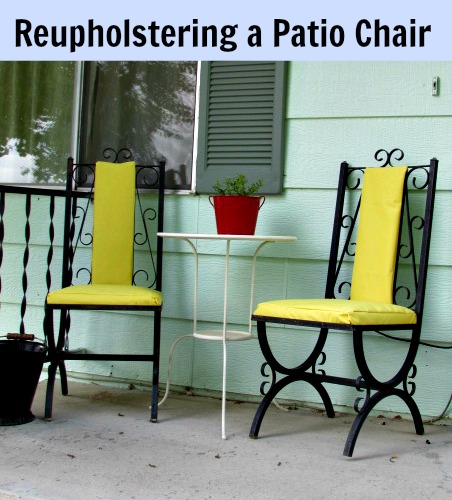
    Make sure your fabric is on straight with the cushion and then start with the four corners. Once the corners are done, staple down the edges while pulling the fabric tight. If you have an extra set of hands to  help you grab them!  Then voila!  Enjoy your new chairs.

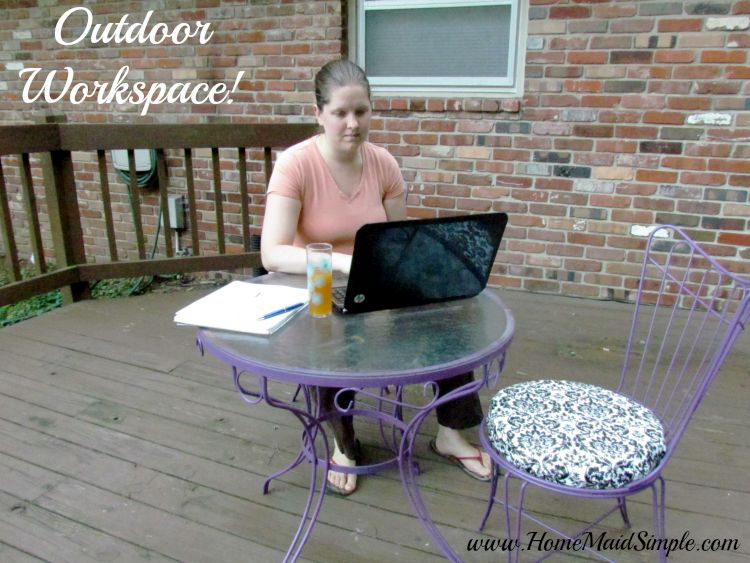
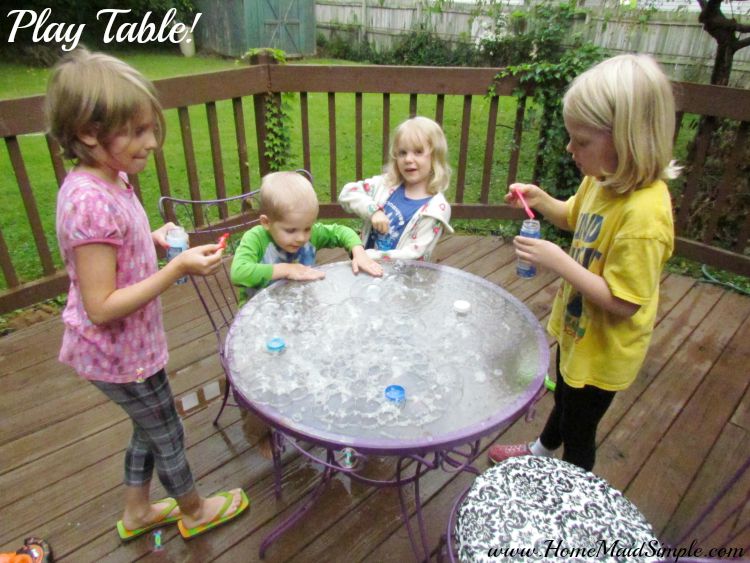
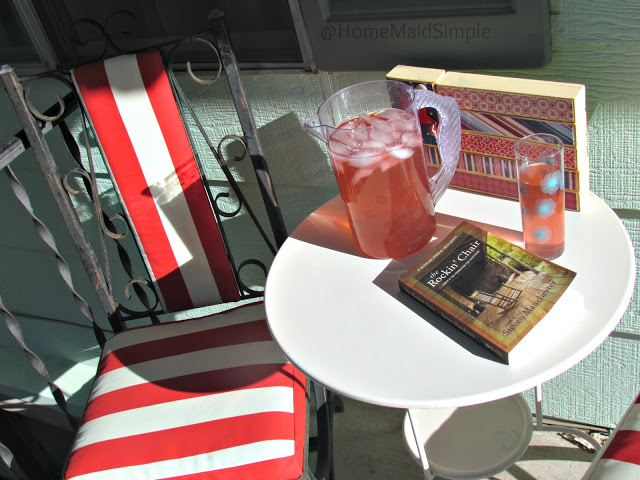
    Now I can sit in comfort and style, enjoy some lemonade and a good book all while the kids ride bikes,and blow bubbles in the fresh summer air.

  • Reupholstering a Patio Chair

    Reupholstering a Patio Chair

    Awhile back I shared with you my list of DIY projects for the year. One of them was going to be my first ever upholstery project. I was scared of killing these beautiful frames on the chair, but I could not live with the original fabric. 
    Mark thought the chairs were all together ugly, and just wanted me to get rid of them. I couldn’t do that either though. The metal frame, scroll detailing – these were my dream patio chairs that I knew I could never afford new. We got lucky and the previous owner of our home left the beauties behind. 
    The first thing you want to do when reupholstering something, is find out how it was put together. Turns out these chairs were a lot simpler than I imagined. The seat cushion simply sat inside the frame, no screws, nails or glue. The back also was simple with just four 1/2 inch screws holding it in. Although one chair was held together with wooden pegs…
    Next step, figure out the upholstery. A quick examination of the cushion found that the fabric was just stapled along the bottom of the seat. Since you never see the underside of the cushion, it made perfect sense. Using a flat head screwdriver I began prying out the millions of staples, only to discover the red was already a reupholstered job!
    I have to admit, the red definitely looked better than this orange fabric! Even without the rip in it.  Now I had to remove more staples from this layer of fabric, but thankfully this was the original, or at least last layer before the cushion. 
    Once I had the bare cushion to work with, I measured twice before cutting my fabric. We bought this yellow canvas material for some outside cushions years ago, but I never got around to making them. Since the chairs are going to be a permanent outdoors fixture, I wanted the material to be easy to clean, and hold up to harsh weather conditions. It really turned out perfect. The corners were a bit rough to get around, and the seat back was extremely tight pulling on, but in the end, I am very pleased. 
    Unfortunately I only had enough material to recover 2 of the 4 chairs. So my question is – should I find some similar yellow canvas, or something new for the other 2?  
     And by the way – Mark now loves the chairs and is pretty happy I held onto them. His reaction was really the best part for me – a nice pat on the back that even though he may not like all my design and DIY attempts, he does like some!