Uncategorized
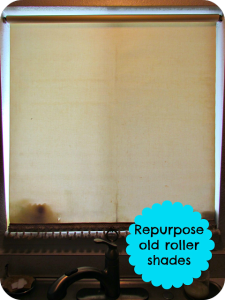
DIY Repurposed Roller Shade: Instant Kitchen Facelift
If you look really closely at the left side of my shade here, you’ll see a speck. It’s no ordinary speck. That my dear readers is a squashed mosquito. Very flat too. I have no idea how long this bug was a part of the kitchen decor, but upon buying this home I knew it […]
Read More

Uncategorized
Rosie Posie….Bucket of Worms?
Today my 3rd Princess…Princess R…turned 3 years old. She acts a whole lot older with her clear vocabulary, and very grown up facial expressions. She can give a stink eye like none other, and she never gives up when she wants something badly. Awhile ago, I must have said this to her, but I called out […]
Read More