Fall is here, and it’s my favorite time of the year to start putting up produce. Canning fruits are one of the easiest ways to save produce to eat throughout the year. This home canned grape juice is fabulous with a little club soda. This post contains affiliate links and I will be compensated if you click on and purchase through them.

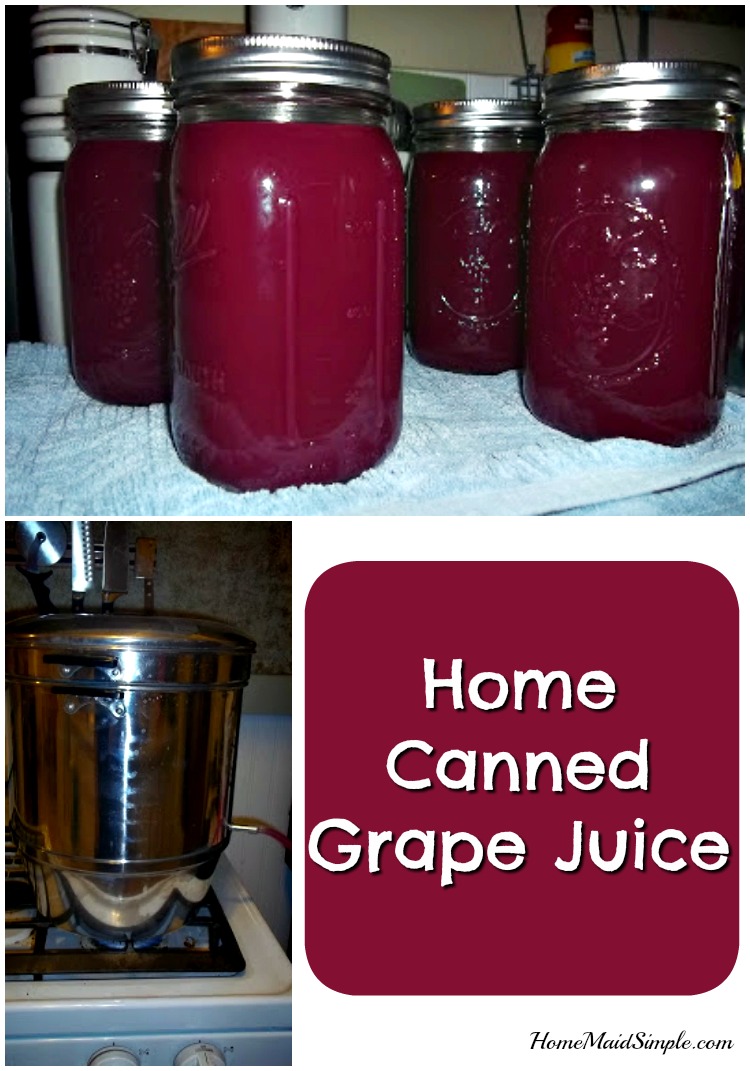
Home Canned Grape Juice

I had a lot of fun doing this, though it was quite surprising at just how little juice came from all those grapes. I have a new appreciation for the cost of store-bought juice. Let’s jump right into this tutorial. If you have any questions just leave them in the comment section!
Step 1: Wash and de-vine your grapes.
Step 2: I suggest using a Steam Juicer . If you don’t have one, go out and buy one, or borrow one. They are a time saver!!! Follow the directions for your juicer. If you do not or cannot get a juicer, or you feel like being adventurous, there is a step by step guide HERE for straining the juice from your grapes. I added a little under 1 cup sugar per 3quarts grapes. So I dumped one of my bowls of grapes in, poured on some sugar, then the rest of the grapes, followed by more sugar.
. If you don’t have one, go out and buy one, or borrow one. They are a time saver!!! Follow the directions for your juicer. If you do not or cannot get a juicer, or you feel like being adventurous, there is a step by step guide HERE for straining the juice from your grapes. I added a little under 1 cup sugar per 3quarts grapes. So I dumped one of my bowls of grapes in, poured on some sugar, then the rest of the grapes, followed by more sugar.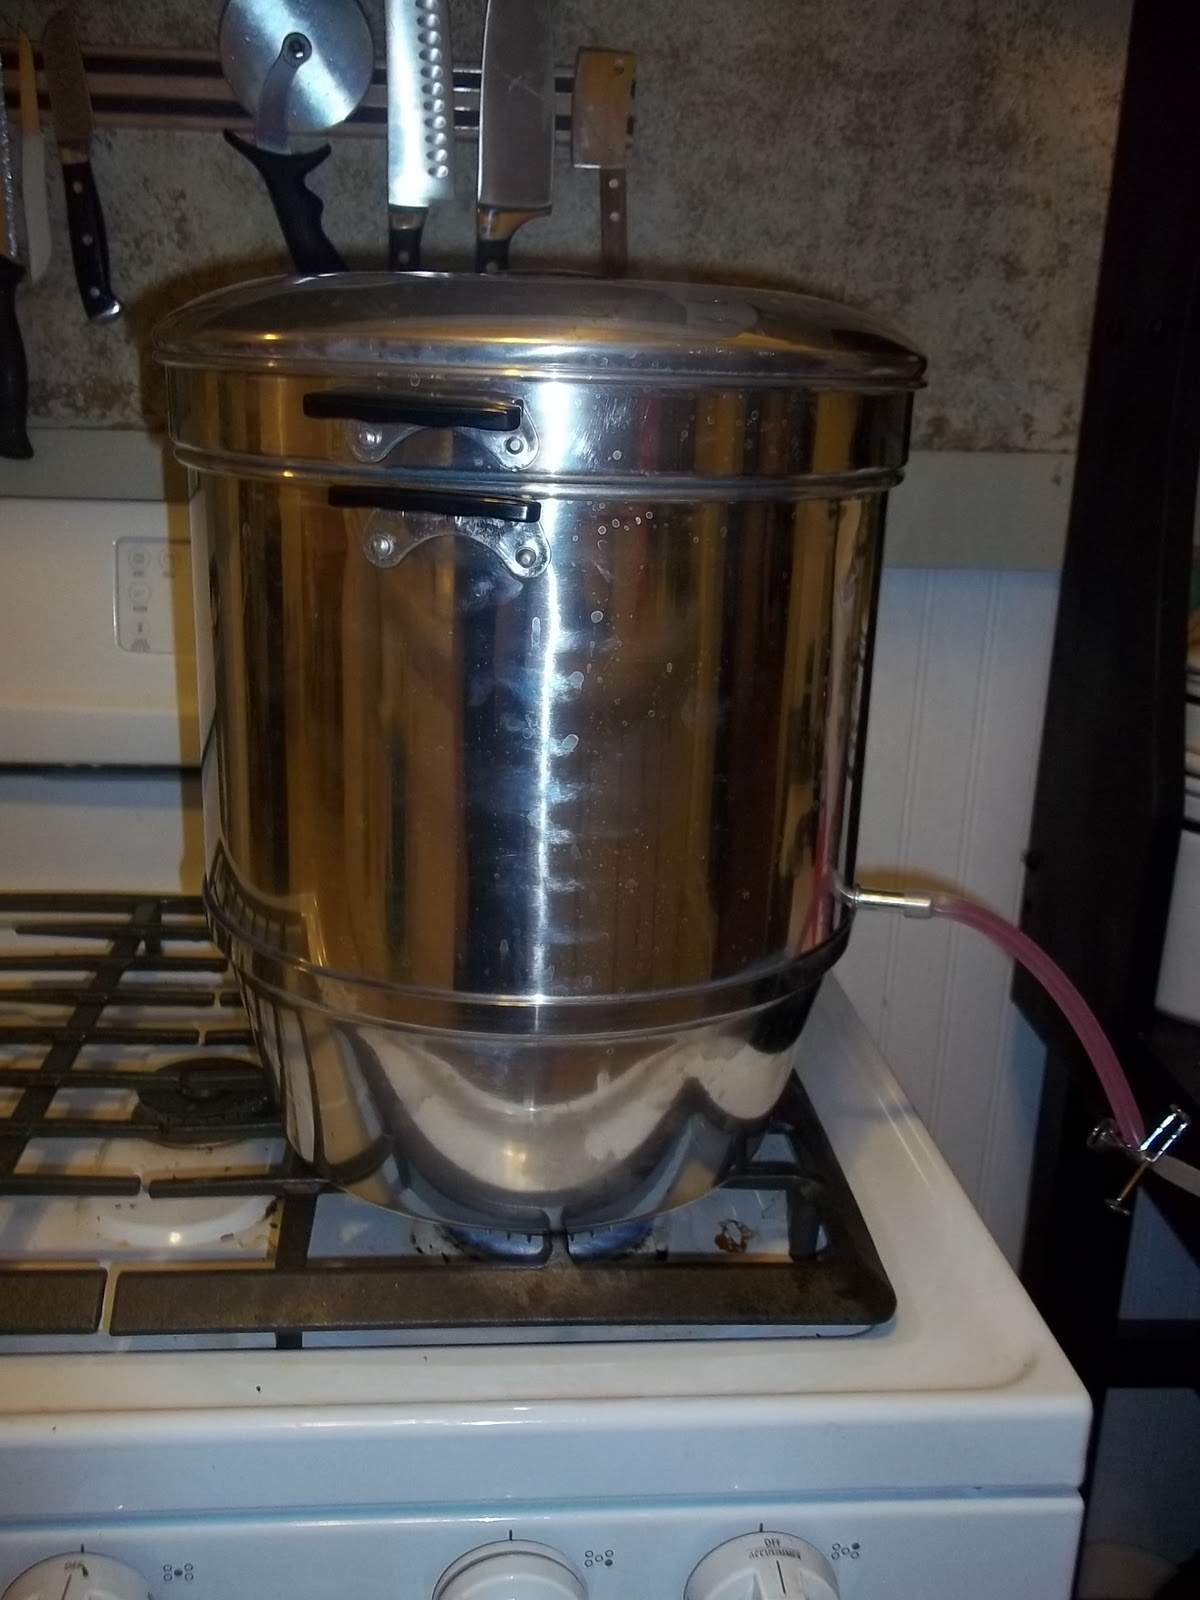
Step 3: While the grapes are juicing, sterilize your jars. Some people do this in a dishwasher, I did my pear jars in a sink of hot water. BUT I found a new way! You can sterilize the jars and rings in your oven. Do not sterilize the lids with the rubber seal this way. Turn the oven on to 225 degrees Fahrenheit. Place jars and rings on cookie sheets. I used two separate sheets and put the lids and rings on the bottom shelf, and the jars above so there was more room.
Step 4: Carefully remove hot jars from the oven and fill with hot juice.
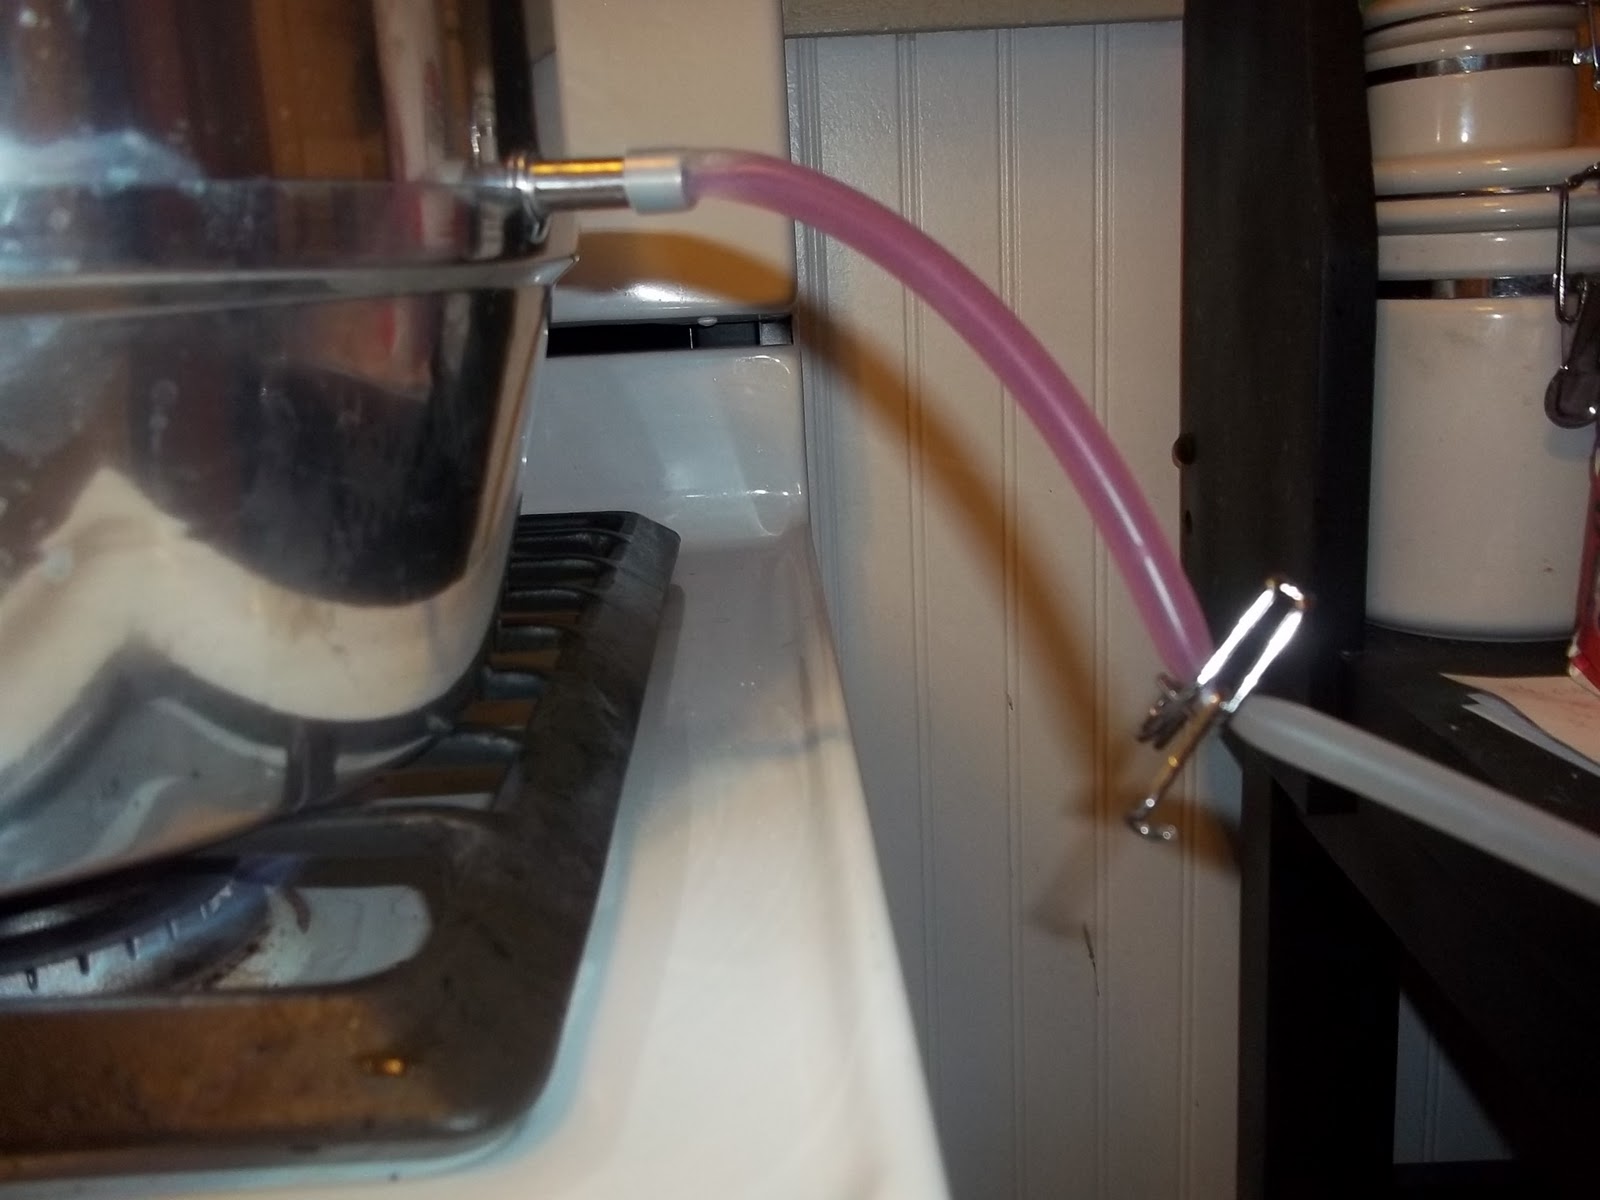
Step 5: Process Jars. My mom is so sweet! She was supposed to bring me her water bath canner, and when she showed up she had bought me my very own steam canner instead. So I steam canned my grape juice! There are some differing opinions on how safe steam canning is compared to water-bath canning. Here is my 2 cents – If it were unsafe, you wouldn’t be able to buy steam canners. The fact that the jars sealed tells me no bacteria should be able to get inside. Plus, from my own experience, I think my jars of grape juice came out just as hot or hotter and stayed hotter longer than my jars of pears did in the water bath.
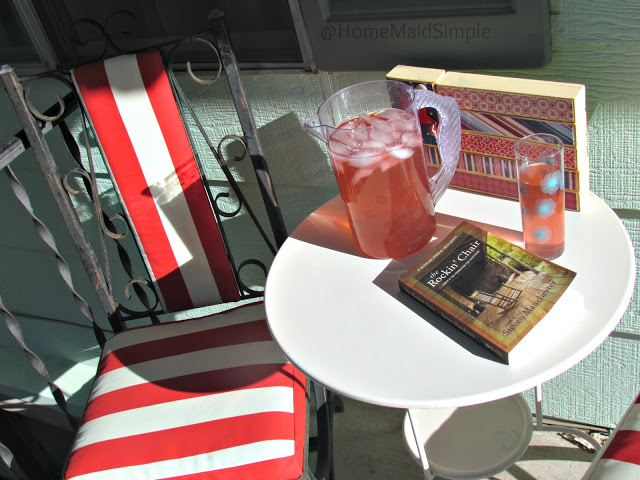
So have at it! Make some grape juice! Out of my 6-7 quarts of grapes, I was able to get 4 1/2 quarts of grape juice. The 1/2 quart I put in the fridge and drank with my breakfast this morning! It was oh so good! A little on the strong side, so when we do open the other jars, I will either dilute with some water, or club soda depending on who will be enjoying it. The club soda is a favorite during the holidays.
*Post originally share October 2011.