This post on summer shorts is sponsored by The Good Stuff and Coupons.com.

Related Articles:
Summer Reads for Kids
A Summer Chore List
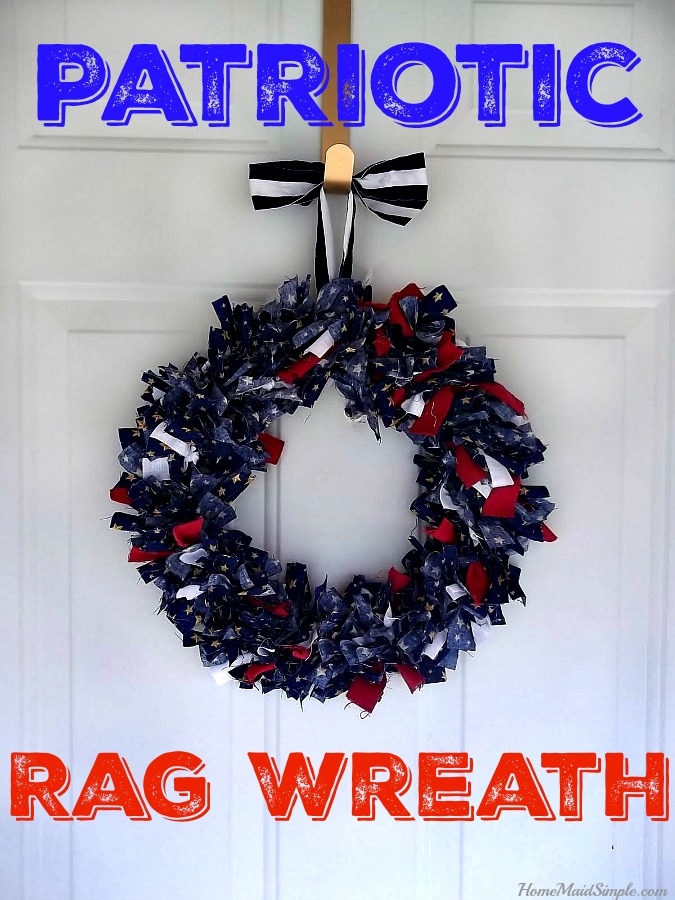
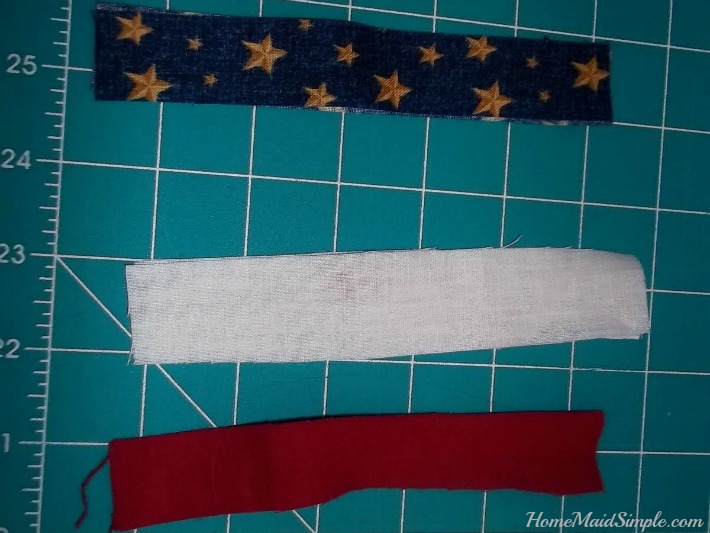
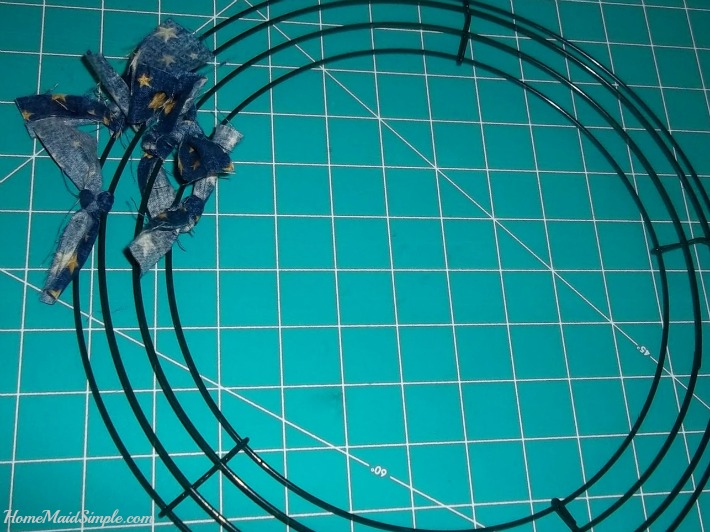
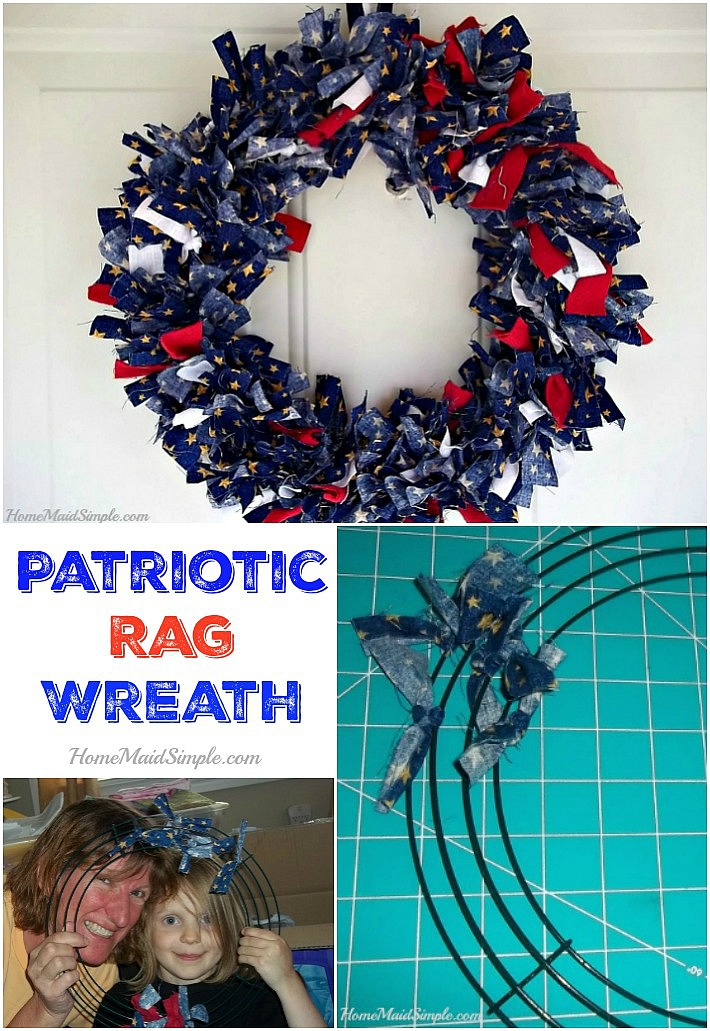
Patriotic Rag Wreath
Remember the days when holes in pants were considered messy and poor? When did we get the trend where pants are being bought with holes in them? It truly baffles me.
I have to admit though, as my kids wore holes in their pants, I became a little lax and let them wear them anyway. It was the trend after all.
After a General Conference address by Jeffrey R. Holland where he said “Sunday best has lost it’s meaning in our time“, I recommitted myself to pay more attention to what we wear all the time, not just on Sunday.
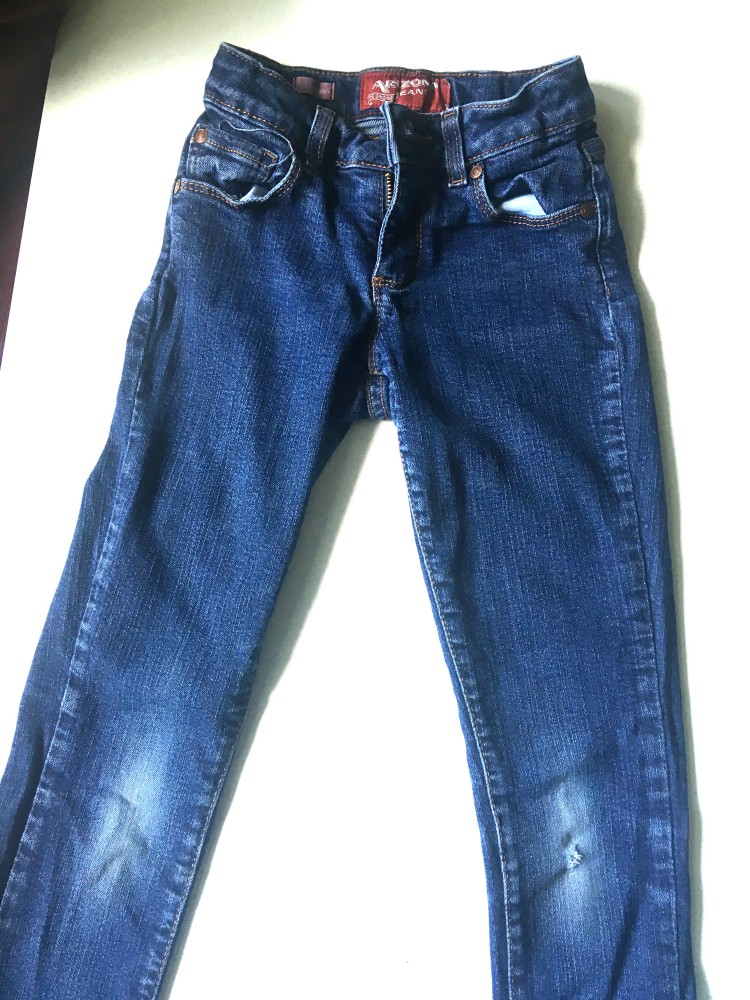
The holey pants had to go. Being the frugal person that I am however, I wasn’t just going to toss these otherwise perfectly good pants out! Instead, we like to upgrade our pants into shorts.
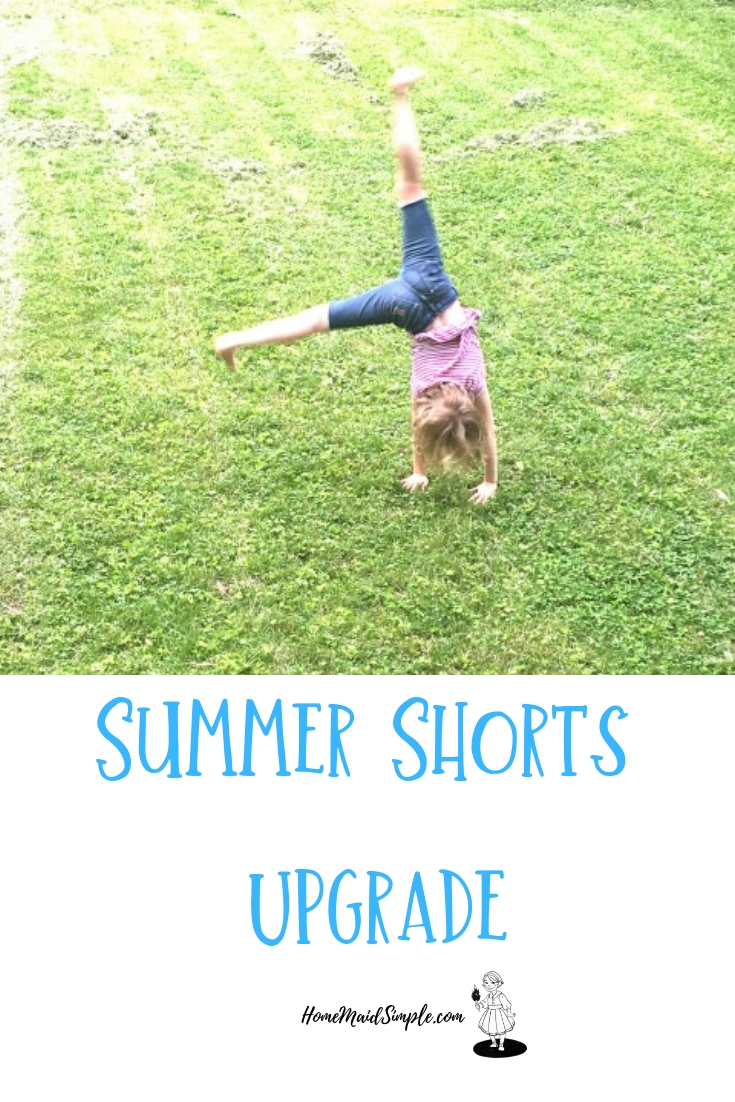
Summer Shorts How-To
Bonus here – you know how girls shorts are always way too short. I mean, WAY TOO SHORT! This simple fix gives your summer shorts that are the perfect length and fun to wear.
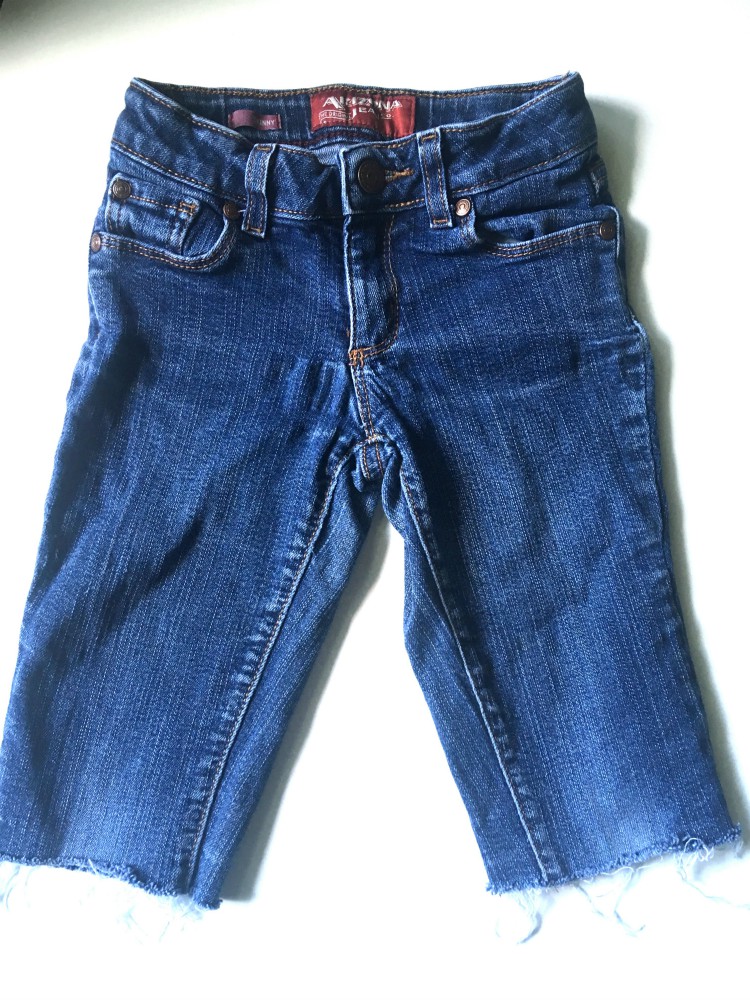
Here’s what you do. Take a pair of pants with holes in the knees. Cut along the hole that is up highest on one leg. This will be your guide for cutting along the other leg. Fold the pants in half, and cut off the other leg.
Ta Da! Shorts!
Being the creative fun type (hahaha…ok I do try sometimes!), I then pulled out some fun crafts to really give our summer shorts an upgrade. Why not dress them up a bit?
With fabric markers and iron-on patches, you can really turn an old pair of pants into something new. If you personally don’t feel creative, turn the project over to your kids, and let them express themselves on their shorts.
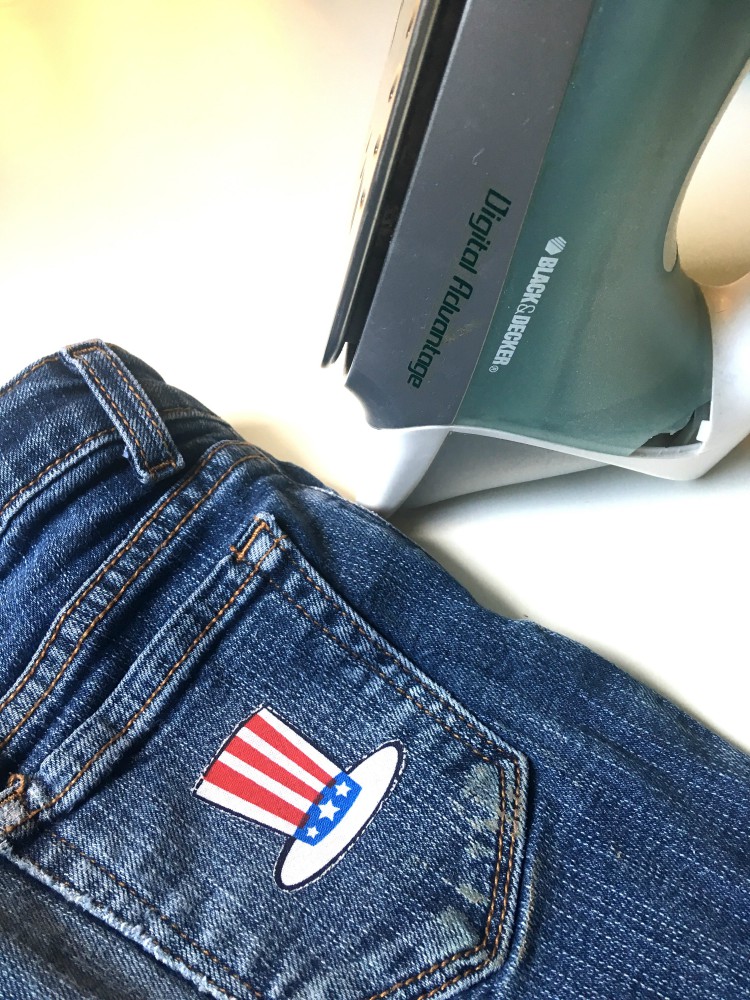
This is a great activity for when the kids are bored, and it’s raining outside, or just because you need a day to actually get stuff done around the house this summer! Iron on patches and fabric markers can be found at most fabric stores, or as always on Amazon.
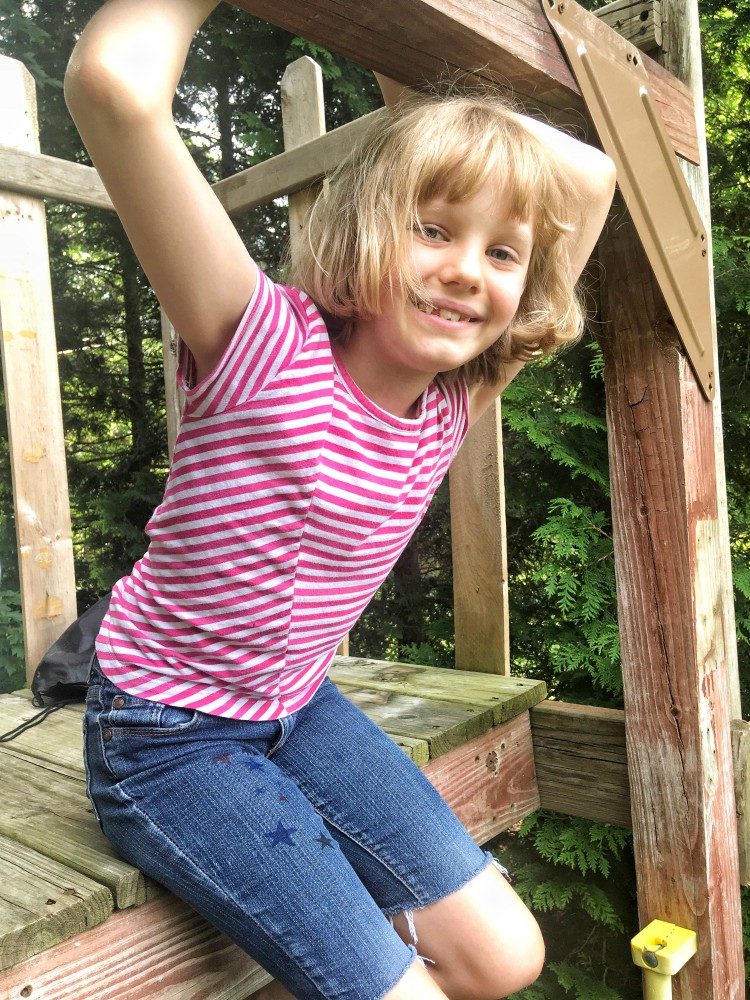
I suggest a parent helps with the cutting and any iron on patches. From there though, this is a project the kids can run with. We personally went with a patriotic theme to get ready for the 4th of July this week.
We styled the shorts with a fun striped shirt before heading out for some photos. Read How to Style Summer Shorts for more tips on styling your new creations.