As we continue our search for a new job, we are also prepping the house for sale. Although we haven’t listed it on the market yet, we want it ready to go up as soon as we know where we’ll be moving. By having the home in top condition before listing it, we should be able to sell it in a short time period, without too much back and forth with a potential buyer.
Also once we move, we will not be able to take care of anything in the home, so it needs to be looking good, in case we have to move before it sells.
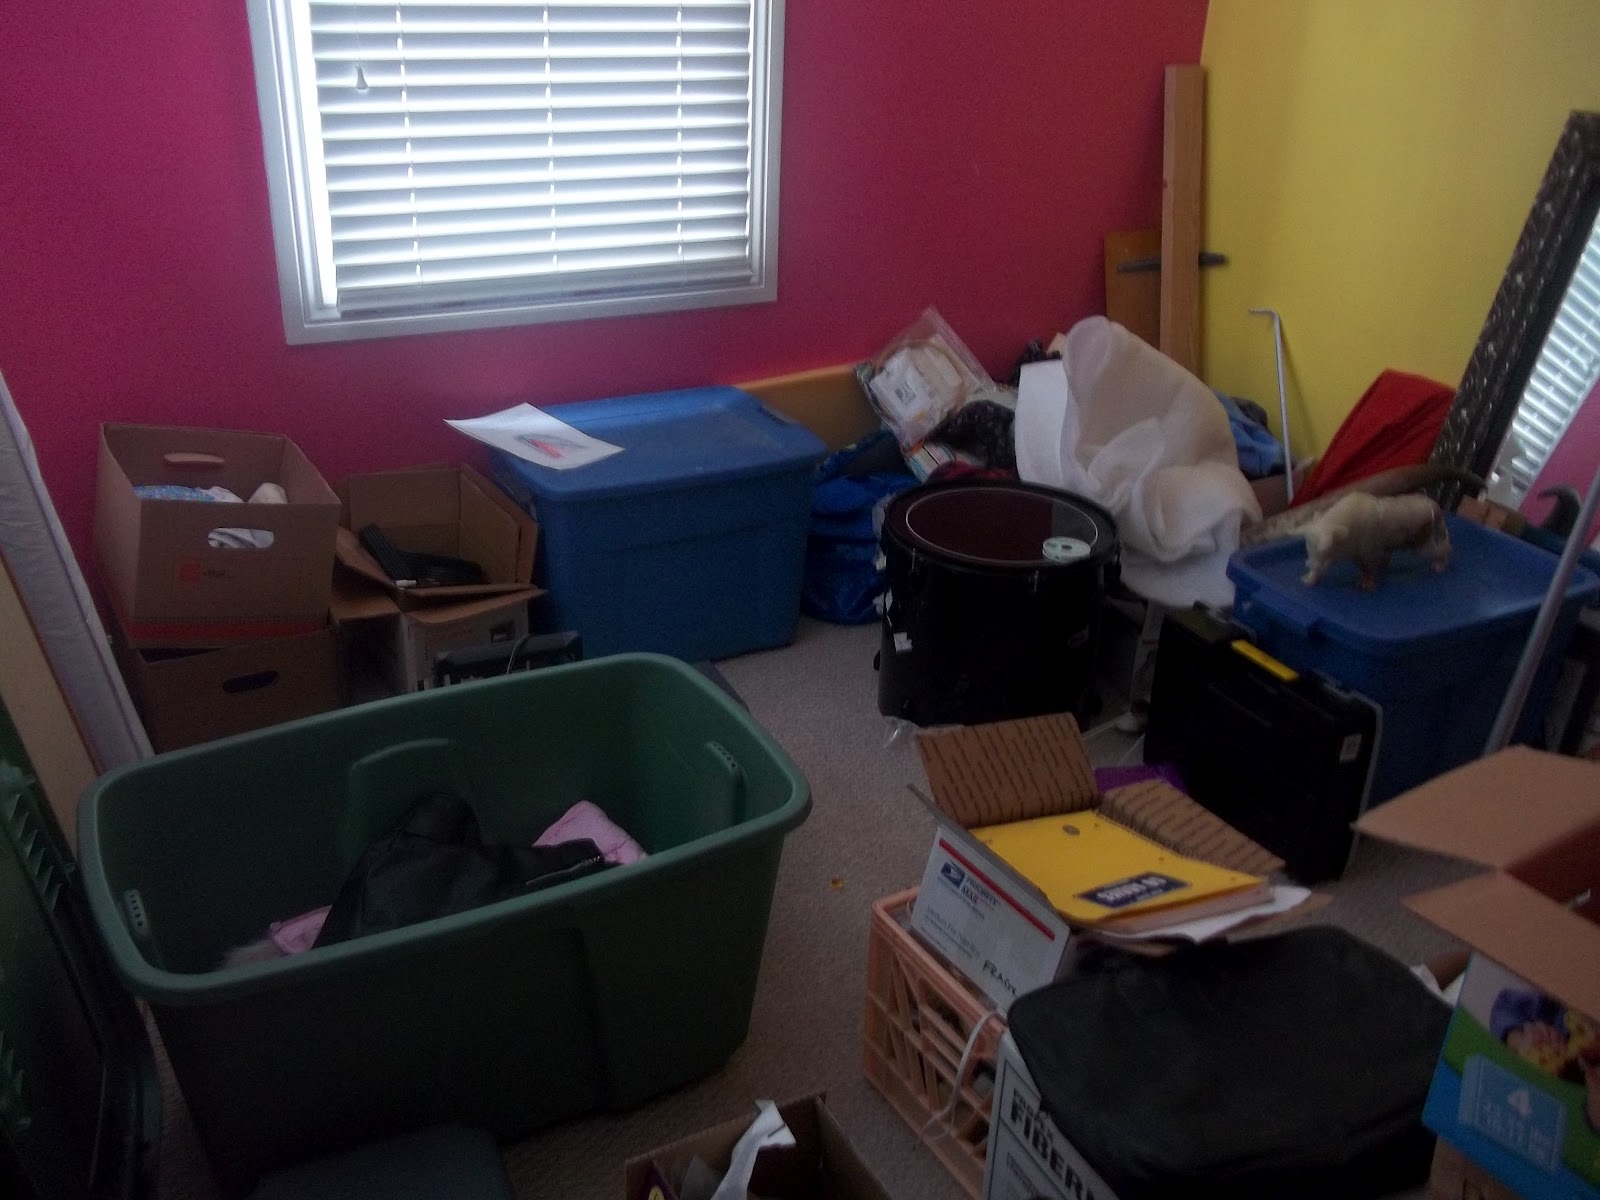
So before you list your home for sale, I suggest going through room by room and making a list of anything that needs updated, painted, or repaired. Mark has gone through the home and made this list for us. It’s going to take a lot of work, but we don’t have much else to do.
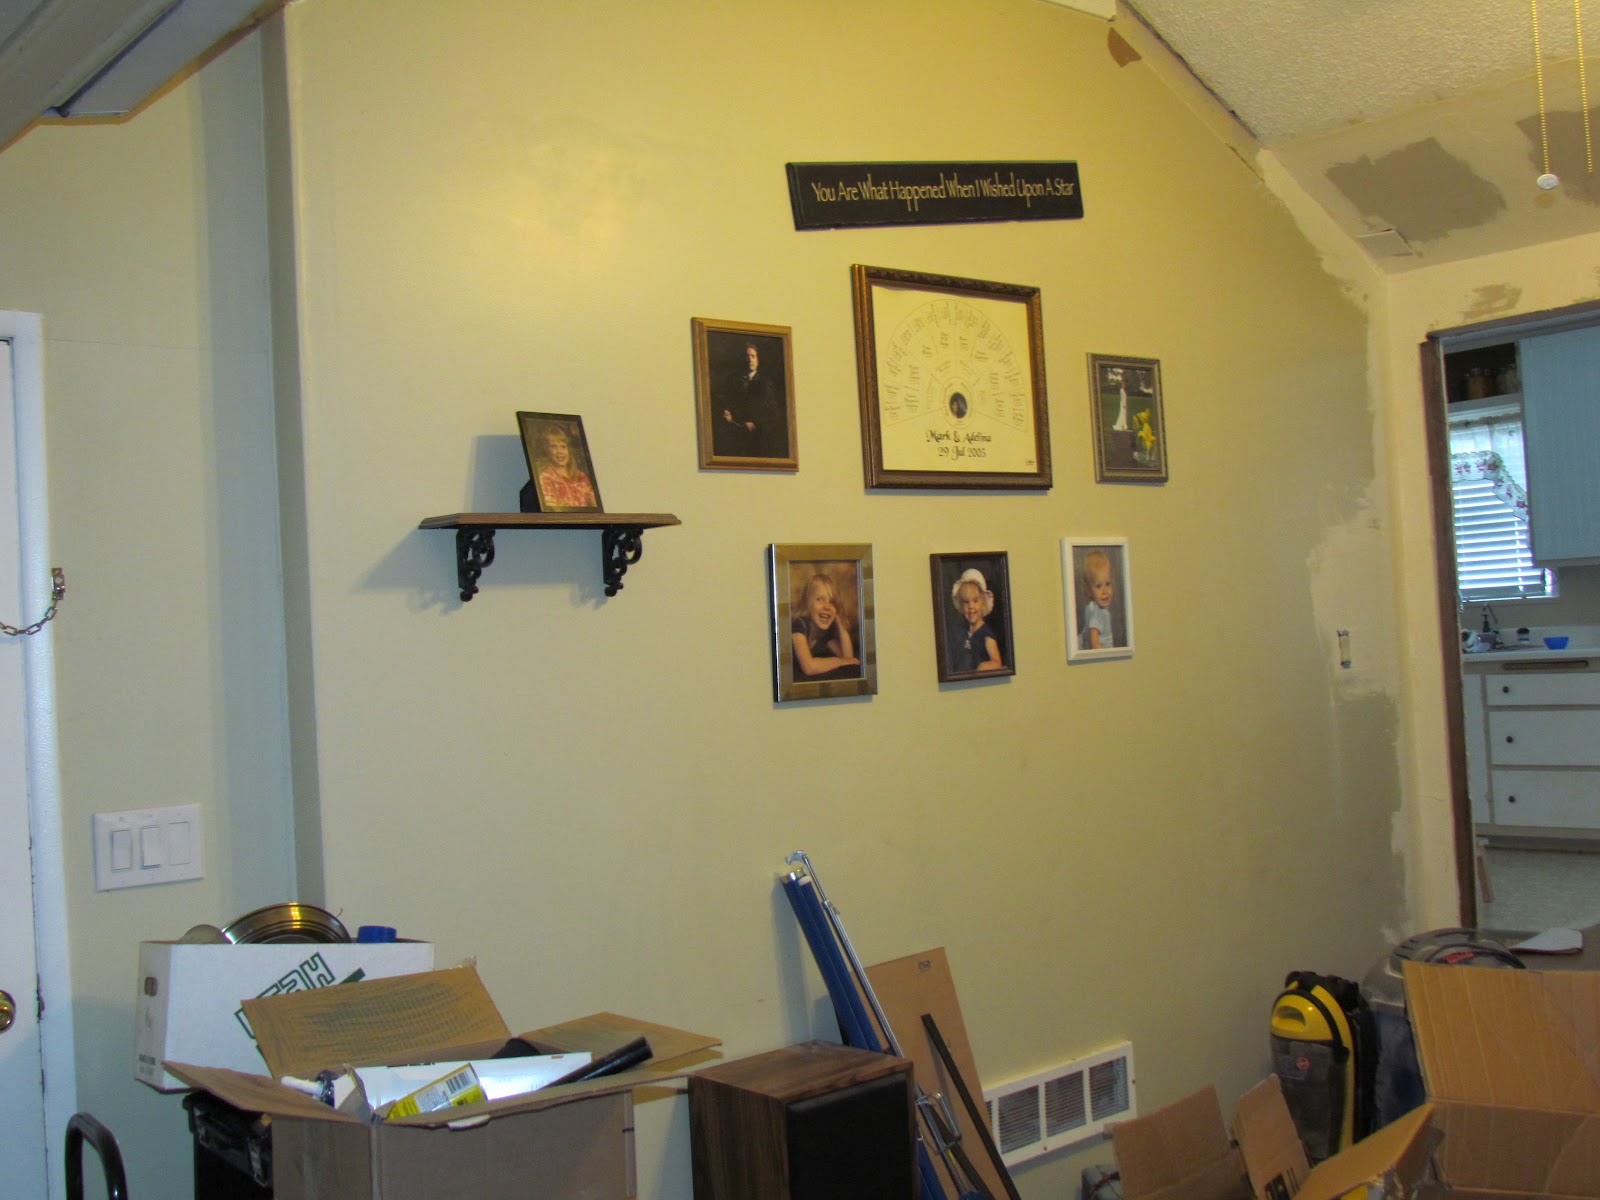
Master Room
– Clean walls. Possibly repaint
 – Fix the broken blinds
Bedroom #1
– Touch up Paint
– Reattach closet door
Bedroom #2
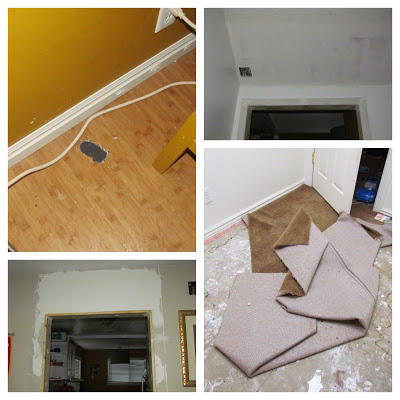
– replace flooring in walk in closet
– scrub walls. Possibly paint
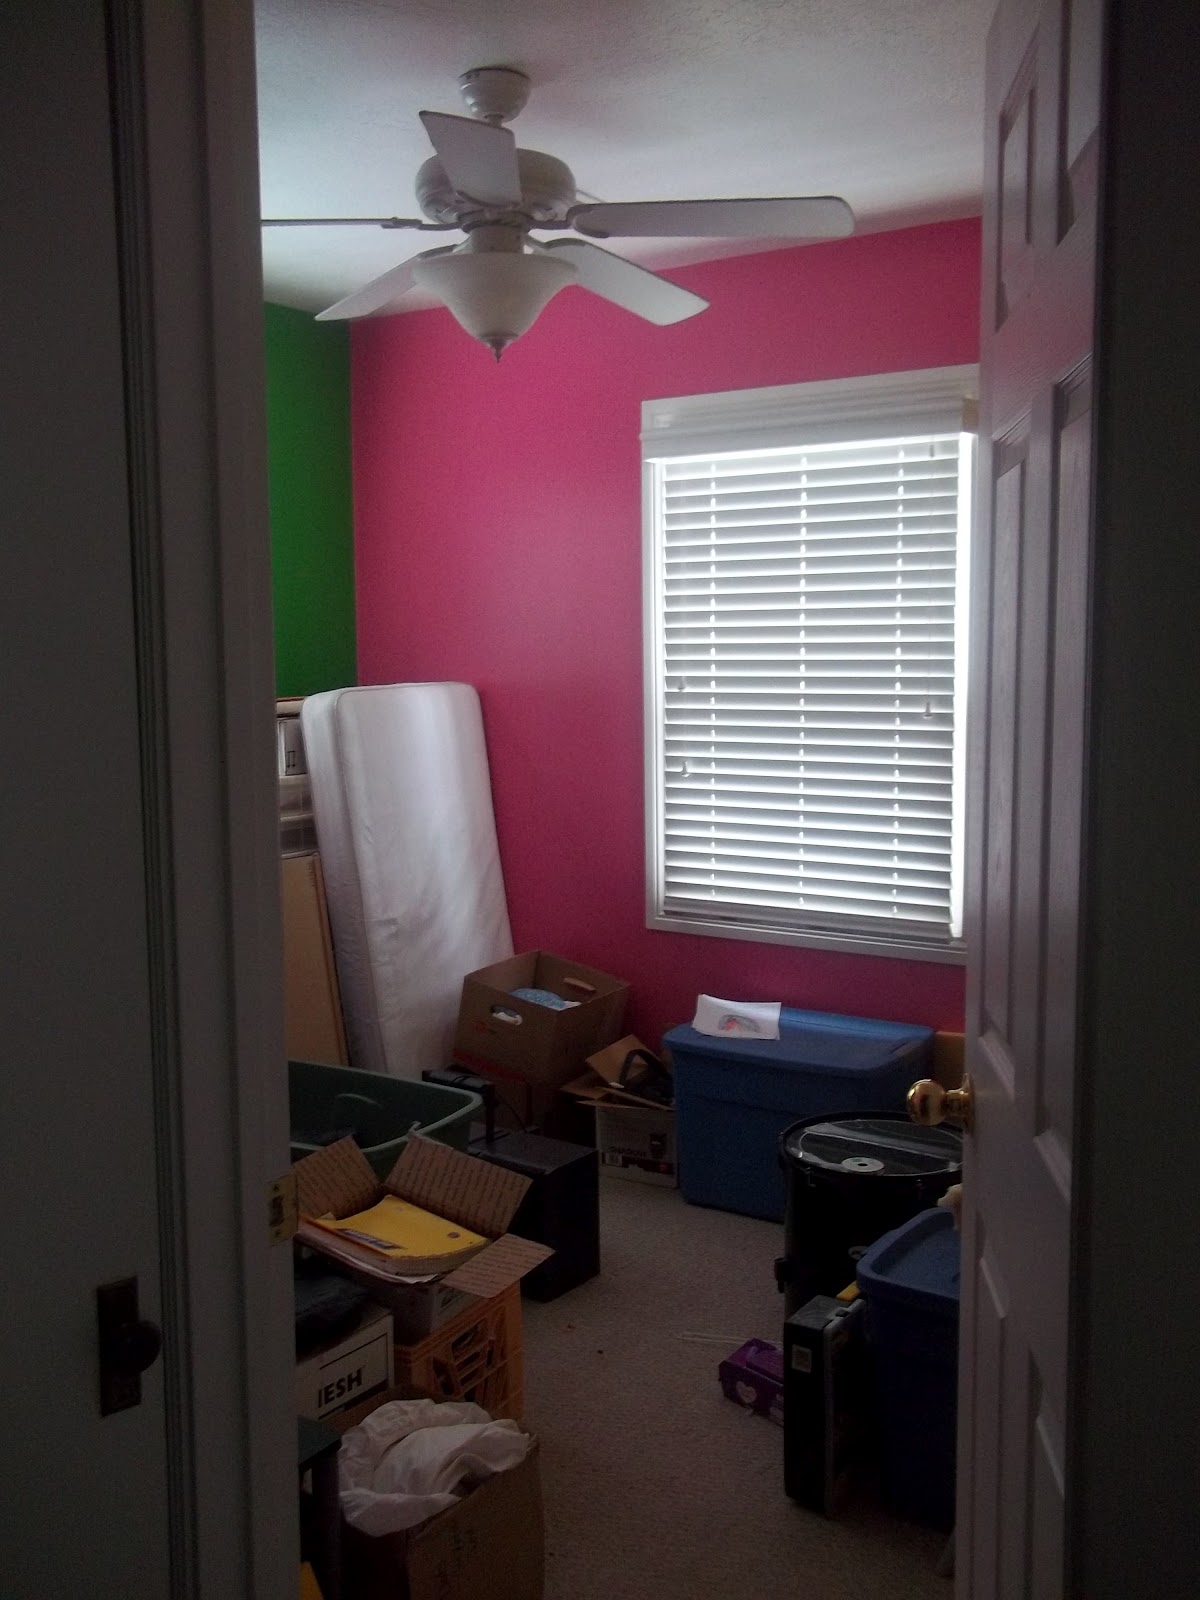
Bedroom #3
– Scrub walls
Bathroom
– Touch up paint
– Fix door jam
– Fix cupboard door
Hallway
– Touch up paint
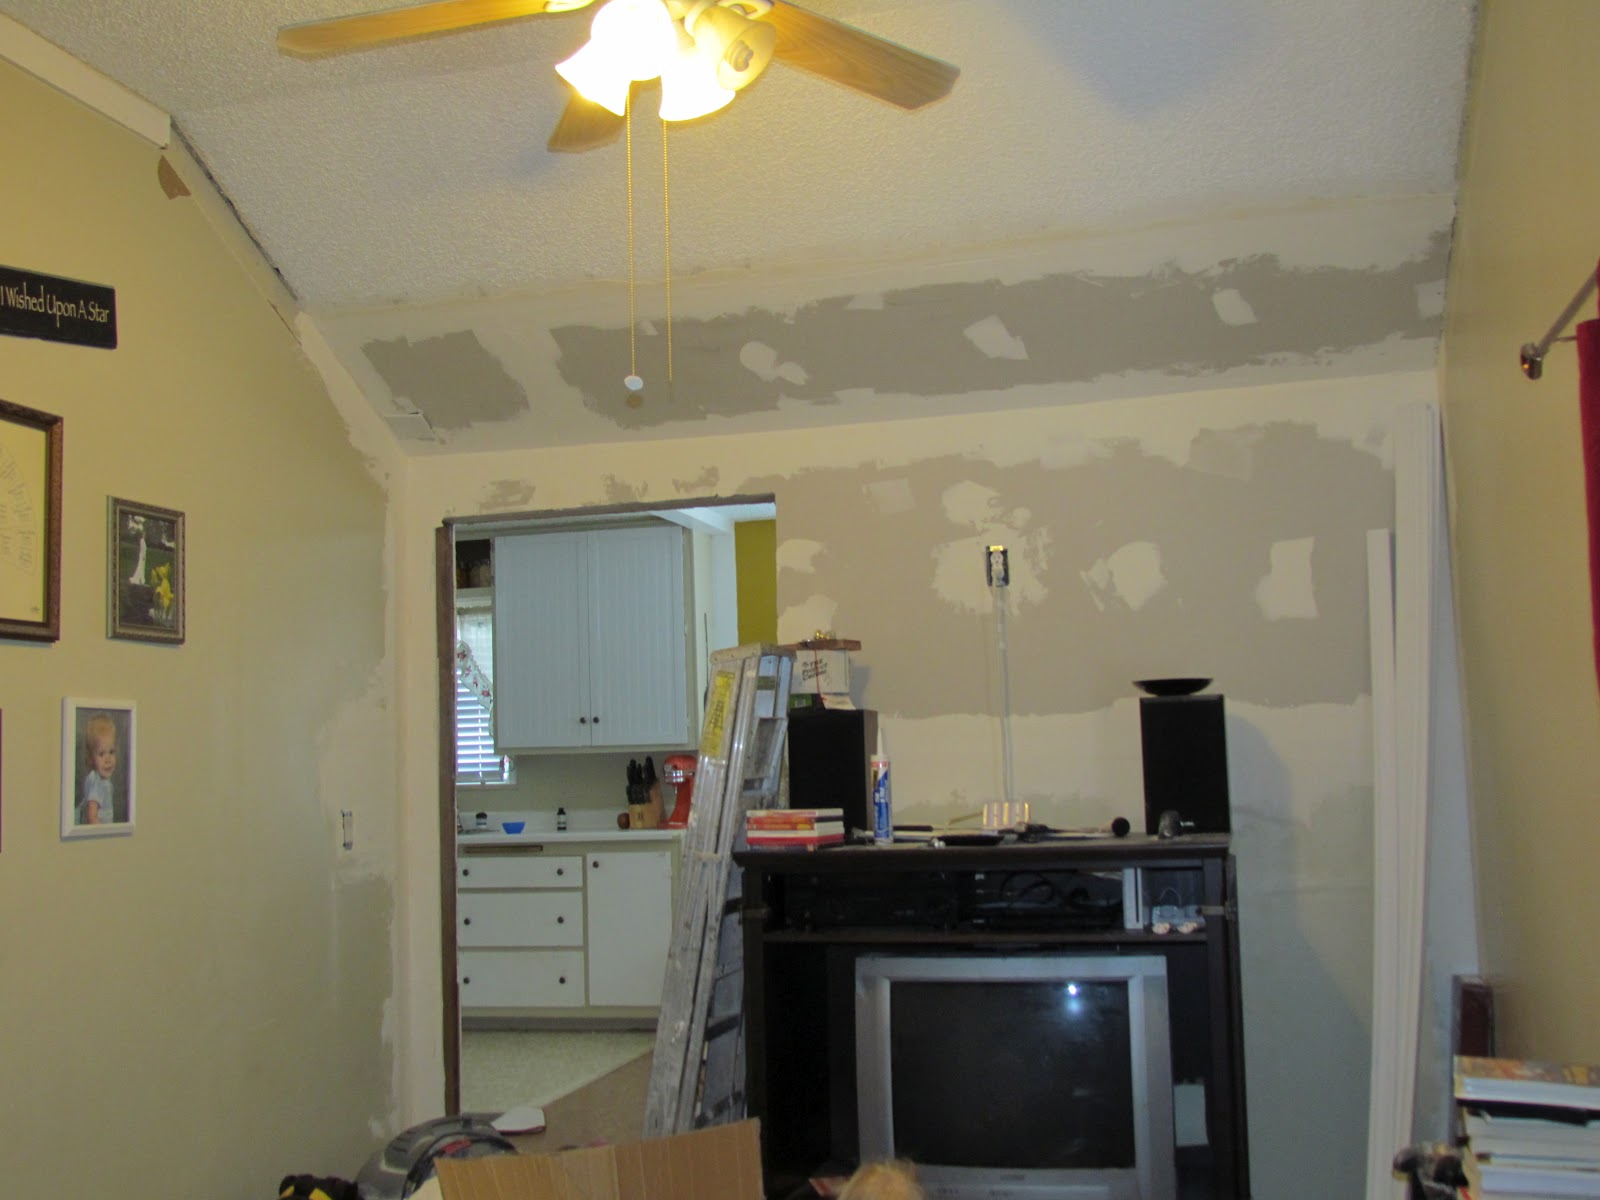
Front Room
– Retrim doorway
– Repaint
– fill screw holes
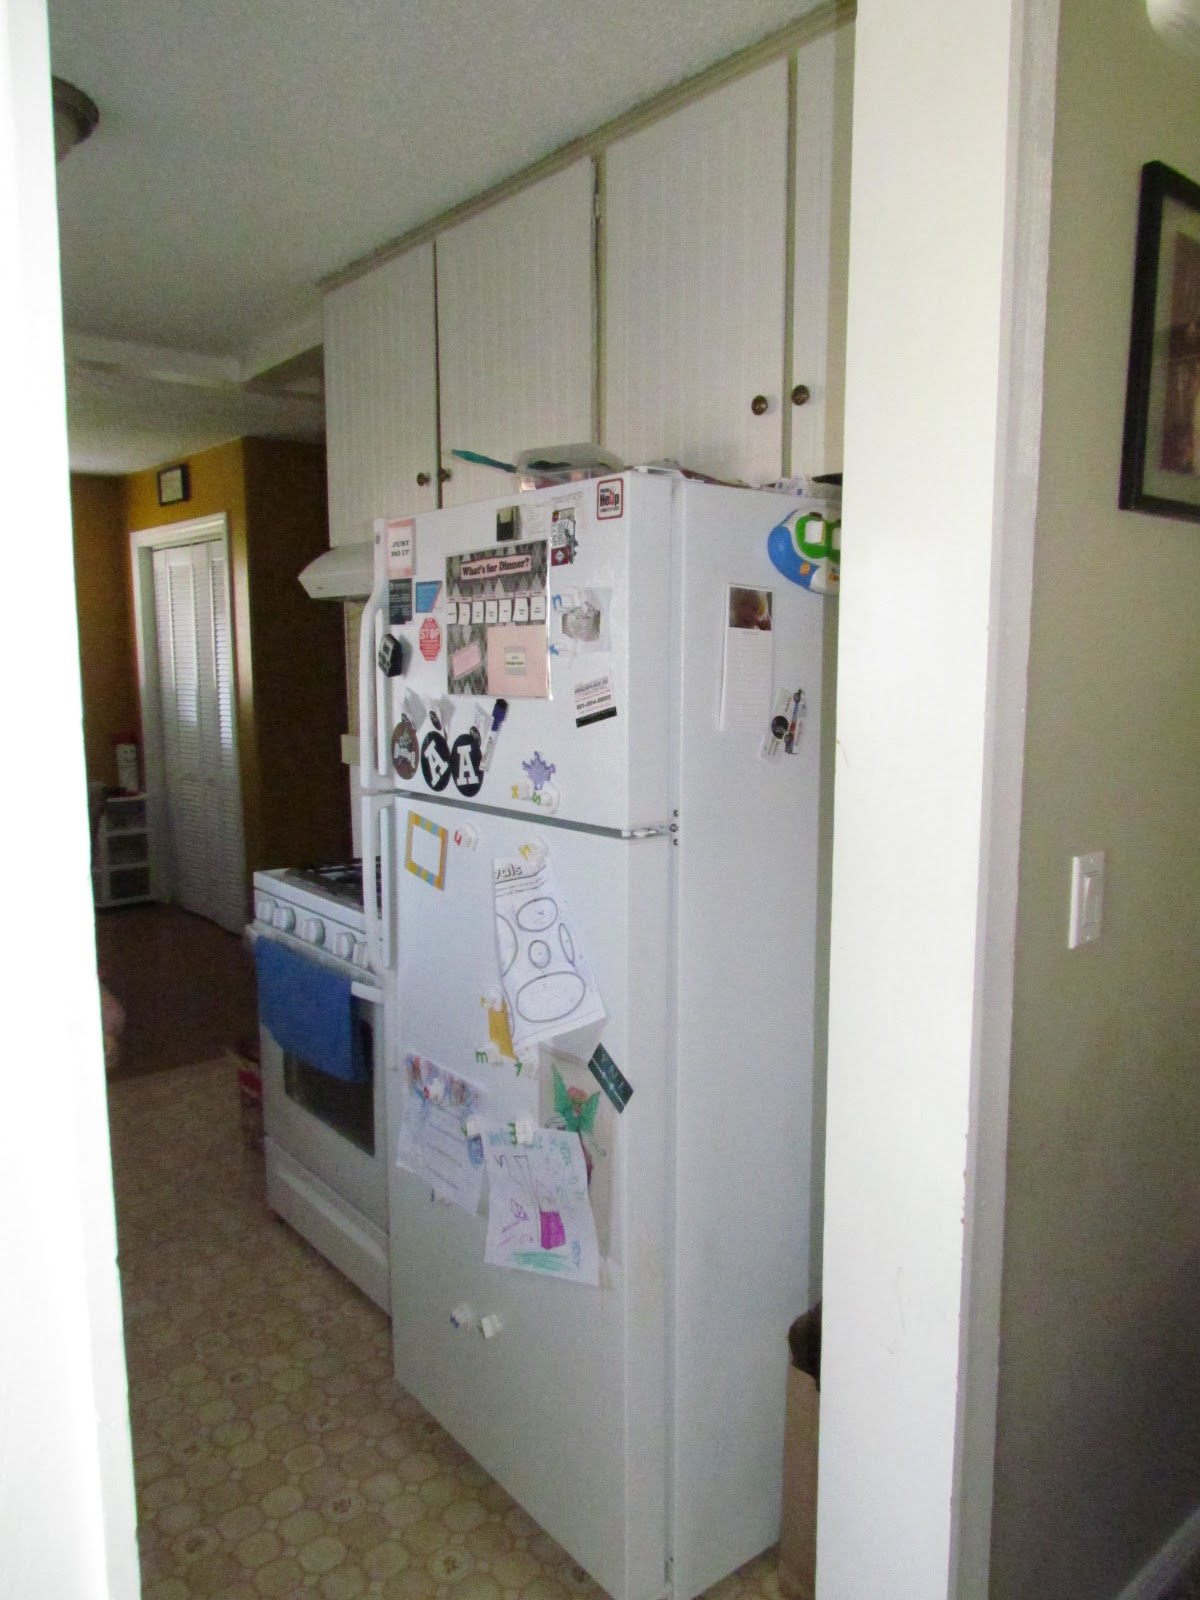
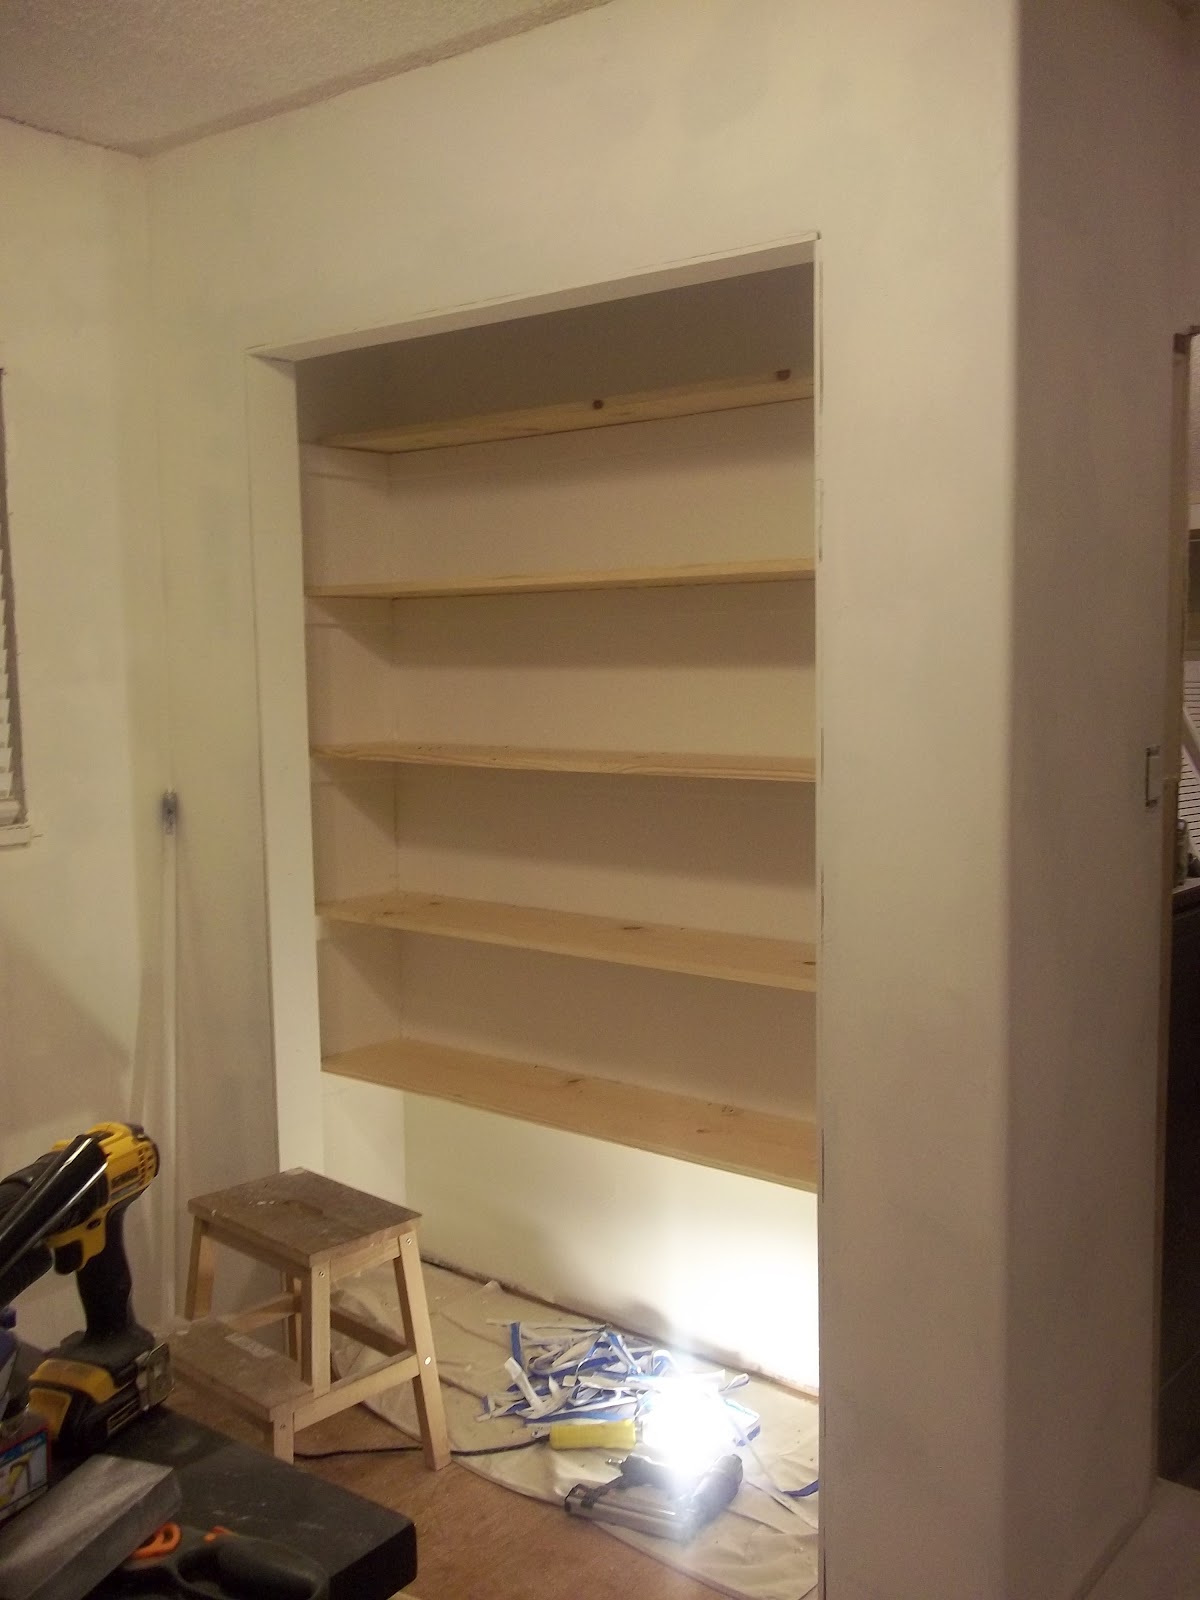
Kitchen
– Touch up paint around window and ceiling
– Spacer between cupboard and wall
– Ceilling edge above stove
– Caulk around attic entrance
– Conceal the back of the cupboard showing
– Trim around pantry doors
– Sand, caulk and paint trim
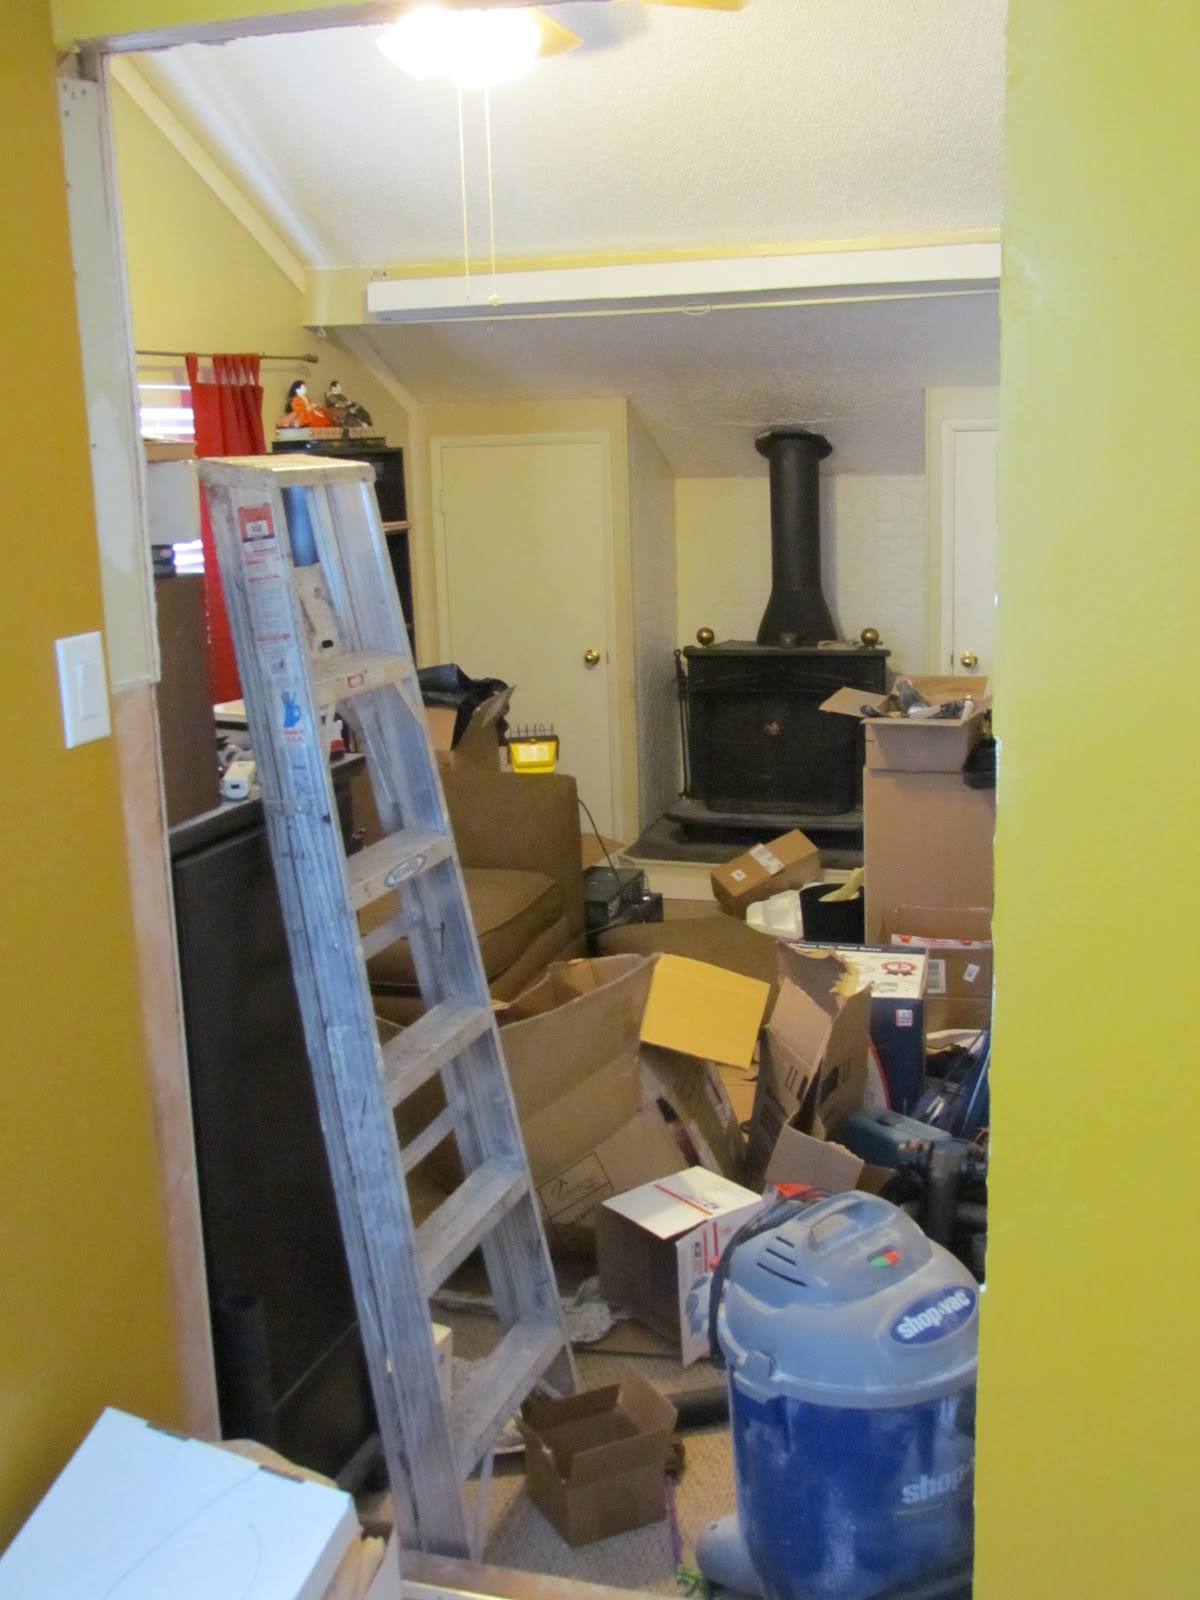
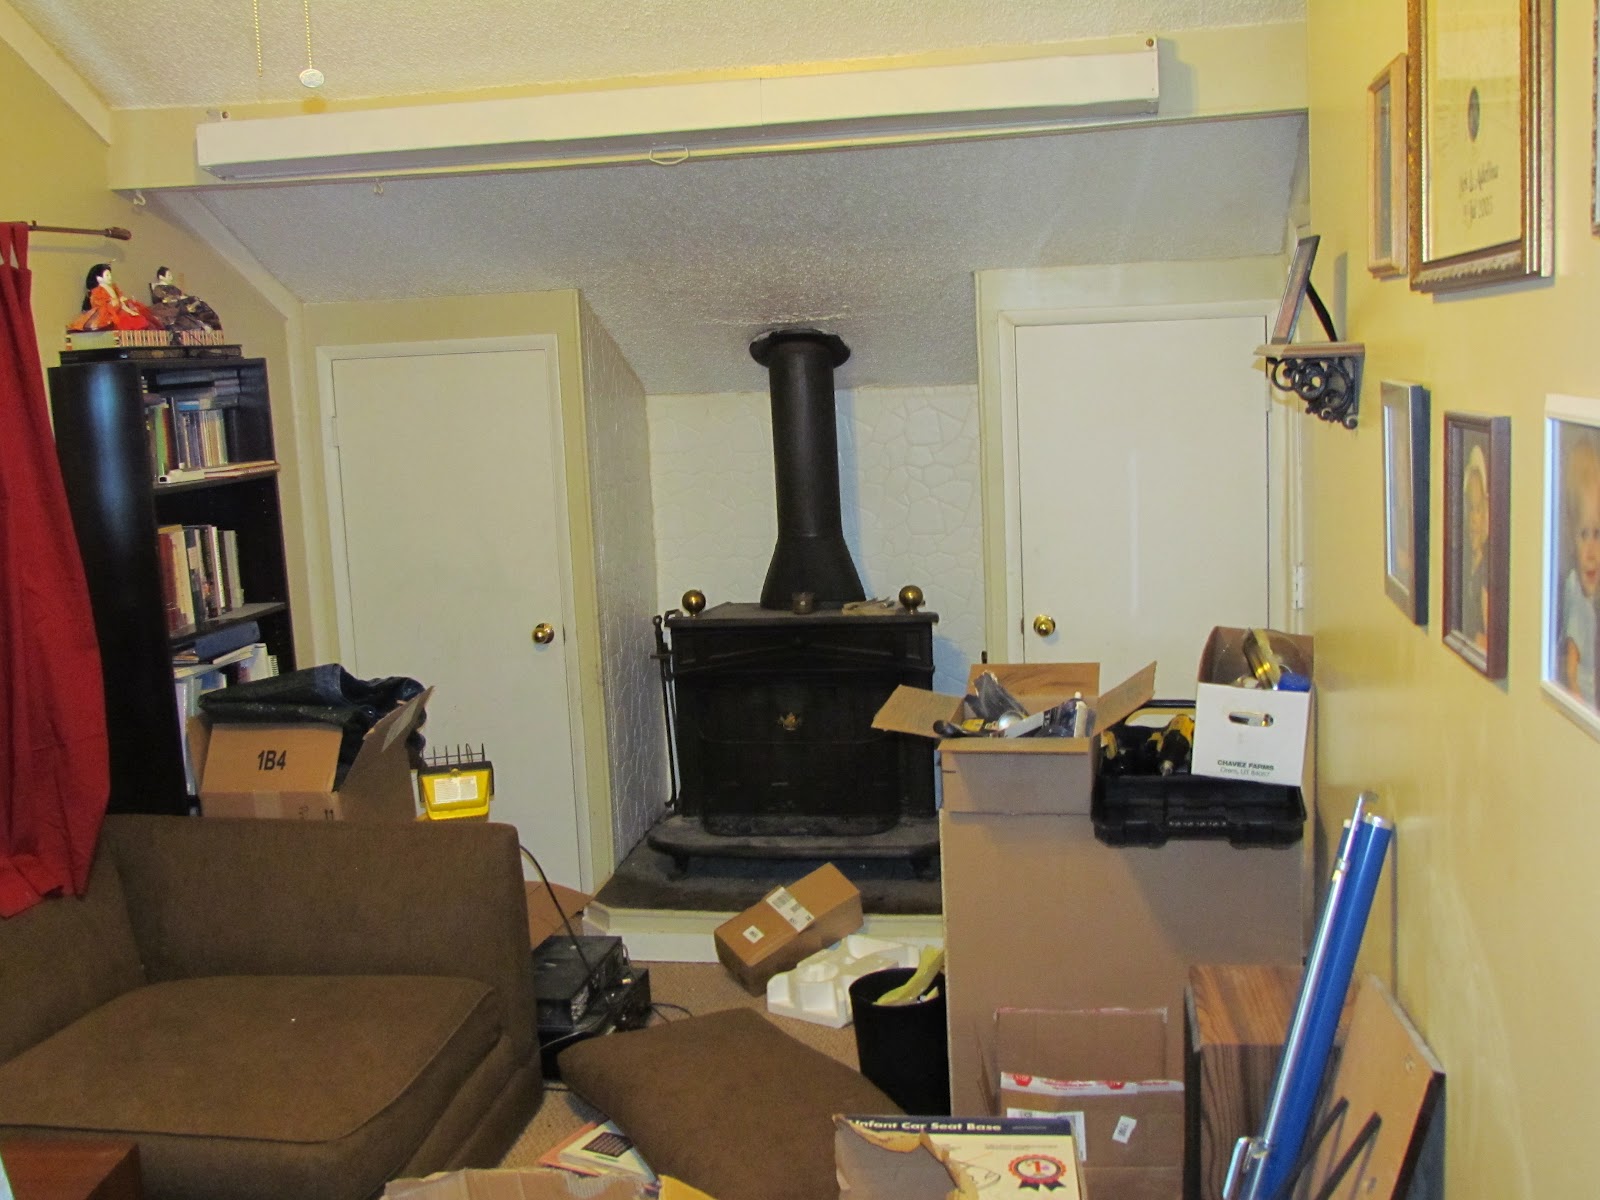
Family Room
– Paint trim and ceiling
– Paint fireplace top piece
– clean paint off doorknobs
Stairway
– fill cracks
– paint
– clean doorknob
– Stain hand rail
After you’ve gone through the inside of your home, take a walk around the outside. List any repairs. Make sure the sprinklers are working, the lawn is trim, and weeds are pulled. As a buyer, the lawn is the first thing we see. Make it look good, but don’t invest too much money into it. I enjoy having a lawn to make my own, rather then redo what the previous owner had done. I would say stick to daily upkeep of the yard, and don’t try and do any large projects unless it really needs it.