Tag: decorations

  • Simple Wedding

    Simple Wedding

    Mark’s sister got married last night, and I had the wonderful privilege to help her get it all ready, and take some of the stress off her. They wanted to keep it very simple, with just close family and friends. We still had close to 100 people come to celebrate the joining of two wonderful families.
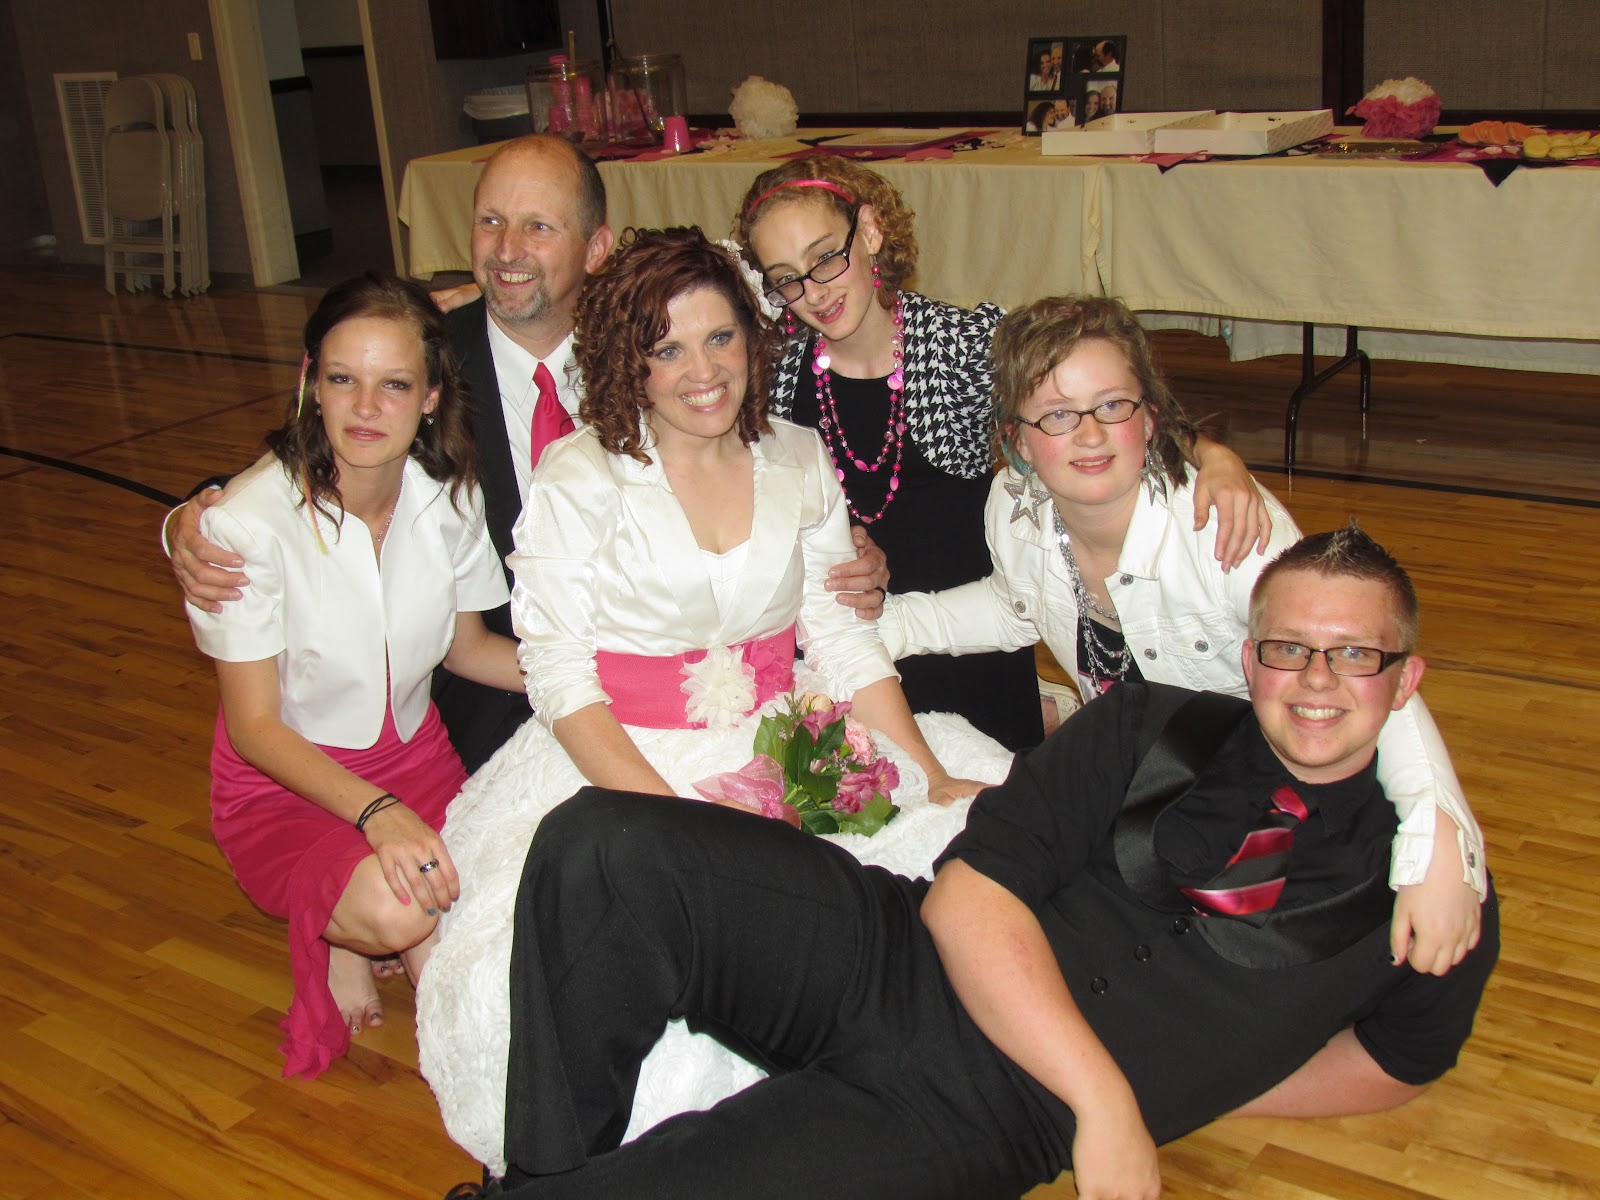
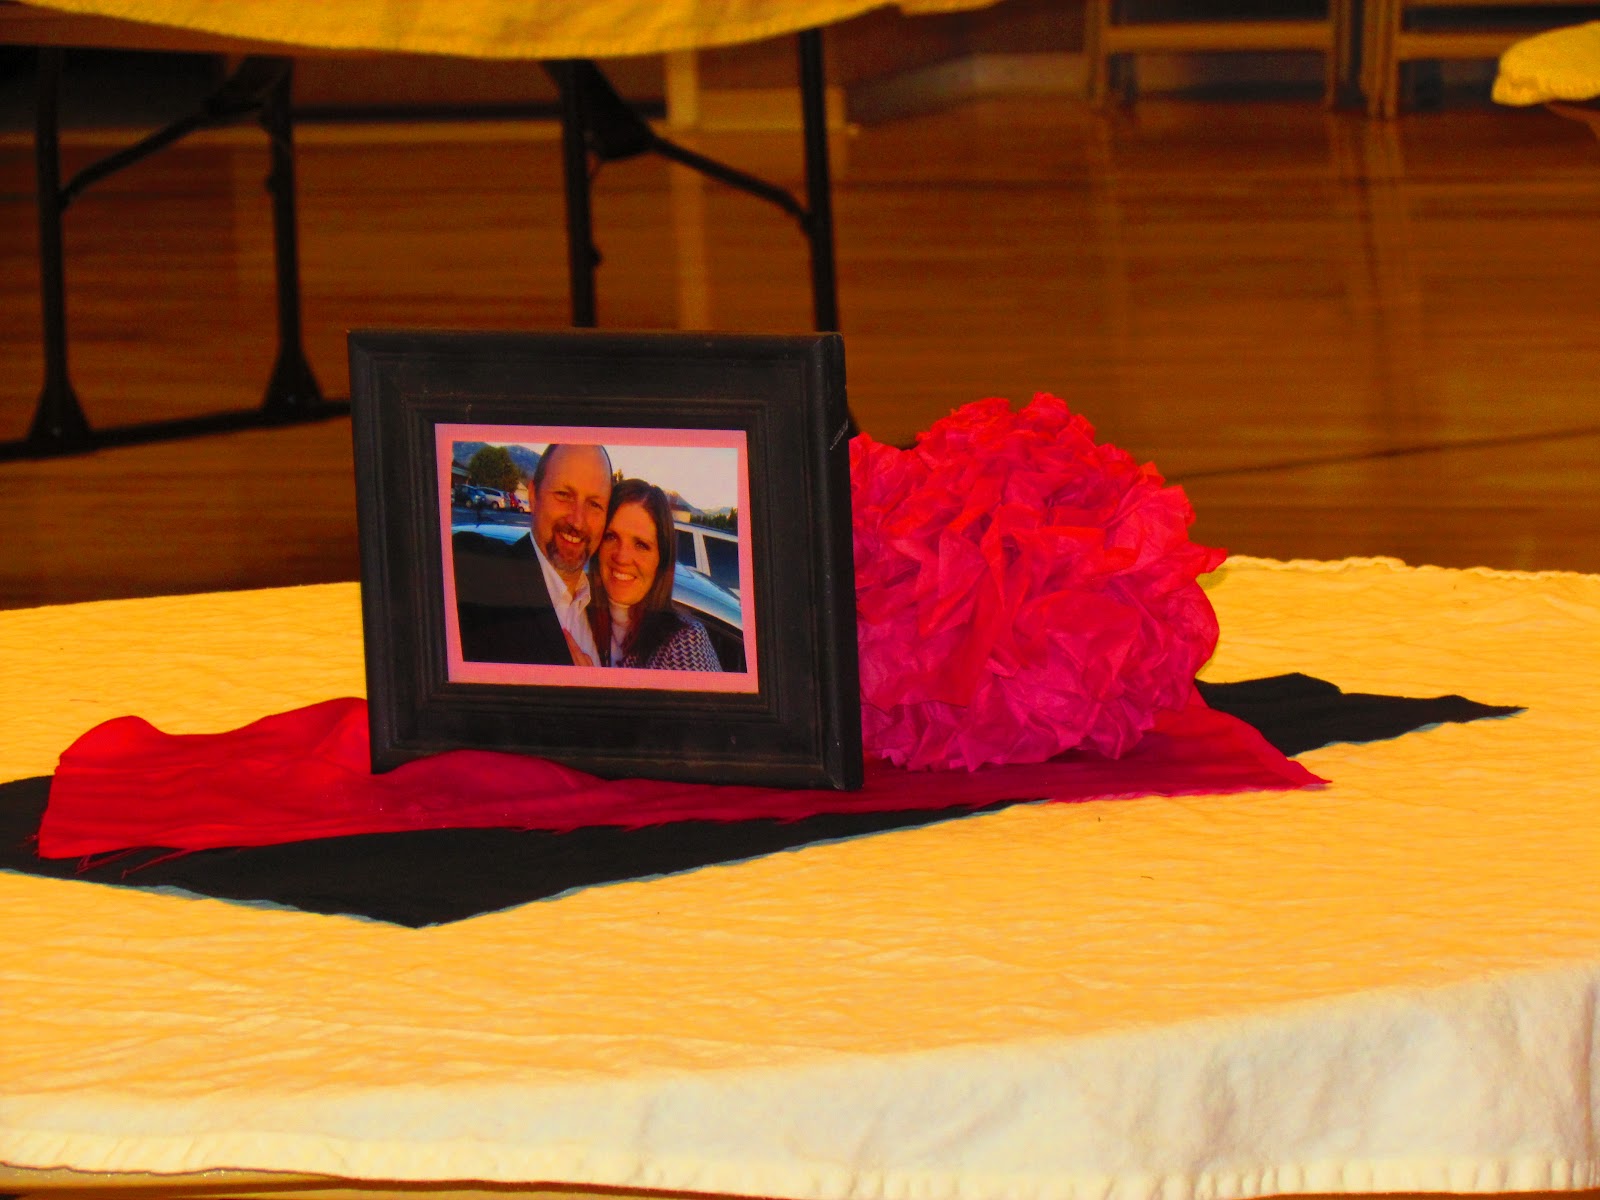
    Aren’t they cute?  My kids absolutely love their new Uncle J.
    Once they had a date set, Marie (the bride) asked me to organize the cake, and decorating. I was thrilled! Honestly if I could, I would be a wedding planner. Definitely one of those dream jobs.
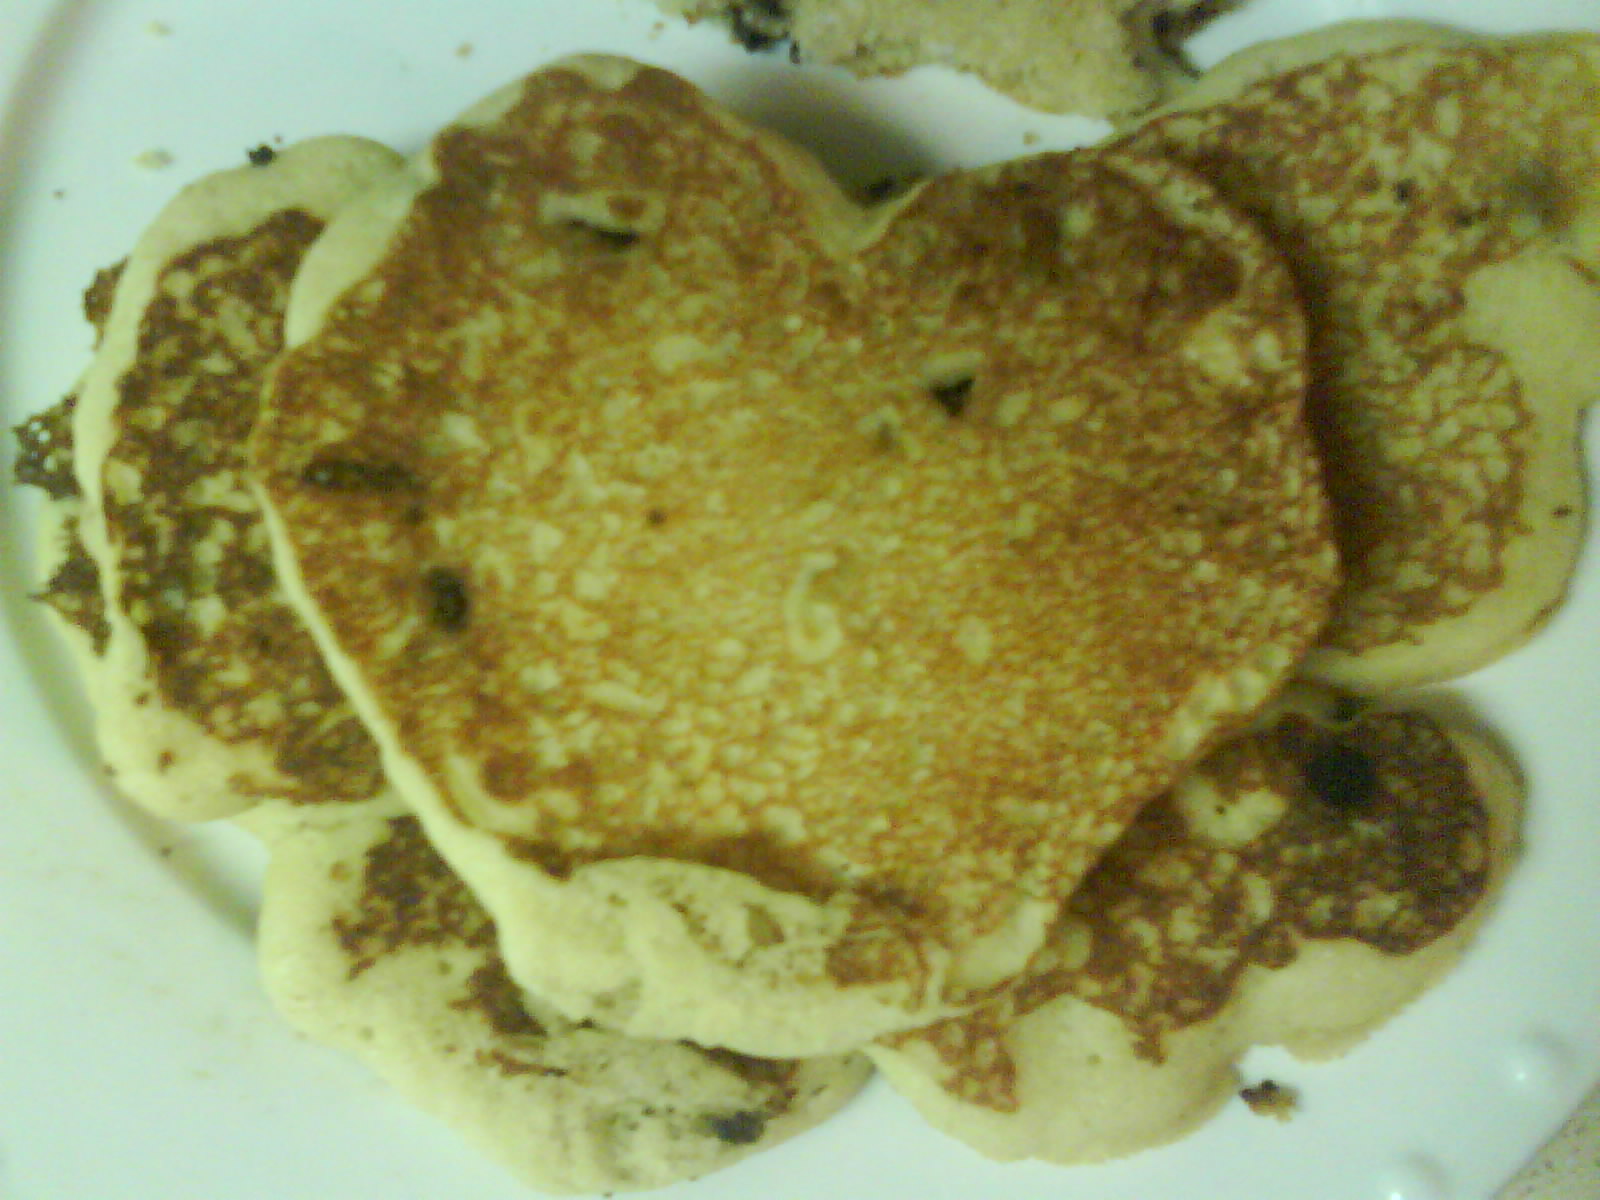
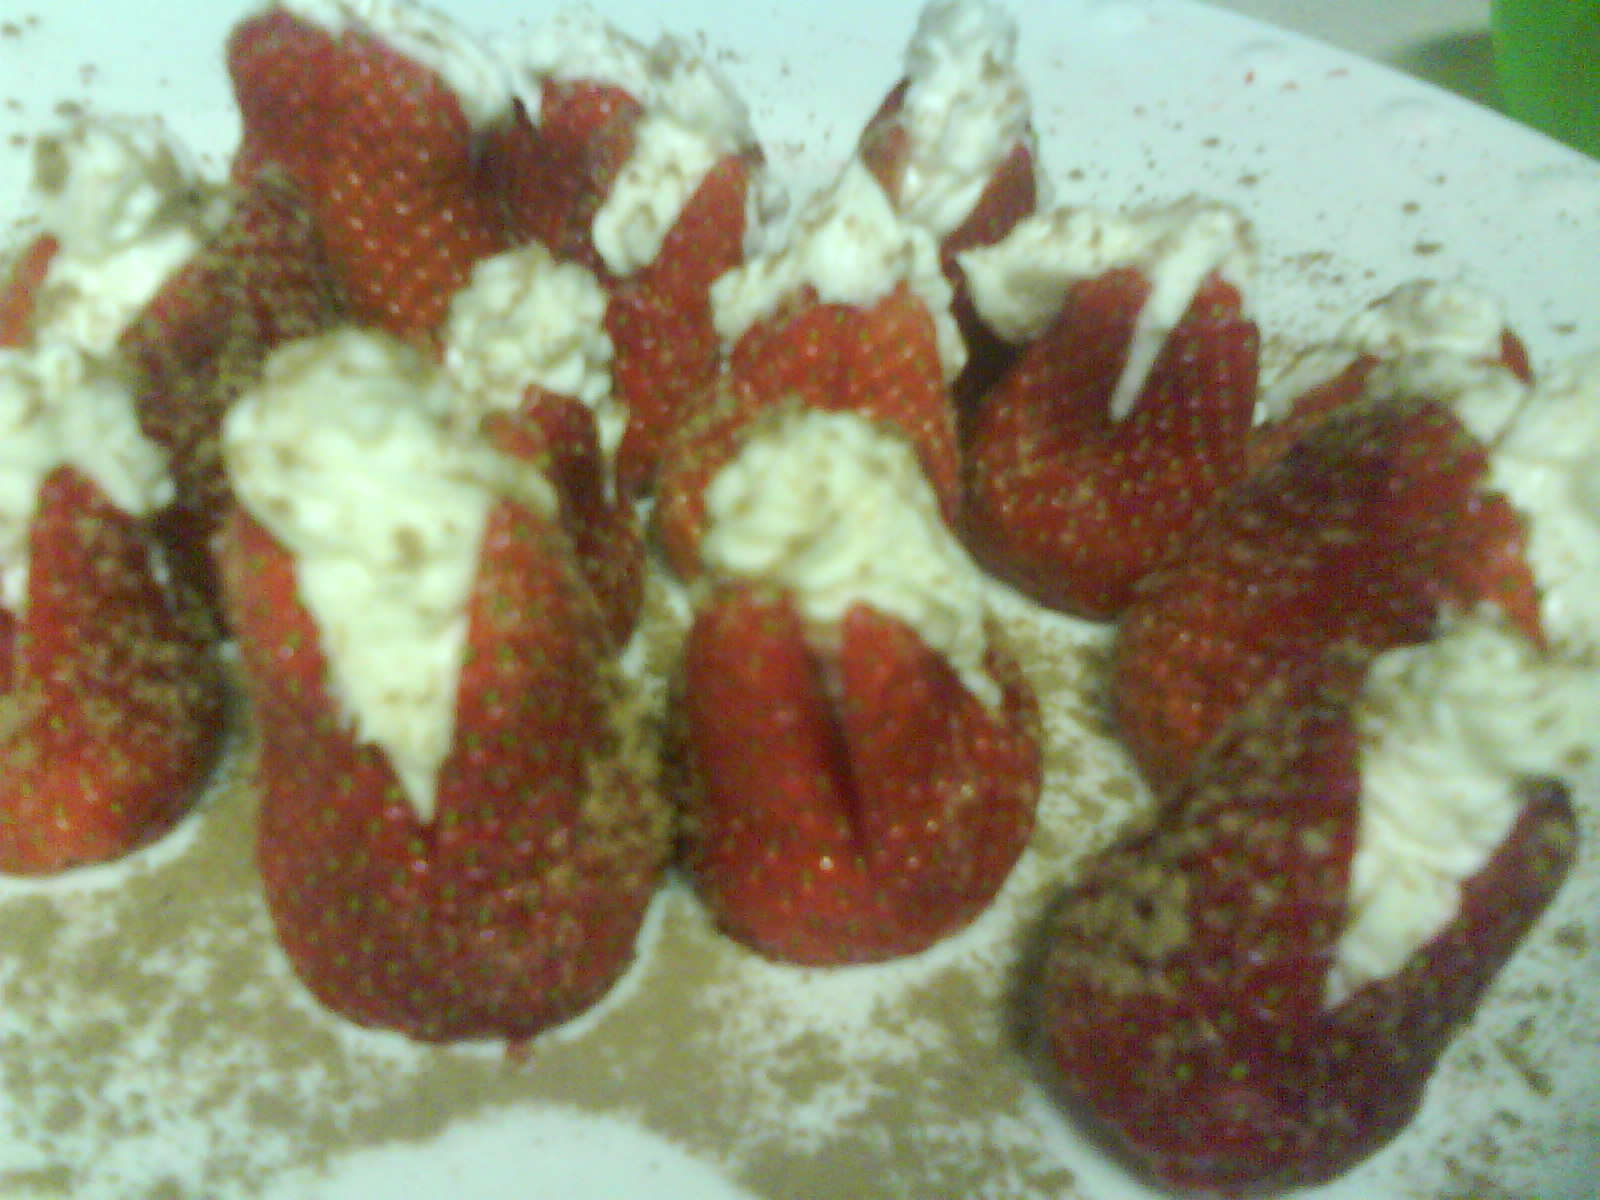
    The first order of business was the cake. I knew once we had the cake taken care of, the rest would fall into place. We knew we wanted their cousins wife, blogger at Elle’s Belle’s, to make the cake.  We messaged back and forth over facebook to plan the whole thing.  It turned out absolutely beautiful and yummy!
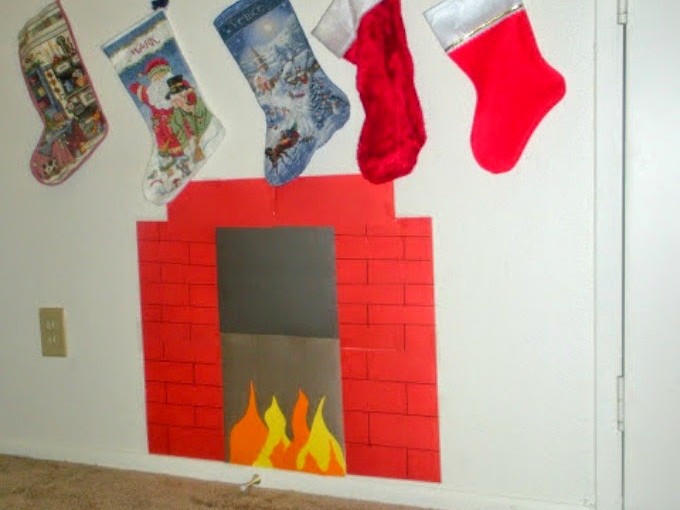
    Once that was taken care of, I was able to think about decorations. The church was providing cream table cloths, and Marie’s favorite color is pink, so they decided their colors would be Pink, Cream and Black.
    We cut black and pink fabric into squares to lay on top of the tables, and then added some pink and black picture frames.  I spent the morning of the wedding, creating tissue paper pom poms.
    Aren’t these girls cute?
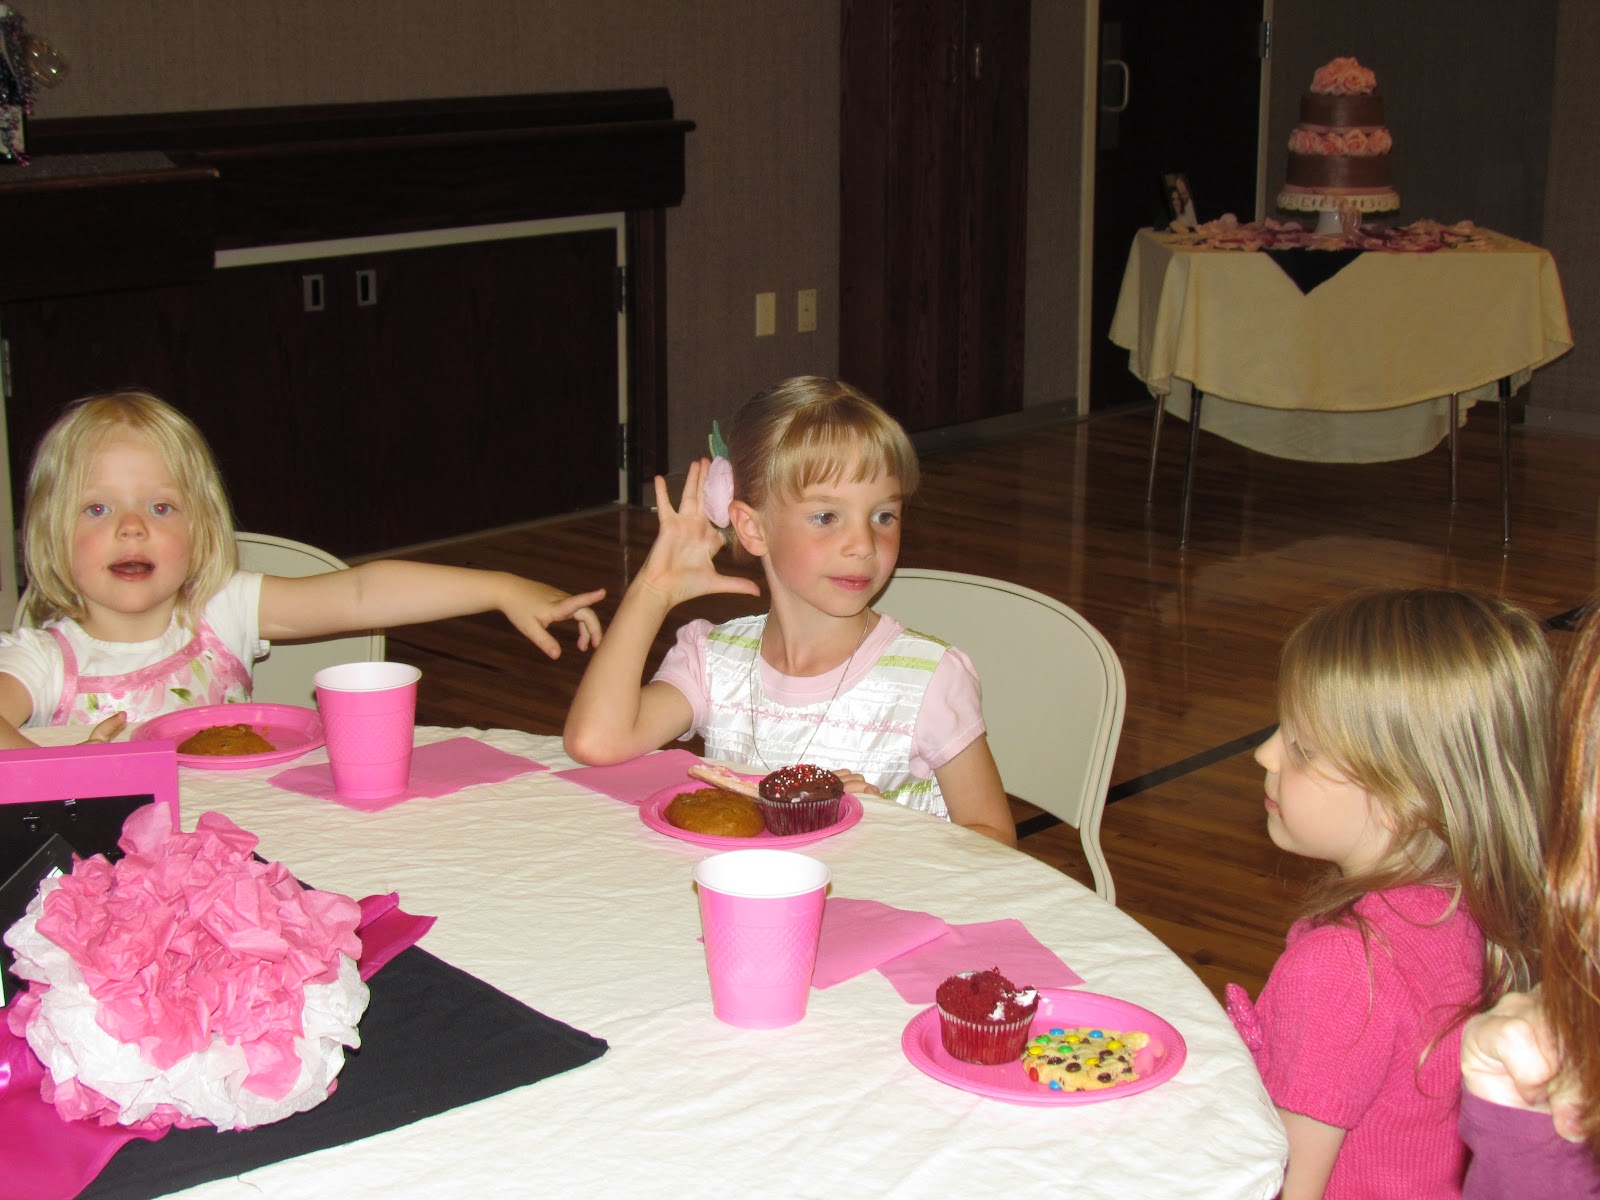
    They really liked the paper pom poms. Two of my princesses and their princess cousin.
    
  • Merry Christmas!

    Merry Christmas!

    Merry Christmas
    From my Home to Yours
    I hope you all enjoy this wonderful day of peace and love with your families
    As we celebrate the birth of our Saviour.
    
  • Scrapbooking Photo Craft

    Another pinterest inspired craft! 
    This pin
    Led me to create this!
    It’s been awhile since I’ve pulled out my scrapbooking supplies. I’ve got boxes of paper, stickers and embelishments, I just rarely find the time or the right inspiration to use them.  I’m really pleased with the outcome of this display, and will enjoy putting it out each year. 
    Today I’m linking up to this great blog!
  • Menu Plan Monday 12/12

    Menu Plan Monday 12/12

    What’s on your menu this week? 
    I know I don’t always follow my menu’s, but sitting down at the beginning of the week to plan everything out, really makes dinner time more pleasasnt (even if it’s not what was planned).
    Monday – Tuna Helper
    Tuesday – Salsa Chicken over rice
    Wednesday – Cheesy Potato Soup in Bread Bowls
    Thursday – eating out
    Friday – Dijon Chicken Noodle Toss
    Saturday – leftovers
    I’ll probably be doing a lot of baking this week as well. I need to figure out what to take our neighbors when we go caroling, and I’m in the mood to have some sweets around the house too.
    Yesterday I kicked off my sweet tooth by baking these delicious Strawberry Cheesecake Santa Hats with the Princesses
    Strawberry Cheesecake Santa Hats
    Ingredients
    8oz cream cheese
    4 TBS powdered sugar
    1 tsp vanilla extract
    vanilla wafers
    1 pound strawberries
    Directions
    Mix the first 3 ingredients together until well blended.  Wash the strawberries. Cut off their tops, and hollow a little out of the inside (for extra cheesey goodness!).  Arrange the wafers on a plate, and pipe some frosting around the edge. Then pipe some frosting inside the strawberries, and stick to a wafer. Add a little frosting to make a pom pom hat.  Then enjoy!!
    I got this idea from this site. 
    Oh and I’ve added a little Christmas decoration to my kitchen as well. While out visiting teaching this morning, one of the sisters gave me this present. I absolutely love it, and am thinking of making some more for every season and holiday!
  • Wooden Snowmen

    Wooden Snowmen

    Way back in June, I got inspired by Krystal at Sassy Sanctuary (she always inspires me really), to make this adorable Uncle Sam porch decor.

    Mark had bought some wood to make dice for his class, and had a little extra. So I decided to improvise my own version of Uncle Sam, making it much simpler, with items I had on hand. Well, June turned into July, which turned into August and September, October, November and finally December.  I still had the wood block Mark cut me, but they hadn’t even been sanded yet!
    Well Saturday, Mark was outside fixing our fence from a crazy hurricane level windstorm we had last week. Since he already had his tools out, I asked if he would sand my blocks (cause face it, using a big electric sander got the job done a lot faster than by hand!)  Finally I was ready to use these blocks, but I decided it was too cold for Uncle Sam. Instead they turned into some cute Snowmen!
    Aren’t they just adorable?! It was so easy to make too!
    A fun little fact, I made these today while my friend Krystal was over doing some crafty stuff as well. This Krystal is not however the same Krystal from Sassy Sanctuary. But I sure appreciate both of them for inspiring me, and helping me create some really fun winter decorations! I bounced a lot of the little details off Krystal, because sometimes I just guess, and what I picture in my head, does not come out how I would’ve liked!
  • Decorating for Halloween

    Decorating for Halloween

    I did, I (er Mark) finally got our Halloween decorations out of storage. I don’t know why I didn’t do it when I pulled out fall stuff out.  But that’s ok, because it’s out now!  We only have a few things left to do this week – find/make a large spider for our spider web, and get pumpkins for painting and carving!

    Easy to make porch spider web, and cheap too! I just pulled out our black yarn and started wrapping it around! Princess V helped with the scissors

    Yes it’s a bit small for the door, but I like it.  ~Spooky~

    These gourd I won over at Gingerbread and Snowflakes. The requirement though was that I try my hand at this artsy technique.  I colored the both with colored pencils (it was all I had!). Then paint over them with black acrylic paint. Finally using toothpicks scratch out a design. My art skills are lacking, but the Princesses though they were pretty cool and can tell that one says Spooky in a spider web and the other is a witch with a boiling cauldron.  The colors from underneath should show through, but mine didn’t turn out so great. It’s definitley a technique I want to continue playing around with though!

    My awesome happy Halloween blocks I won from Cafemom!

    Last but not least is our haunted house. It’s actualy a music box, but it doesn’t work. This item I got for FREE from a yard sale a couple years. One of these days I may try and fix the music box, but for now the Princesses enjoy spinning the top wheel and watching the witch zoom around in circles.
  • Valentines Day

    Valentines Day

    I know it’s been awhile since posting, and this one is a bit late.  But I wanted to share our Valentines decorations with you.  They were so simple and quick to create!

    I got this awesome free printable from eighteen25.  Eventually mine will be framed nicely like theirs, but for our  simple needs this year, I used some craft glue and recycled a cardboard box.  The hearts we painted a couple years with the girls, one is missing because it got colored on with pen.  
    Then with the girls help we cut out some hearts, and strung them on some pink heart ribbon and hung it in the hall. 
    We had a really fun valentines day with lots of yummy food.
    Heart shaped chocolate chip pancakes for breakfast.
     Cream cheese stuffed strawberries for dessert
    And the husband and I ended the night with Sparkling Cider, bread and cheese.
    Every year the hubby buys his girls flowers.  I love that we have 3 sweet little girls for him to show his love to, along with me!
    Mine are the yellow roses.  The girls got the lilies.
    For my knight in shining armor we got him all his favorites.  Starting with favorite dinner – meatloaf, mashed potatoes and carrots (cut like hearts!).  Here’s the rest of his favorites
    Mini pepsi’s to fit in his work fridge, Reeses Peanut Butter cups, a movie, and chalkboard paint. Ok chalkboard paint doesn’t really fit in the favorites theme, but it was something he wanted.  I told him it would have to wait, because it wasn’t needed and we’re trying to buy a home.  Well, wasn’t he nicely surprised!
  • The Stockings Were Hung – DIY Cardstock Chimney

    The Stockings Were Hung – DIY Cardstock Chimney

    When you live in an apartment, or even a home for that matter, without a chimney – it’s pretty simple to DIY it for the holidays. 
     
    We have lots of little kids, but back when we only had three girls – all under 4 – it seemed important to have a place for Santa Claus to get inside. Thanks to popular rhymes and stories, Santa NEEDS a chimney. 
     
    This DIY Cardstock Chimney is so easy, anyone could come up with it on their own. This is more to show you how we brought the magic of Christmas alive, despite our modest living conditions at the times.
     
     
    Our 2010 cardstock Chimney
    A little card stock, marker, and creativity can go a long way!
     
    What you’ll need for your DIY Cardstock Chimney:
    Cardstock – red, orange, yellow, black
    Black permanent marker
     
    On the red cardstock, draw lines to create bricks. Tape the Black Cardstock to your wall. Fit read brick cardstock around the black.
    Cut flames out of orange and yellow cardstock. Attach to the black. 
     
    Hang your stockings with care and wait for St Nicholas to appear. 
     
    The tradition has lived on, and in 2018 Rosalina took it upon herself to turn our Piano into the chimney.She even included the logs and a few presents on the side. 
     
    Modest homes can still have Christmas magic with a DIY cardstock chimney. Our 2018 DIY chimney was made by 7-year-old Rosalina.