
DIY Quick Window Defroster and Other Winter Car Tips
With winter upon us, and many places covered in snow already, I felt today would be a good time to share a tip on how to keep ice off your car windows, without freezing your hands off. Check out this DIY window defroster I found on Pinterest! This post contains affiliate links and I will […]
Read More

DIY Snowman Blocks
These Snowman Blocks were made possible by Dixie Belle Paints. All opinions are my own. Simple and quick to make, these Snowman Blocks add the perfect decor to your front porch during the winter season. Especially if you’re lacking in the actual snow. I actually made these Snowman blocks five years ago with a friend, […]
Read More
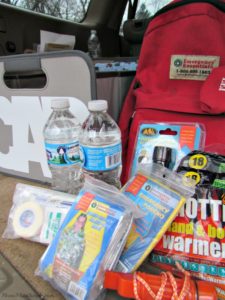
Winter Car Emergency Kit
This winter car emergency kit has been made possible by meori. All thoughts and opinions are 100% my own. With winter, comes the potential for an emergency situation where you are stuck in the car. From minor accidents like fender benders to larger ones such as sliding off a slippery road and getting stuck in a snowdrift. […]
Read More
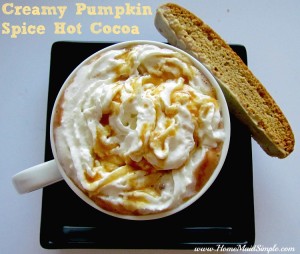
Creamy Pumpkin Spice Hot Cocoa
Creamy Milk Chocolate combined with Pumpkin Spice make the perfect mug of Hot Cocoa to warm up with this season. I’m sitting on the couch right now, watching my son play Just Dance, and notice that it appears to be half snowing half raining outside. I start to feel the chill in my bones that […]
Read More
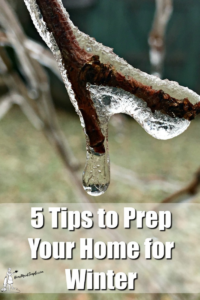
5 Tips to Prep Your Home for Winter
Before winter hits, there are some things you should do to prepare your home and family for the colder weather. These 5 tips will guide you through some simple steps any home owner can take. From keeping the pipes from freezing, to removing unneeded clutter, I hope some of these will help you have a […]
Read More
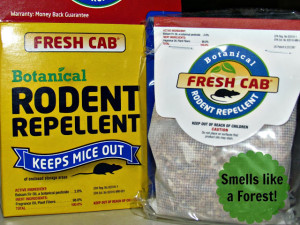
Keep Mice out!
*This post is sponsored by Fresh Cab. All opinions are my own* There once was a grasshopper who didn’t save food for the winter. When the cold weather set in, he looked to the ants for food and shelter. What does that have to do with mice you may ask? Well, the weather […]
Read More

Wooden Snowmen
Way back in June, I got inspired by Krystal at Sassy Sanctuary (she always inspires me really), to make this adorable Uncle Sam porch decor. Mark had bought some wood to make dice for his class, and had a little extra. So I decided to improvise my own version of Uncle Sam, making it much […]
Read More