The information and coupons have been provided by Nature’s Harvest® so that I could try the product and share my thoughts and information about Nature’s Harvest® bread. The opinions expressed in this post are my own and do not reflect the opinions of Nature’s Harvest®.

Did you know that it’s recommended adults eat 48 grams of whole grain a day, and kids should be getting a minimum of 40-48 grams? I didn’t, and when I first read that I thought “gosh that’s a lot of whole grains daily!”.
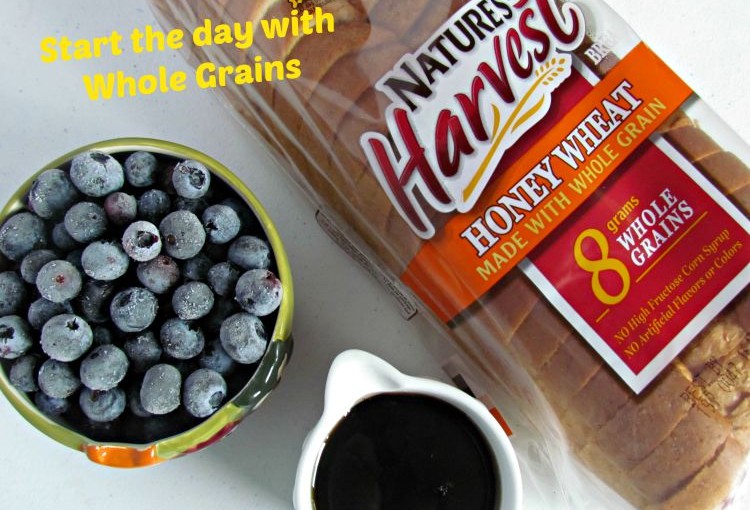
I started reading my food labels more to see just how many of those whole grains I was consuming, and turns out I’m doing pretty good. Thanks to a few good choices of cereal, and Nature’s Harvest® bread, I get a fair amount of Whole Grains into my diet. With at least 8 grams of whole grains baked into every serving, Nature’s Harvest® makes it easy to incorporate into our diets.
I went through a phase in middle school, where toast was all I wanted for breakfast every single morning. It’s not the most filling choice, but it was quick and easy. I still love toast, but as an adult I know the importance of a balanced meal – especially in the morning. This Almond Blueberry French Toast has everything to start your mornings off right.
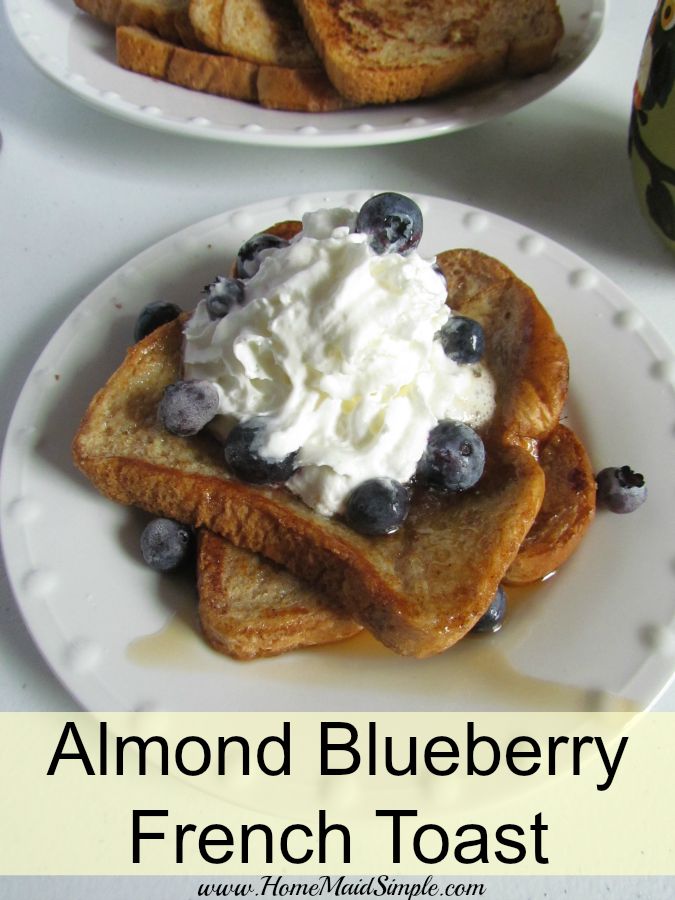
Almond Blueberry French Toast
2015-11-11 13:18:20
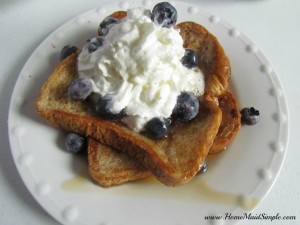
Almond and Blueberries give French Toast a light flavor that’s perfect for the mornings.
Ingredients
- 12 slices Nature’s Harvest® bread
- 2 eggs
- 2 cups milk
- 1 tsp Almond extract
- 1 Tbs sugar
- 1 Tbs ground cinnamon
- fresh or frozen blueberries
- whipped cream
- maple syrup
Instructions
- Preheat a skillet over medium-low heat.
- Whip eggs, milk, almond, sugar and cinnamon together in a shallow dish.
- Dip bread in mixture and place on skillet. Cook until browned, flip and continue cooking until browned.
- Serve with whipped cream, blueberries, and syrup.
Home Maid Simple https://www.homemaidsimple.com/
Try any one of these varieties of Nature’s Harvest®
- Nature’s Harvest® 100% Stone Ground Whole Wheat Bread
- Nature’s Harvest® Honey Wheat Made with Whole Grain Bread
- Nature’s Harvest® Butter Top Made With Whole Grain White Bread
- Nature’s Harvest® Butter Top Made with Whole Grain Wheat Bread

The Challenge
Nature’s Harvest® bread is baked with at least 8 grams of whole grains per serving. Nature’s Harvest® 100% Stone Ground Whole Wheat Bread has 25 grams whole grains per serving (and is what I used for the French Toast)! That’s a fantastic amount to start your day with. Natures Harvest® wants to help moms feed their families 48grams of whole grains daily, so has put forth the Whole Grain Challenge. From now until August 13th, you can enter to win weekly prizes just by taking the challenge to feed your family whole grains!
You can find more information on Whole Grains, get tips, and recipes by visiting Nature’s Harvest® online.
The Giveaway
CLOSED
In addition to the weekly prizes you can win from Nature’s Harvest®, I’m also going to give away a $25 visa gift card and 1 $5 coupon for Nature’s Harvest® bread – provided by Natures Harvest®.
enter via the rafflecopter
all entries verified
open to US residents 18+