This has been a very long, very straining week. So I did what I don’t normally do, and made a very easy meal, and am now going to share it with you. Please visit my co-host Diane on her blog Simple Living and Eating, for another great recipe!

Asparagus and Pork Stir Fry
When I’m short on time and ingredients, one thing I can always count on to be in my pantry is a bag of rice. The addition of vegetables, meat, and a bit of soy sauce will always turn out a winner at my house.
Stir Fry is a great way to use up leftover meat as well. In this one, I’ve used pork spareribs, but chicken, beef, and turkey will all work! Of course, if you want to go meatless, that is always an option as well. I often scramble in a few eggs, but again not absolutely needed.
What really makes this dish easy though is the use of frozen vegetables. Admittedly not my favorite way to make stir-fry, but it saves time and comes together quickly when you’ve had a long day.
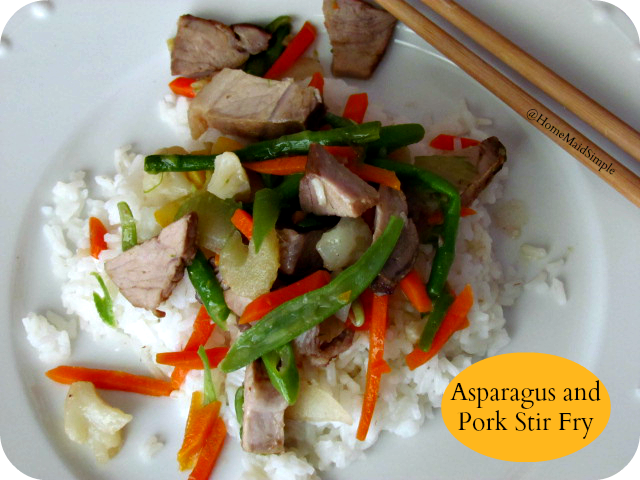
Asparagus and Pork Stir Fry
2018-05-14 11:24:34
Quick and Simple use of leftover Pork
Ingredients
- 2 cups Minute Rice
- 2 cups Water
- 2-3 TBS Olive Oil
- 1 bag Flav-R-pac Asparagus Stir Fry*
- Leftover BBQ Pork Ribs**
- Soy Sauce
- .
Instructions
- In a wok, or large frying pan, heat the oil. Once the oil sizzles with a little water droplet, add the Asparagus Stir Fry mix, and pork.
- While the veggies are cooking, heat the water in a medium saucepan. When it begins to boil, add the rice. Cover, and remove from heat.
- Once the Veggies and meat are heated through, remove from pan. Serve over the rice with a little soy sauce dribbled on.
Notes
- *If you prefer to use fresh veggies, the mix contains asparagus, carrots, celery, green beans, and cauliflower. Julienne the carrots and green beans. Chop the cauliflower and celery into bite size pieces. Cut the Asparagus into long strips, almost like Julienne, but leave the stalk intact.
- **The meat can be left out. I always enjoy a little added meat to our dishes though. For an extra boost of protein instead of meat, you can use some scrambled eggs. They would also be delightful in this dish
Home Maid Simple https://www.homemaidsimple.com/
~FEATURES~
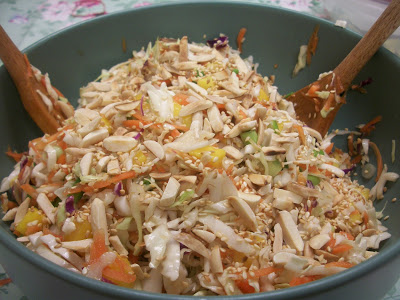
from Cook With Sara
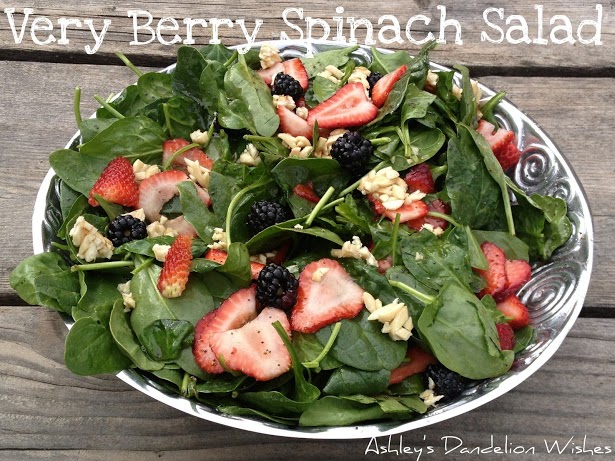
This would be the perfect twist to plain old coleslaw.
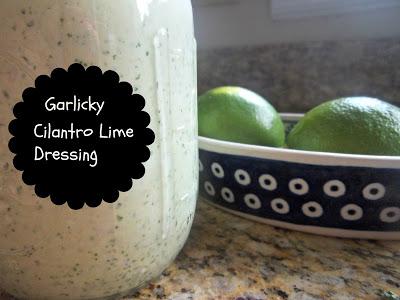
from Peace but not Quiet
This dressing will go well over any of your summer staples – salad, chicken, tacos. Yum!

from Something Sweet Winnie’s Blog
I’m in heaven. These are the perfect treat for a long week.
Did you know? I have a pinterest board dedicated to all the Foodie Friday Features(plus ones I really really like, but didn’t feature).