This shop has been compensated by Collective Bias, Inc. and its advertiser. All opinions are mine alone. #DIYOilChange #CollectiveBias
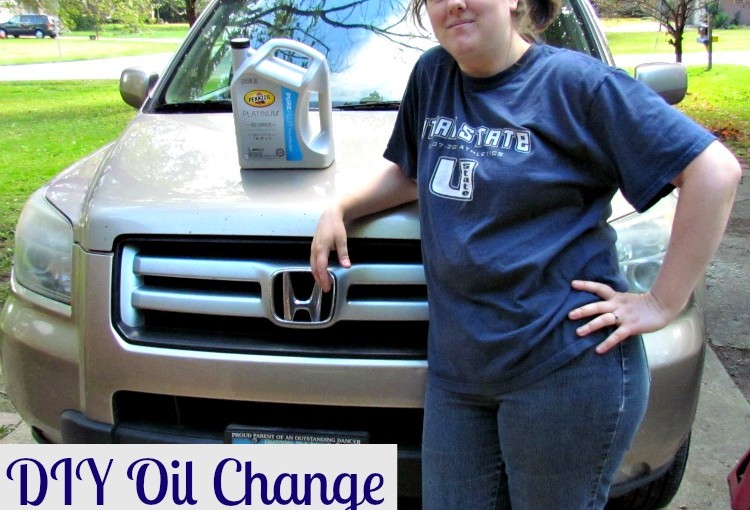
Looking for a really fun date night that will have your man smiling the whole time? What would any guy like more on date night than to do something they enjoy? Last week that’s exactly what we did! I’ve decided it’s high time I learn some more handy skills around the house – like how to change my cars oil.
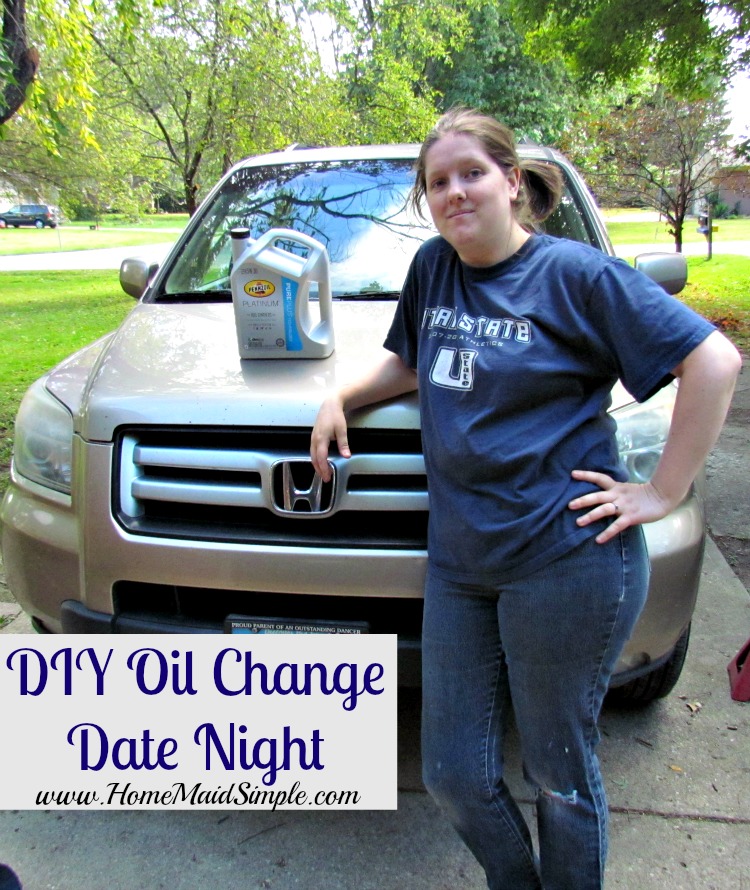
I told Mark I wanted to learn how to change the oil, I could tell he was pretty stoked with the idea. When I came out wearing his shirt and my holey jeans, he was definitely a happy man.
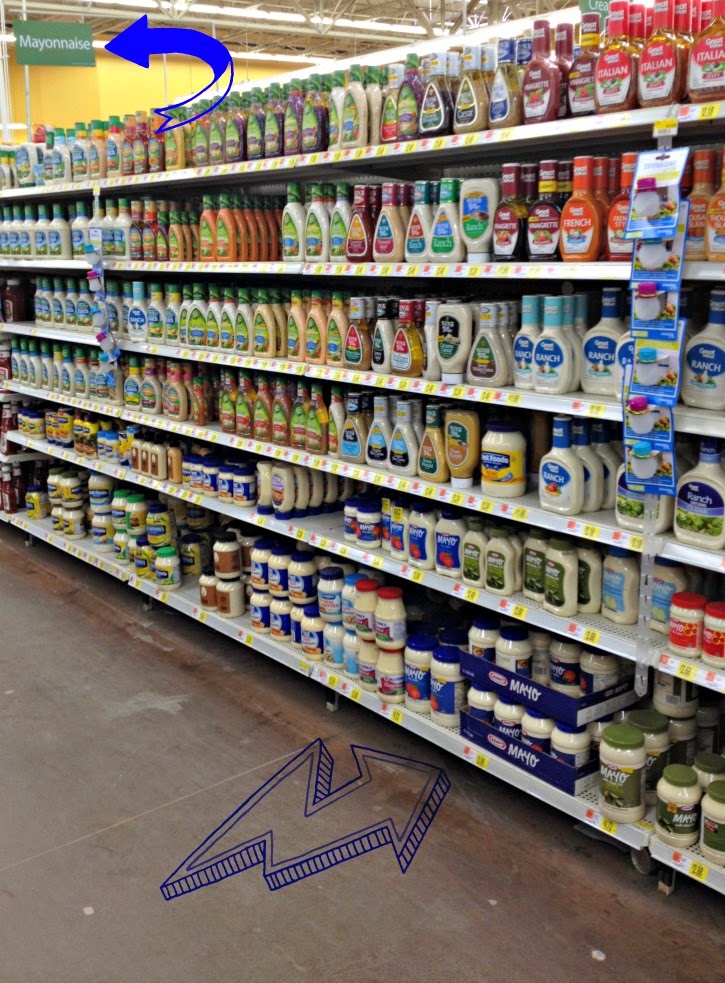
First was a stop at Walmart to pick up everything we needed – namely Pennzoil Platinum Full synthetic motor oil! Along with the new oil we also grabbed an oil catcher, oil filter, and air filter. According to Mark the air filter should be changed with every other oil filter.
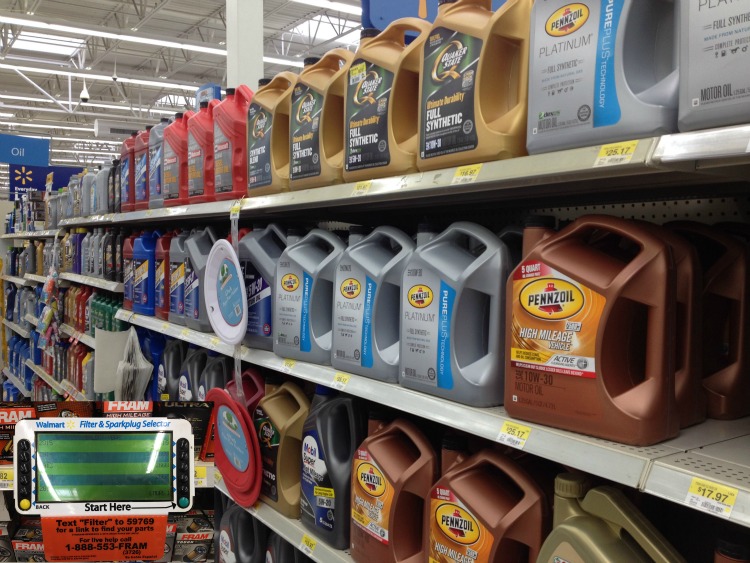
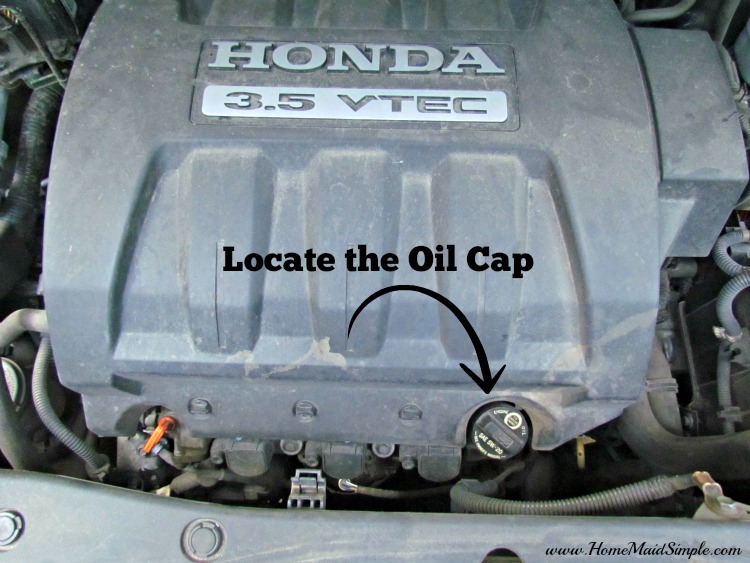
Be sure to check what weight and grade oil your car needs. I would have had no idea to even check that if it weren’t for Mark! You can check your cars manual, or possibly on the oil cap like mine was. Thankfully Walmart has this cool device to find exactly what oil filter you need for your car too.
So let’s get started! Now that I know how to change my cars oil, I’m ready to teach you.

*Please use standard safety procedures when changing your oil. You should always refer to your own car’s manual before changing your oil.*
DIY Oil Change
You will need:
Pennzoil Platinum Full synthetic motor oil – it’s high quality oil is designed to fully protect my car’s engine!
Oil catcher
Car Jack
Car Jack Stand
Oil filter
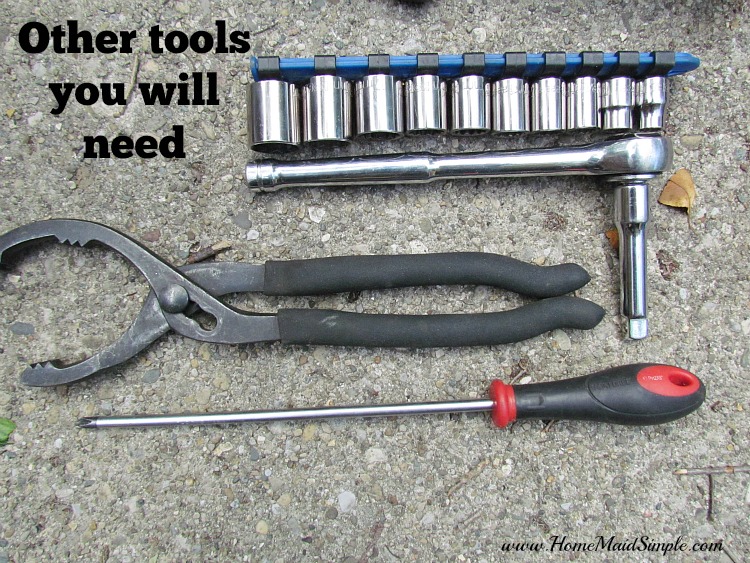
Allen Wrench
Oil Filter Wrench
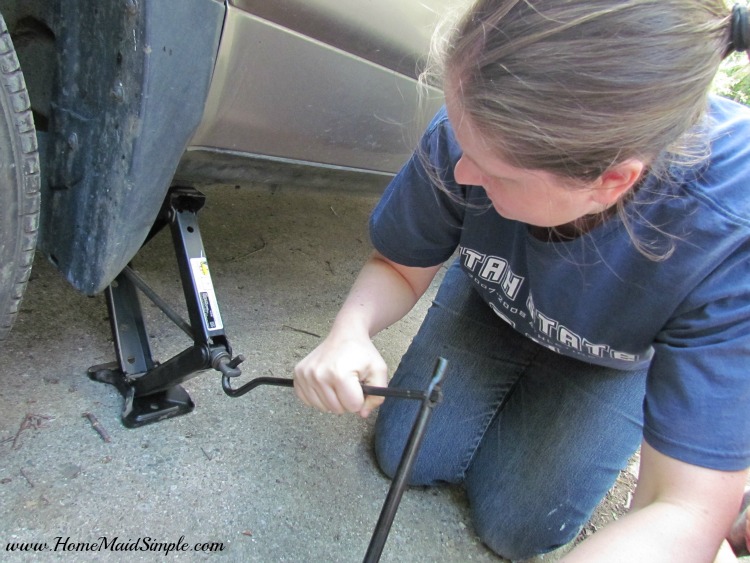
First things first is to get the car lifted. I learned that my awesome car has built in reinforced areas on the frame specifically for jacking up the car. How cool is that?! OK maybe that’s standard on most vehicles these days, I thought it was nifty. Don’t forget to block the back tires for an added safety measure!
Once you have both sides lifted on their jacks, it’s time to move to the oil changing part. Before you head under the car, you want to get some air flow going in the oil pan. This I knew, because it’s like emptying any other can of liquid – good airflow means a steady stream, bad airflow and the liquid galumps out this way and that – similar to your laundry detergent bottles.
Unscrew the oil cap, and pull the dipstick out to allow extra air flow. Now it’s time to head under the car! When I first scooted myself underneath I looked at Mark and said
“this makes me really anxious being under the car”
To which he responded
“Good. It should!”
So I felt completely capable at this point knowing I was normal to be anxious. At this point you need to locate the oil pan, and the screw bolt holding the oil in. For this part you need the Allen Wrench fitted with the right size bolt, and the oil catcher. A great reason to do this for date night, is your date can hand you the tools as you need them, so you’re not sliding in and out a bunch.
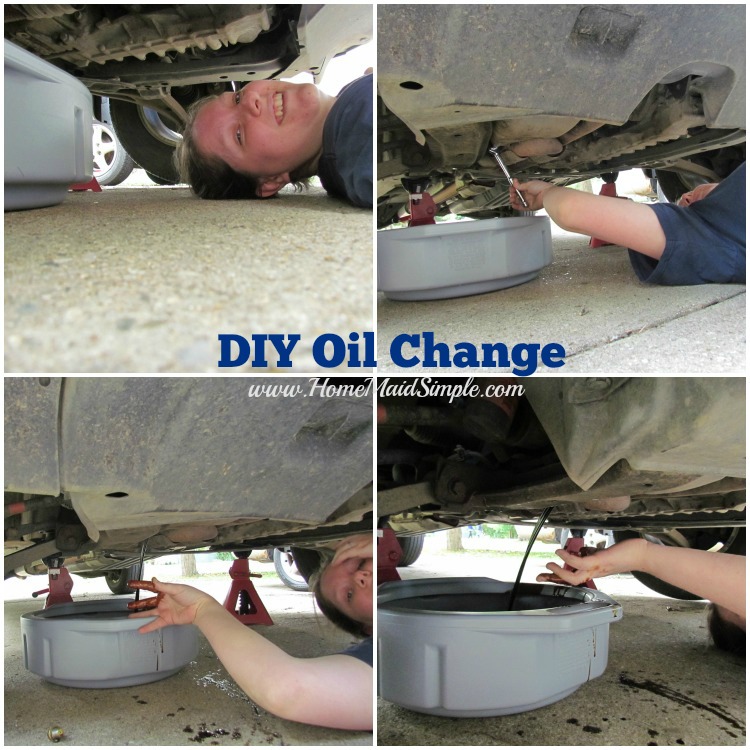
Here’s a little more inside look to this picture
- Anxiety
- I totally got this!
- Ahh! The wind picked up! note to self and everyone else – don’t do it on a windy day!
- There goes the oil! My hand’s dripping, probably should hold that over the pan until I get a rag.
Totally fun right! Mark was having a blast watching my facial expressions and snapping these photos for me. At this point I knew I was totally glad I put on HIS tee-shirt and my holey jeans. He loves when I wear his clothes, and I didn’t care that I was getting dirty.
Once the oil is all out, replace the bolt! You don’t want to put your new oil in, and have it all spill out the bottom!
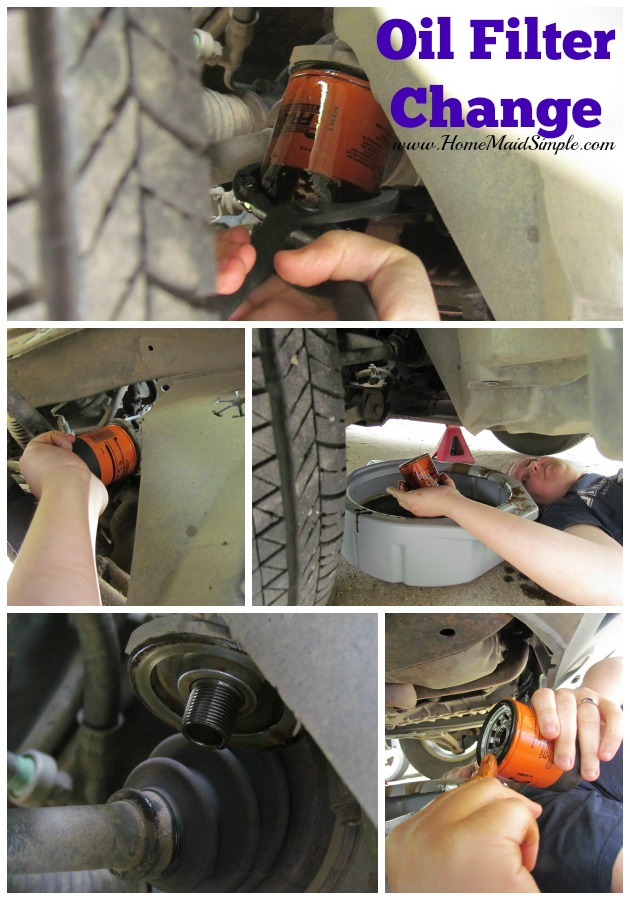
For the oil filter you’ll use that REALLY BIG WRENCH, and unscrew the whole filter. It’s pretty close to the oil pan, and just hanging down, so you shouldn’t have too hard a time finding it. There will be oil in it, so keep that oil catcher nearby, and then go ahead and put the filter inside the catcher as well. Rub some oil on the new filter, and screw it on. Here’s some key points for the oil filter change:
- Make sure you get the old rubber washer off with the old filter. You don’t want it doubled up!
- Rub oil on the new filter’s washer before replacing.
- Screw new filter on just hand tight.
- Make sure you’re screwing it on straight and not crossing threads.
A second pair of hands and eyes was great to have. Mark enjoyed checking my work, and felt impressed with how tight I was able to get that filter back on.
Once you’ve finished up under the car, go ahead and take the car off the jacks. Please remember safety first! Lift the car up with the jack, remove the car stands, and lower the car down.
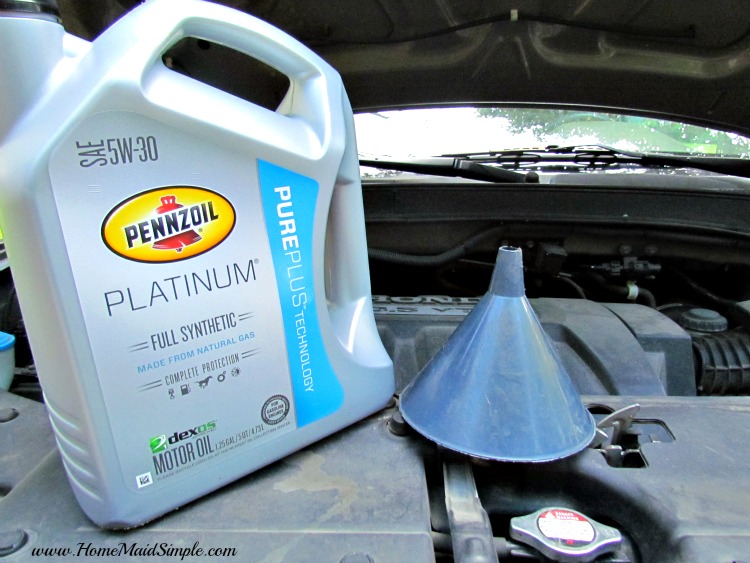
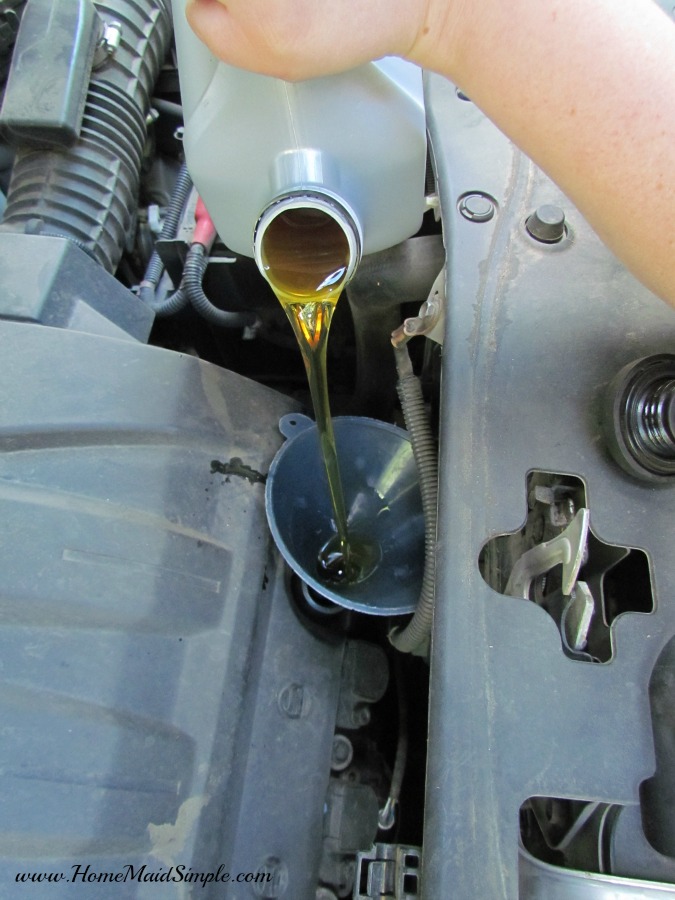
Now we’re ready to add our new oil! Pennzoil Platinum Full Synthetic Motor Oil keeps my cars pistons cleaner than 40% of the toughest industry standard. It’s also great for fuel economy, allowing us to drive an extra 550 miles a year vs driving with a dirty engine. Plus with Pennzoil Platinum full synthetic motor oil we get a 10 year/300,000 mile Lubrication Limited Warranty!
To replace oil, put a funnel in the oil intake hole – so not the technical term here guys! – and pour in your oil. Check your cars owner manual to see how much oil your car needs. Ours took a full 5 qts.
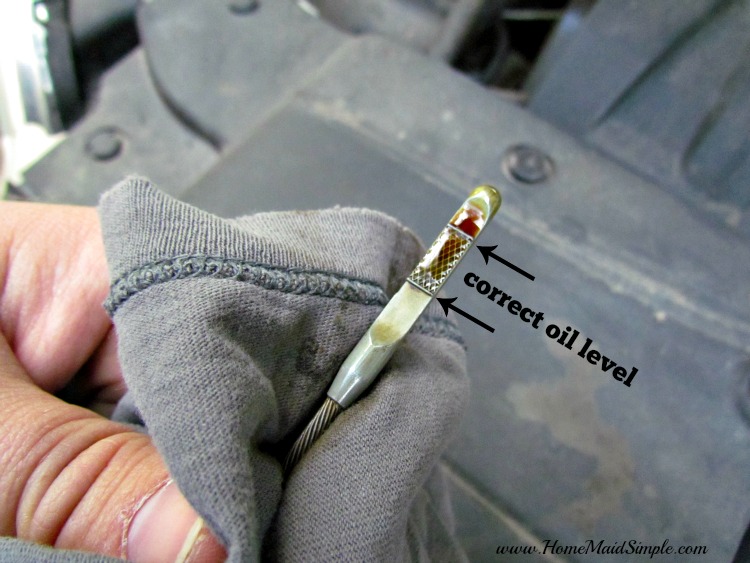
Replace the oil cap, push the dipstick back in, and feel accomplished. WAIT! We’re not quite done. To make sure you’ve got enough oil in, and you did it properly, run the motor for a minute or two to push the oil through the engine. Turn off the car and check the dipstick. To do this you pull it out, clean it off, and dip it back in. You’re now good to go if the oil is in the right area on your dipstick.
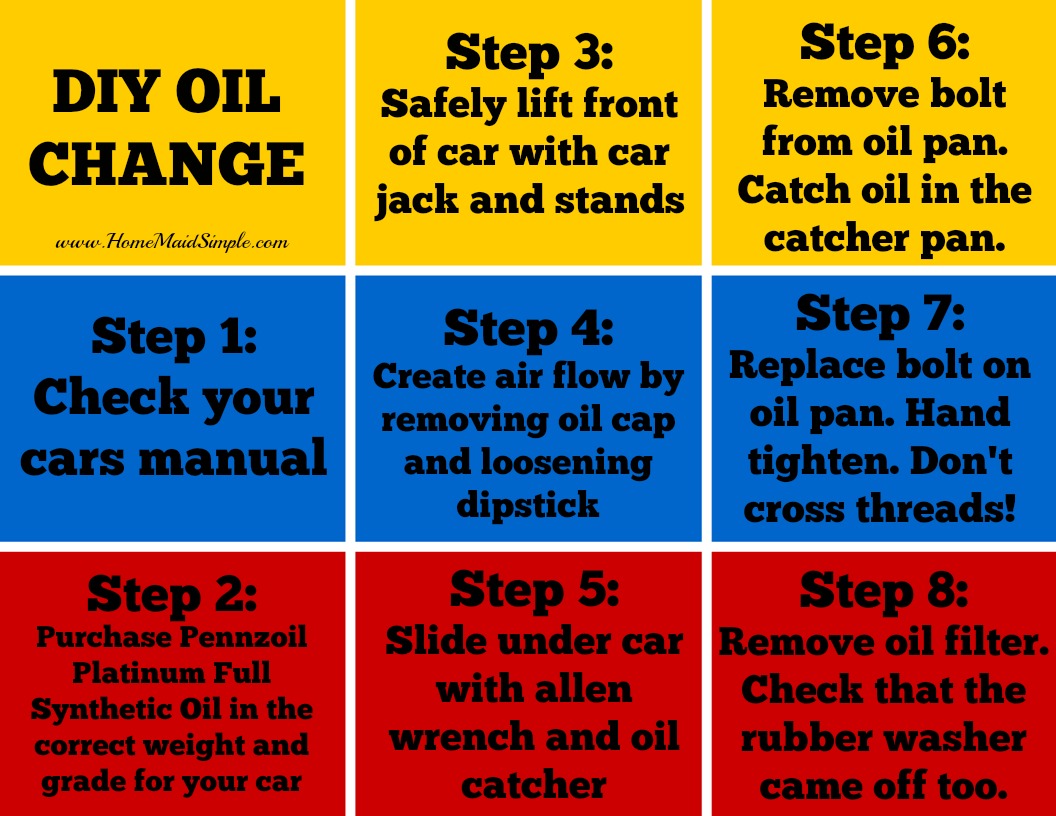
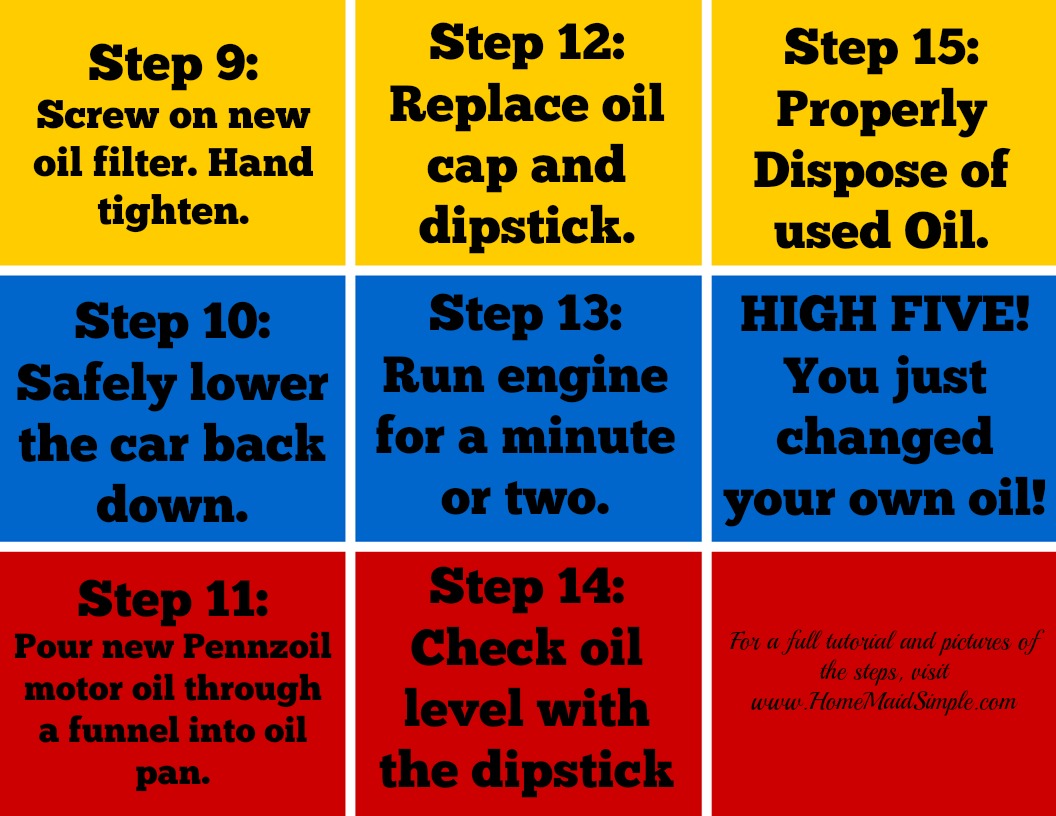
WELL DONE! You’ve now changed your oil. To make it even simpler, I’ve created these printable note cards for you! Print, cut, attach a ring, and you can change your oil anytime all on your own.
Check out these 5 great tips from Eric The Car Guy!
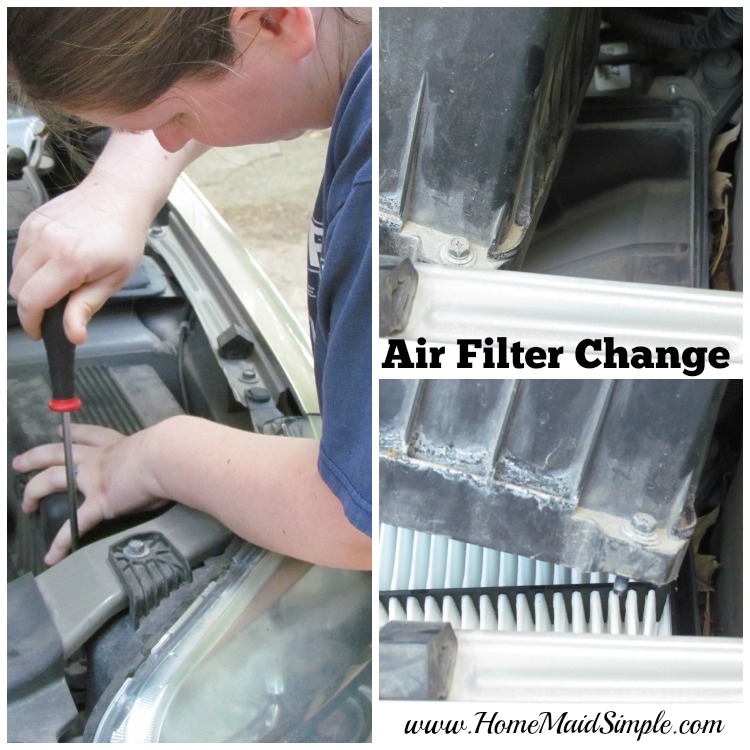
BONUS: If you’re ready to change the air filter, it’s so simple! There are 4 screws holding the air filter in. Unscrew those, remove the old filter, and put in your new one. Now you’re really rocking it!
Do you know how to change your car’s oil? Make it a Date Night and tell me all about it! Check out more tips and tricks for a #DIYOilChange