Tag: garden

  • Plant a Container Veggie Garden and Enter to Win $1000 Walmart Gift Card

    Plant a Container Veggie Garden and Enter to Win $1000 Walmart Gift Card

    This shop has been compensated by Collective Bias, Inc. and its advertiser. All opinions are mine alone. #LoveYourLawn #CollectiveBias

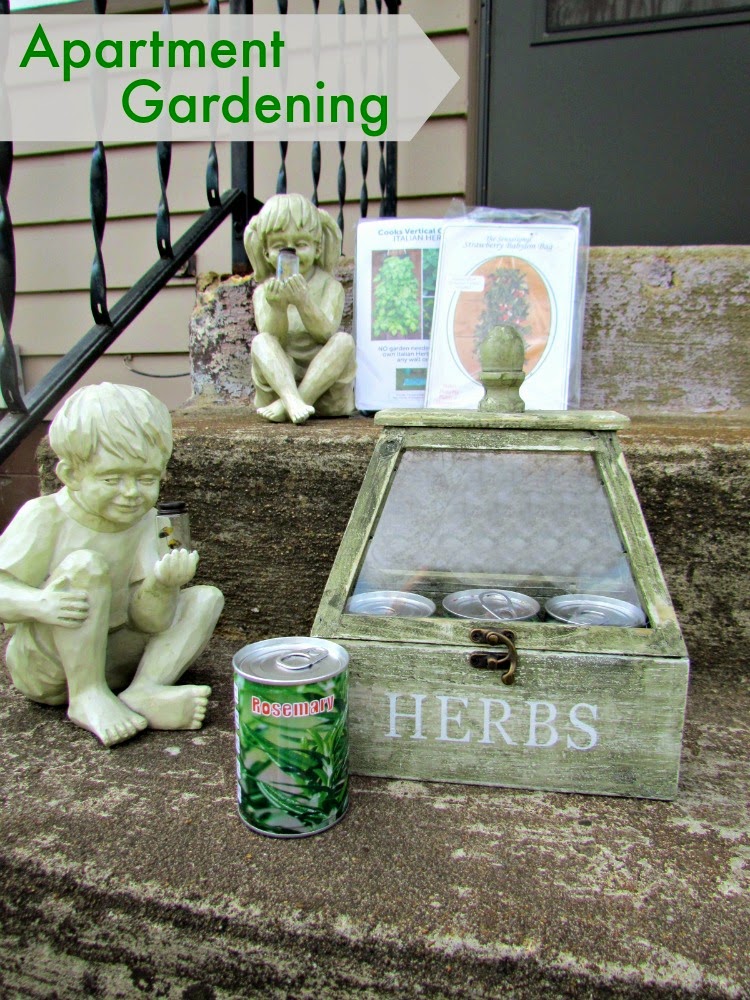
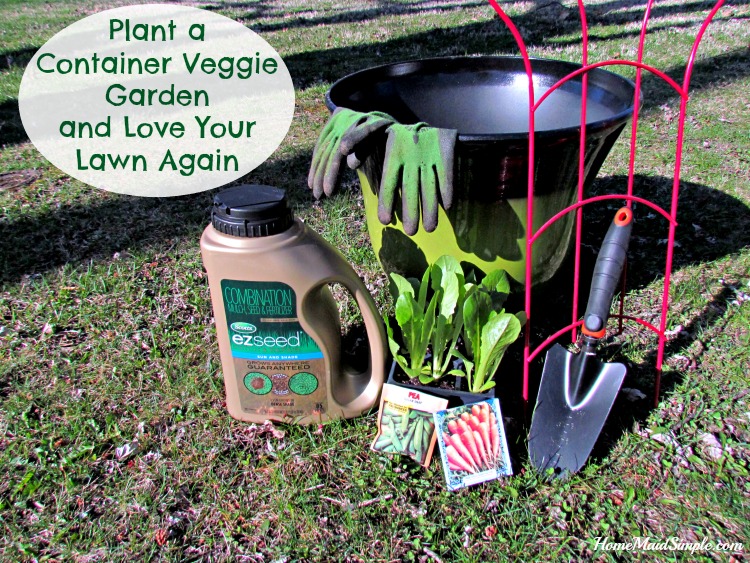
    When I don’t have a lot of time to take care of a vegetable garden but still want to enjoy the fruits of my labor in a gorgeous looking yard, I turn to Scotts® EZ Seed® Sun and Shade. Here you’ll find how I simultaneously planted an easy to care for container veggie garden while repairing a bare spot in the lawn all in one morning!

    Plant a Container Veggie Garden and repair patches in your lawn all in one morning! #LoveYourLawn #ad

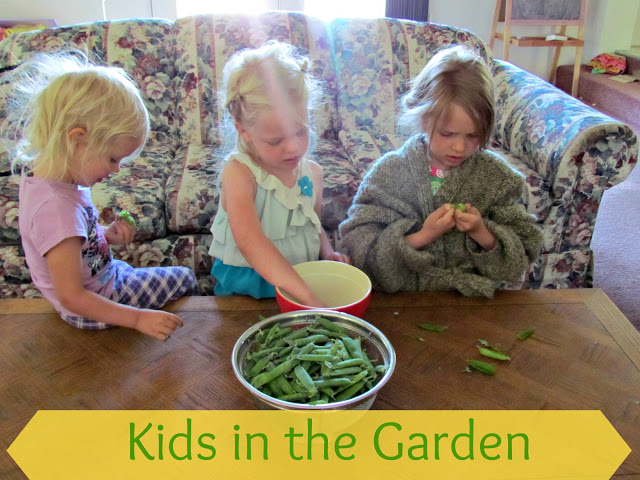
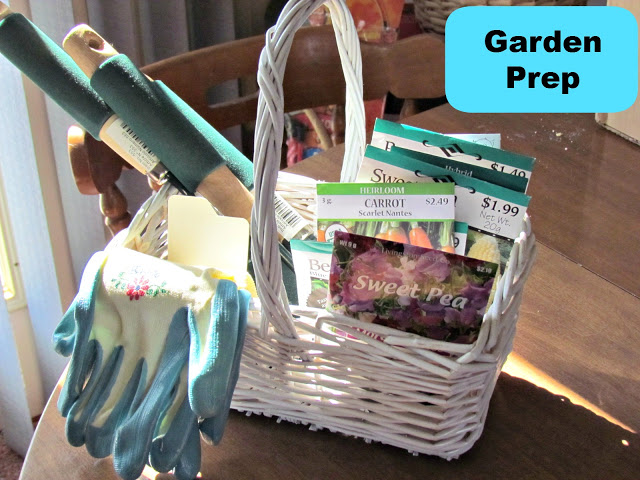
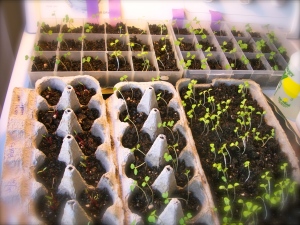
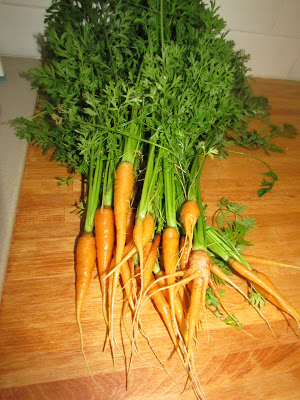
    It’s been a good 3 years since the last time I got to plan and prepare our spring garden. Unfortunately, while I now have space for a garden, I just don’t have the time to care for it the way I would like. The kids really wanted to plant something, though. I thought if we got the right kind of veggies we could attempt a container veggie garden. I talked to my mom and we decided peas, lettuce, and carrots should do pretty well. 

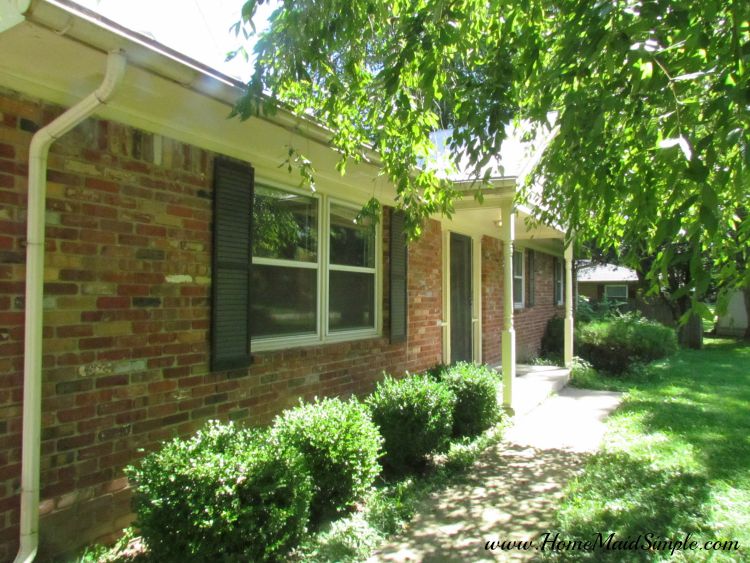
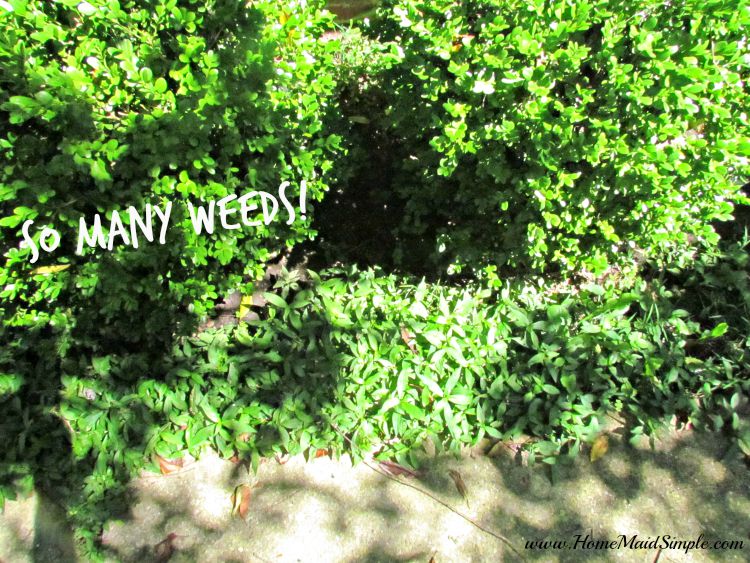
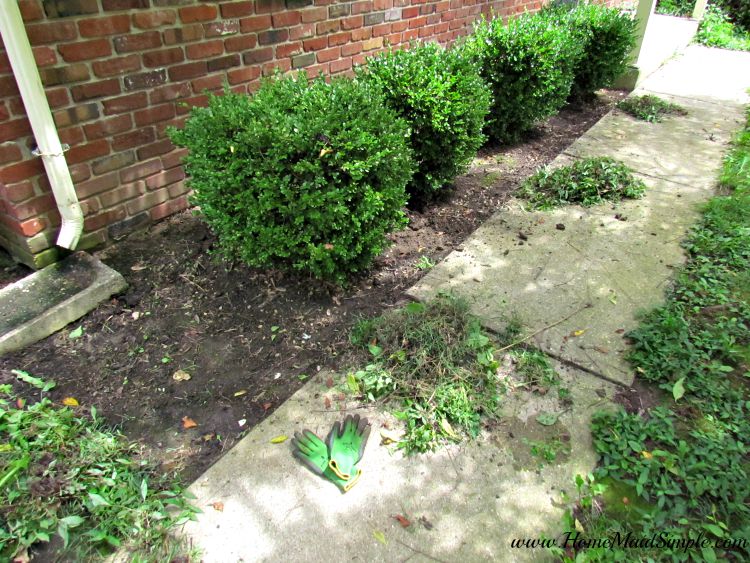
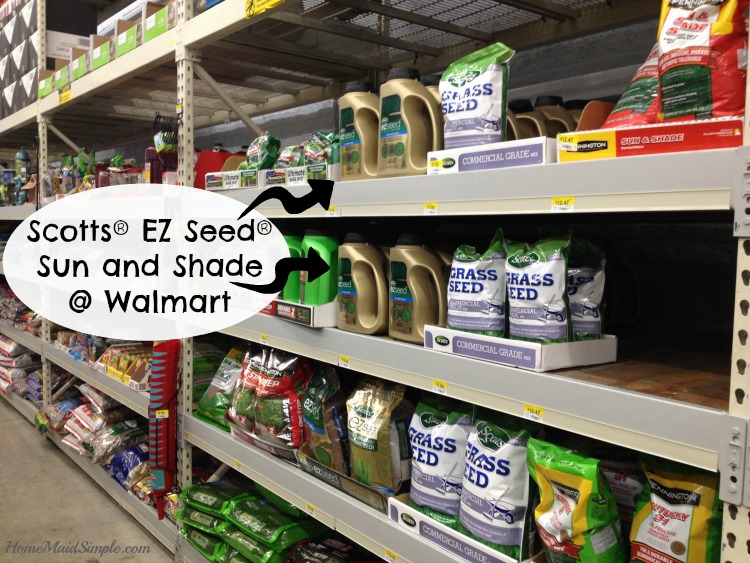
    With kids in tow, we went to Walmart to find our seeds. While there, I saw Scotts® EZ Seed® and knew I needed to grab it too. After a season of apples falling by the bucketload, our lawn had some bare spots that needed repairing. From a distance, it didn’t look too bad, but up close you realized all the green was a moss covering that was spreading and eating away the gorgeous lawn.

    Find Scotts® EZ Seed® Sun and Shade at Walmart #LoveYourLawn #ad

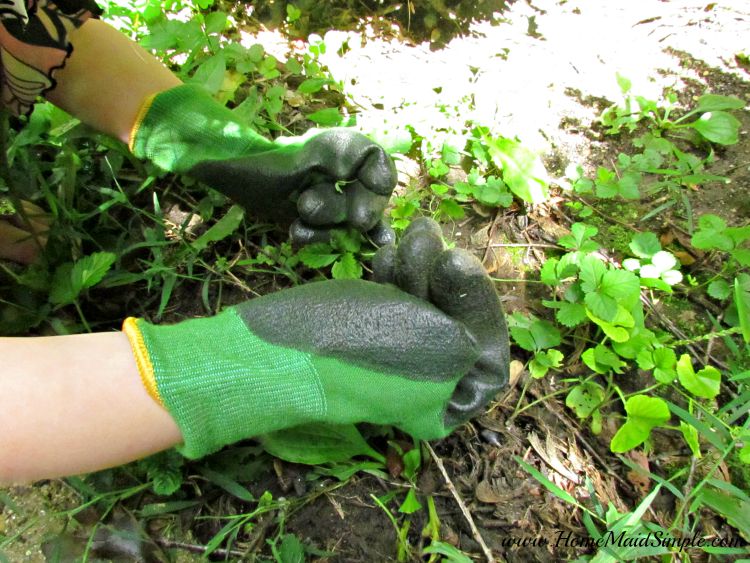
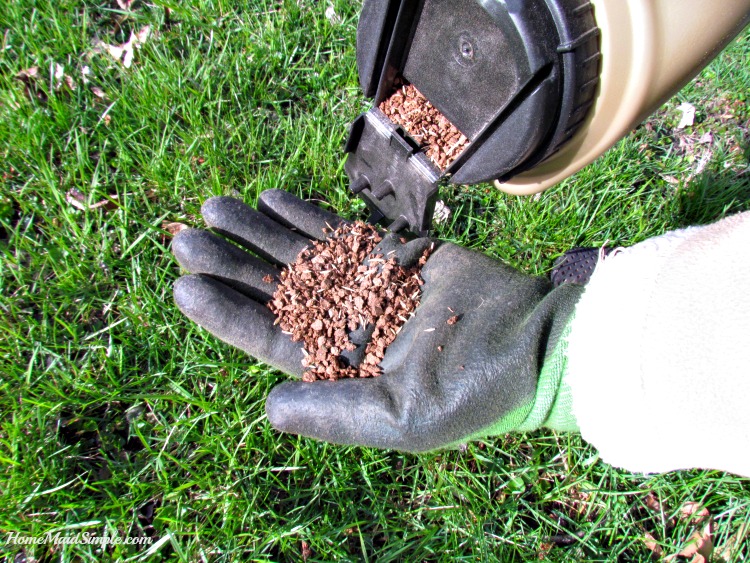
    Thankfully EZ Seed® really is easy. 3 simple steps illustrated on the back of the bottle, told me this was a project I could do before lunch and all by myself too. I set the boys to work filling our pot for the container veggie garden and went to work on the lawn. A couple passes with the rake over the dead spots, some seed spreading, a little water, and I was set to check on the boys.

    Kids love helping in the garden #LoveYourLawn #ad

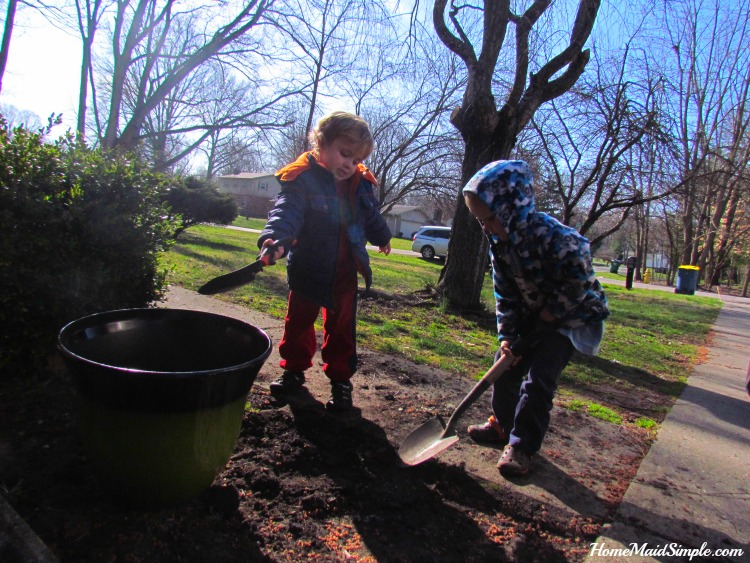
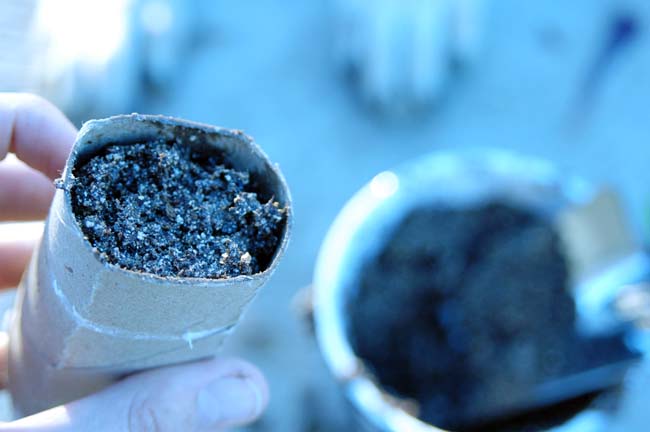
    It took me all of 5 minutes to begin the repair process to our lawn with the EZ Seed®. I spent a little time being fascinated by the expanding seeds, but then I was able to head back and help the boys plant their veggie garden. They had filled our pot about halfway with good dirt from the garden bed, and then we topped it with some top soil we picked up along with the seeds. 

    Scotts® EZ Seed® Sun and Shade repairs bare spots in your lawn. #LoveYourLawn #ad

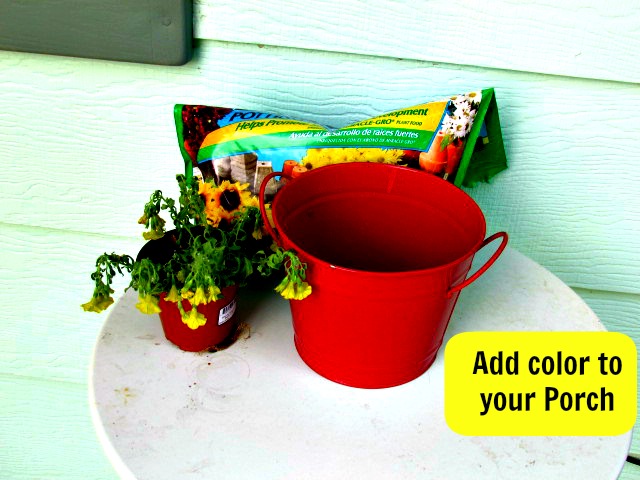
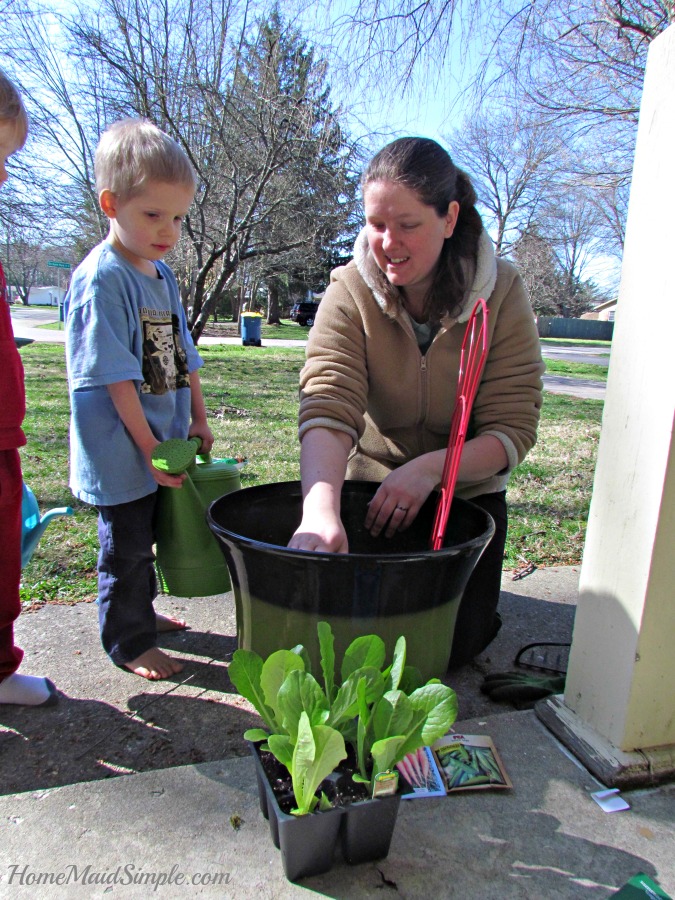
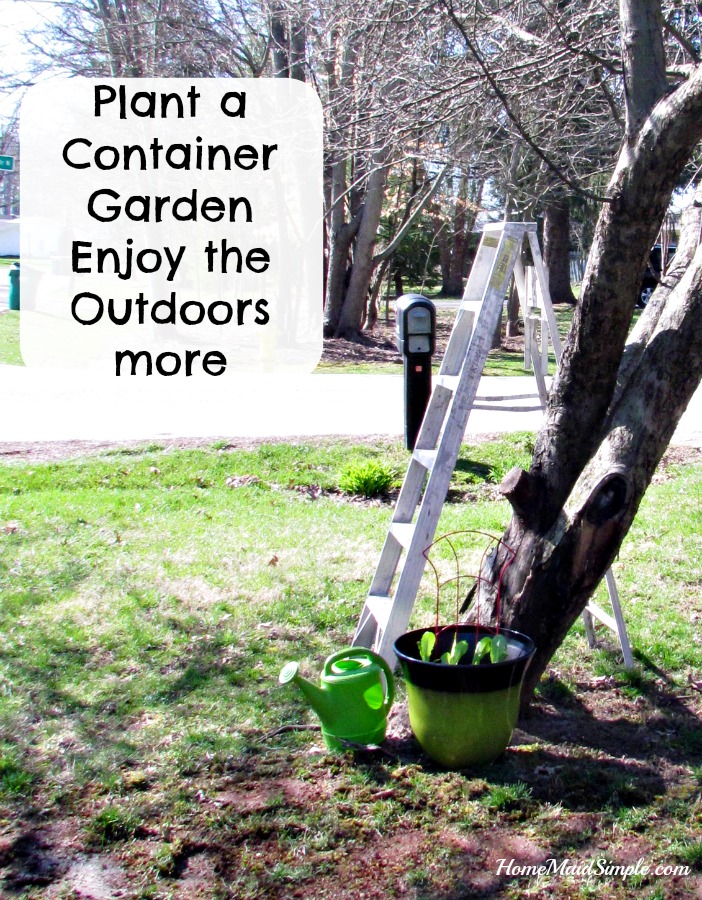
    Gardening with kids is so much fun because you get to explain every little step of the process. Why are we using a trellis? What is a trellis? I grabbed this cute red one for a pop of color next to our green lawn. The boys helped plant the pea seeds, and we talked about their favorite veggies. The lettuce came next and adds a nice look since it’s already sprouted. I tried to show the boys the roots, but they were more interested in prepping their watering cans. 

    Help kids plant a veggie garden #LoveYourLawn #ad

    While they got the water ready, I quickly added the carrot seeds to the front of the pot. I may not be great at layering my fashion, but I can layer a garden! 


    Layer a veggie garden in a container is easier than you might think. #LoveYourLawn #ad

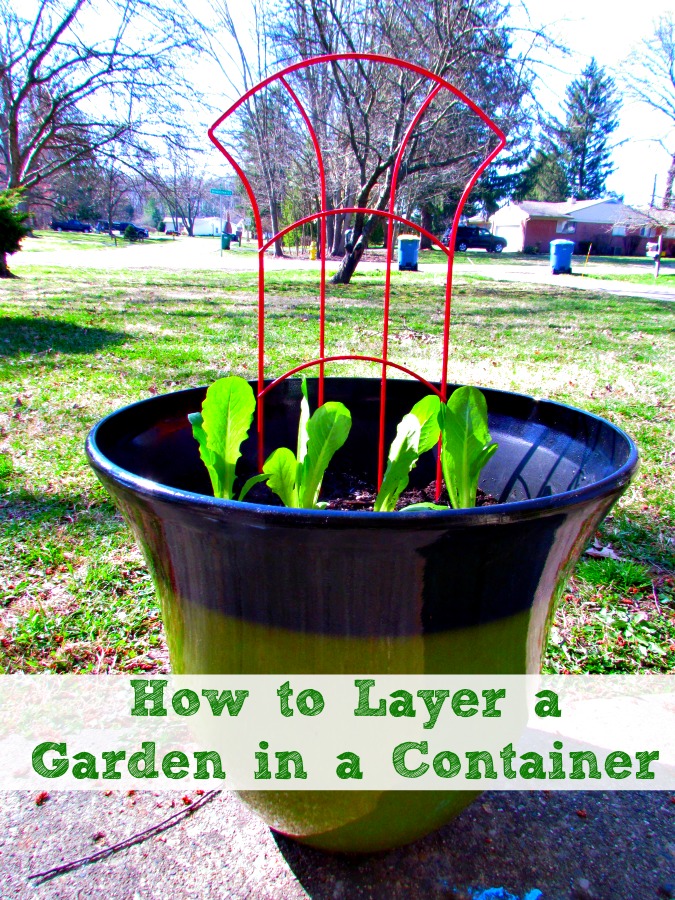
    Ready to layer your own container veggie garden? Here are the keys to remember 

    • Pick a plant that will grow up, like peas, or green beans. Add a trellis to the back of your container to encourage upward growth.
    • Avoid bushy plants like tomatoes. Tomatoes can grow in a container, but would be best by themselves. 
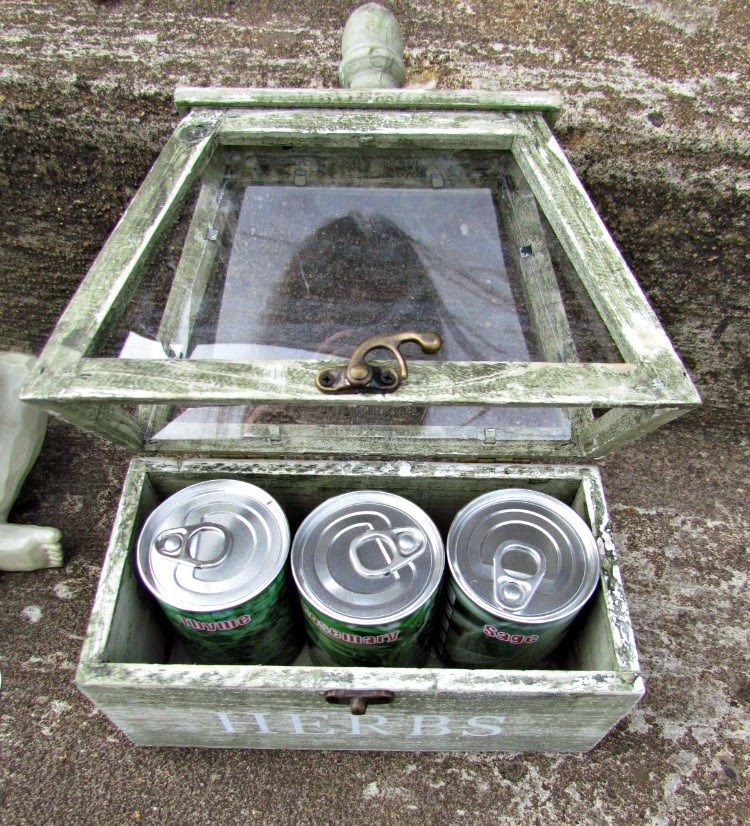
    • Choose a smaller upward growing plant, like lettuce, spinach, or herbs. Plant these in the center of the container.
    • Finally, a root vegetable, like onions, and carrots, can be added to the containers front end.
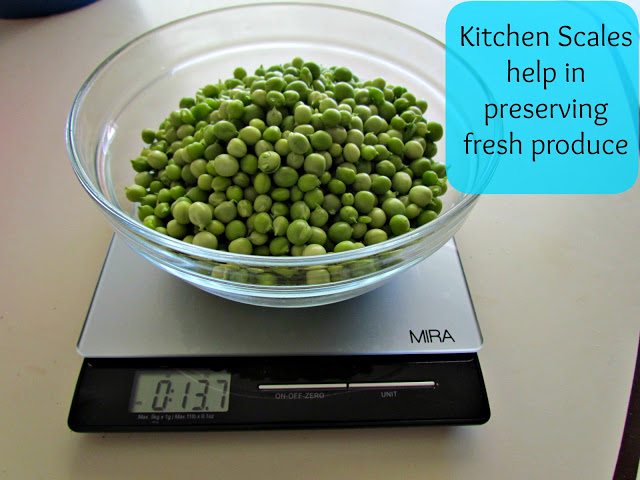
    • Use a nutrient-rich top soil, and make sure the container you use has good drainage.

    What would you plant in a container veggie garden?

    Check out more ways to Love Your Lawn with Scotts® EZ Seed®.

    Take the morning and plant a Container Veggie Garden, and repair any bare spots in your lawn with Scotts® EZ Seed® #LoveYourLawn #ad Looking for specific information for how Scotts® EZ Seed® Sun and Shade can help solve your lawn problems? Click here to sign up for the Scotts’ email reminder service to receive specific tips and information for your area!

    Enter the sweepstakes for the chance to win Walmart gift cards and Scotts® Spreaders!

    Scotts® #LoveYourLawn Sweepstakes

  • Cleaning up the outdoors + My new favorite gloves

    Cleaning up the outdoors + My new favorite gloves

    I received product for review. All opinions are my own. 

    As much as I didn’t want to move this last time, one thing that helped get me excited was the difference in climate. I love east coast climate with the humidity and all things green. You just don’t get that much green in the western US. However, it also comes with more outdoor work (which fyi, I actually prefer anyways). 

    The home we’re renting is actually pretty nice. It has just what we need inside without being too large, and came with a fenced in back yard – my must have for this move. While it’s a nice home, the yard and face of the home haven’t been taken care of too well. Weeds, bushes and trees have overgrown quite a bit. 
    Now admittedly, after I pulled some up, I realized they may have been an intentional ground cover – but they had to go to get to the real weeds anyways. Whatever was growing in the below picture, had snuck it’s way behind the hose faucet and pulled it away from the house – not good!
    With Mark gone for training, and boxes unpacked indoors, I really want to get out and get my hands dirty in the dirt. We’ve been getting a lot of bugs in the house (another big difference between coasts, I could do without all these pests!), and I thought for sure if I could remove the overgrowth around the house, it would not only look better, but also keep the inside more bug free. 
    I found these Pine Tree bamboo gloves on Amazon, and absolutely love them! Since I had no idea what kinds of plants I was pulling up, I wanted to avoid potentially grabbing something like poison ivy or oak – or touching the myriad of bugs I was working around as well. 
    Seriously, these gloves are the best thing ever! I’ve avoided gloves in the past because they never seemed to fit quite right, and when gloves don’t fit, garden work is infinitely more difficult. Since the Pine Tree gloves are made out of Bamboo they are also quite soft on my hands, and still allow me to feel what I’m doing in the garden. 
    Doesn’t it look so much better this way? Guess what, we’ve also seen less bugs inside! I still have a lot more to do, like cleaning out the gutters, and the driveway cracks, and cutting out some dead branches in the tree, but gosh I love outside work. 
    My sister in law and I have this theory that we like outside work more because it actually stays done for longer then the inside. You know like that never ending laundry, and the tornado kids that follow behind as you try to pick up the house? Yeah that doesn’t happen outside!
    Do you prefer outdoor work or inside cleaning?

  • Apartment Gardening {Giveaway}

    Apartment Gardening {Giveaway}

    This post is sponsored by LTD Commodities. All opinions are my own. 
    Spring is here, and although we had snow in our forecast this weekend, it never actually snowed – hurrah! I do love the snow, but in it’s correct season, ya know? Plus I just got some fun gardening items, and the kids are ready to ride bikes everywhere. So, the snow can just stay away now. 
    LTD Commodities wants to help you get your garden ready to bloom. When you live in an apartment though, having a large garden is not always a possibility. One of the first questions I ask before renting an apartment is whether there is a garden area, or if I can make one. Our current home has a garden area, but the last renters never used it, so the owners covered it in gravel. I decided rather then trying to grow outside, I’d find other ways to have a garden while renting. 

    Grow Indoors

    I was so excited to find this cute greenhouse from LTD. It’s perfect for growing herbs indoors, while protecting the plants from exuberant children (or pets). You can also place it outside to get more sun, but still protect the plants from any harsh weather spring may throw on us (like random snow storms). 
    I also found these fun herbs in a can to grow. They fit 3 perfectly inside the greenhouse grower. I can’t wait for the herbs to start sprouting!

    Find a community Garden

    Often if you live in a city you can find a community garden to join. These are areas you pay a little fee, then can grow in your specific plot. It’s a great way to get out of the apartment, get to know others in your neighborhood, and well – grow your own food!

    Vertical Gardens

    A garden I don’t see too often, but is a great space and time saver are these vertical gardens. You can hang them on a fence or out on a balcony to get enough sun. Add some water, and then let them grow. An added benefit to vertical gardens is the lack of weeds, making them less time consuming than a traditional garden would be. I got these ones to send to my mom. She doesn’t live in an apartment, but she has become increasing more busy these days and I thought they would help her out. LTD has a couple different selections of these fun plants to choose from. 

    Garden decor

    So you don’t have the space to garden, the time, or maybe you don’t have that proverbial green thumb, you can still make it look like you do with some gardening accents. I found these adorable children with solar powered fireflies caught in a jar. It’s the perfect accent to any garden or garden like space. Plop one of these by your front door, and your friends will feel like they’re a child again hanging outside catching the little glow bugs – it’s an instant garden feel!  

    a Rafflecopter giveaway

  • Dill Pickles #FoodieFriday

    Dill Pickles #FoodieFriday


    Cohosted by Diane at Simple Living and Eating. 

    Welcome back to Foodie Friday. A big thank you to Tammy for guest posting a recipe last week. We had so much fun at my mom’s family reunion. Hiking at Arches National Park, Swimming in Moab, and bidding pennies against each other for random stuff at the penny auction.
    Taking the time away from technology and reconnecting with family has been so beneficial for myself! I’m like a new person. Even with – fingers crossed – a move looming overheard, I buckled down and made some pickles yesterday. It was surprisingly one of the easiest foods I’ve ever made and canned.

    What really made these pickles easy was that I had picked up a packet of Ball’s Kosher Pickle mix. It had been a few years ago that I saw it on sale, and then on clearance (I love double sales, with no coupons!). So I picked it up, thinking I would one day make our own pickles. And then it sat in my canning stuff for awhile. Finally this year, I had the harvest of cucumbers needed to make my own. Remember my zucchini overload, well here come the cucumbers!
    There’s a few zucchini over on the right side, but the rest are cucumbers, and they are still growing outside!  I made 5 Quarts of pickles, and only used about 1/2 of what you see here. 
    Ingredients
    6-7 lbs cucumbers. You can use any Cucumbers, not just the pickling kind (just don’t try and eat pickling cucumbers un-pickled, not so good). I planted Burpless #26 Hybrid Cucumbers this year, and let me tell you, these cukes are amazing! So very very good. 
    1, 5oz packet Ball Pickle Mix
    6 cups water
    2 1/2 cups distilled white vinegar
    5 quart mason jars
    5 canning lids and rings
    Directions
    Slice your cucumbers in your preferred pickled form. Since my cucumbers were so long, I just sliced them into rounds. Set aside in a large bowl. 
    Mix water, vinegar, and seasoning in a pan on the stove. Heat to boiling. 
    Pour hot liquid over the pickles, and let cool to room temperature. 
    Canning
    While the liquid is cooling, wash your quart jars (or pint if you so choose). Once the cucumbers have cooled, ladle them into your jars. Fill up to the first rim, and then pour in the liquid. Using a table knife, slide it down inside the sides of the jar to remove any air bubbles. Use a clean towel to wipe any spilled liquid off the rims. 
    Heat a small pan of water on the stove to boiling. Dip the canning lids into the water for a few seconds and then place on the jars.  Tighten the rings to “finger tight”. Meaning not too tight, but just until you can’t easily tighten it anymore. 
    Now it’s time to process them. I have been using a steam canner, though I’ve been told it’s not as good or accurate as a water bath. The time spent in the canner however is I have found equivalent.  Process jars according to your canner’s directions, for 25 minutes. (this will also depend on your altitude. The back of the Ball pickling mix has a guide to help you get the best time for your area).
    Remove, and let them sit over night to seal.  Check the lids to make sure they have “popped” and then store for up to a year.

    ~FEATURES~
    Biggest Loser Oatmeal Pancakes Three Ways - A healthy and protein packed breakfast. Click through to watch the video recipe.
    Biggest Loser Oatmeal Pancakes 3 ways
    from Club Narwhal
    Go watch Amy’s video of making these. It is very well done, and I can’t seem to stop watching long enough to go make these. I love the use of oatmeal in these. 


    Menudo Filipino
    from Kocina De Pinay
    It looks like a lot of ingredients, but this dish is easily assembled. 


    Curried Popcorn: A Pinch of Glitter
    Curried Popcorn
    from A Pinch of Glitter
    Not your ordinary movie popcorn, but I think the curry is going to be a hit!


    Now it’s your turn!
    Link up to 3 new recipes
    Please don’t share the same recipe each week, we want to see something new.
    Hop around and find some new inspiration
    FOOD RELATED POSTS ONLY! All others will be deleted. This is a food hop. 

  • Preserving Zucchini #FoodieFriday

    Preserving Zucchini #FoodieFriday

    I don’t have a recipe for you today, because I have been busy busy busy in the garden trying to preserve everything I grew this year.  What you see in the above picture, that’s just the first crop of Zucchini. Since those were picked, I have twice more picked around the same amount. It’s safe to say, we’ll be eating A LOT of zucchini for the next little while.

    It was a bit ironic last night I was cooking up some Rice-A-Roni for dinner. My plan was to saute some zucchini on the side and fry up some chicken with it as well. When I started reading the directions to cook the rice, I noticed it had a chicken and rice recipe on the box – and under that recipe the add in option of zucchini. So instead of 3 separate pan, I used 1 and cooked everything together. It was pretty good too.

    Back on topic here – did you grow a garden this year?  Did you plant Zucchini?  If you did, and it was like me, your first time growing zucchini, you are probably also swimming in zucchini. My first two crops I took to my moms house.  Our last crop, picked yesterday, I took care of all on my own.

    Preserving Zucchini
    If you’d like to preserve your zucchini the best way to do that, is in the freezer. 
    What you’ll need
    Zucchini
    quart sized freezer bags
    food processor with grating attachment OR a cheese grater
    a spoon
    Process
    Begin by washing all the zucchini. Cut off the ends, and throw them away. 
    If you are using a food processor (and I strongly urge you to, even if it means borrowing one from a neighbor), you’ll want to slice the zucchini in half lengthwise, and scoop out all the seeds. Then use the food processor to shred the zucchini.
    Fill each qt bag with 3-4 cups of shredded zucchini. Most recipes call for at most 4 cups, so you will now have the perfect portion in each bag for baking. 
    If you choose to use a cheese grater (not my ideal, but I did it last night and it does work), cut your zucchini into spears, like you would a cucumber. Don’t worry about the seeds. Then go to town grating. This method does take much longer. 
    I did not shred all my zucchini, because it isn’t just for baking. Here are some other ways and meal ideas you can use that zucchini for.
    sliced and quartered – perfect for stir fry, and sauteing. 
    Sliced into rounds – these could be breaded and fried
    Cut into spears – also great for stir fry
    Sliced in half lengthwise, and hollowed – great for stuffing. Similar to this Bacon Stuffed Squash
    Check out my freezer – I HAD to eat all the rest of our ice cream so I could fit in the zucchini. Can you believe Mark said I didn’t have to eat the ice cream..he thought I could just throw it away. shaking my head in unbelief!
    Preserve zucchini in qt bags for the perfect portion
    The top shelf is filled to the back with zucchini, with only one bag of chicken taking up some space. The door is also stuffed with bags of zucchini and rhubarb.
    ~FEATURES~
    Check out all these different ways you could use Zucchini!
    zucchini tart from callmepmc.com #callmepmc #tart #vegetables
    Fresh Zucchini Tart
    If you like quiche, you’ll probably enjoy this tart. Just try it!

    Carrot Zucchini Bars with Cream Cheese Frosting
    zucchini is the perfect healthy ingredient to add to baked goods! This recipe doubles the nutrition with the carrots.

    Trim Healthy Tuesday: Summer Stir Fry (E)
    Summer Stir-fry
    by far my favorite way to eat zucchini. 
    Head on over to Diane at Simple Living and Eating for another great recipe and more features!

  • Getting kids to eat and enjoy Vegetables

    Getting kids to eat and enjoy Vegetables

    I received product to review. All fresh produce, cute kids who enjoy vegetables, and opinions are my own. This post contains affiliate links, that help maintain this site. 
     I love gardening!  Fresh produce picked straight from the ground in your own backyard is something special.   My kids don’t particularly enjoy vegetables, but having them see the growing process has really helped encourage them to try more. Rosalina has been my biggest garden helper, but this morning I got all three princesses out helping me pick peas, then shell them – all before breakfast.
     
     
    This morning we picked about 1 lb of peas, and still have around 3-4 lbs still growing. Venice does not like vegetables at all. I mean I’m talking it’s pulling teeth to get her to eat any kind of vegetable. So this morning when she shelled her first pea and I asked if she would like to try it, I was taken back when she did!  Imagine my surprise when she then told me she liked it. I knew there was something special about homegrown produce. 


    Peas are good in so many things – by themselves, in a salad, on top of spaghetti (you should totally read Muskrat, Muskrat, Eat Your Peas!), cooked as a side. Plus they are wonderfully good for you.I ran into a problem though. Since I’ve never had such a large garden, I got a little overexcited, and planted my whole packet of peas. I’ve now got at least 20 – maybe more – pea plants growing with peas galore. As much as I would love to just sit out there and eat peas all day, I do want them to last. So although today’s pound of peas will be kept nicely in the fridge for daytime snacking by all, the next 4+ pounds I pick will need to be frozen. The great thing about frozen peas, is that they will stay fresh for up to a year. I found some easy instructions to freeze peas over at Out Standing in the Garden.

    Although I don’t need to weigh the peas before freezing, I was curious about how much I picked. I loved having the new MIRA Glass Platform Digital Kitchen Scale to do this on. There is a tare function that came in nicely to get an accurate weight. Not only that, but you can also weigh in grams, pounds, and ounces.  The scale is small in size, but in the kitchen that’s exactly what you need!  I haven’t had a problem storing it out of the way, while still having quick and easy access to it.

    I know I’ll be using the scale a lot in the future as I can and preserve more garden produce. The rhubarb is next on our list!  I can use the scale to measure exact amount of the fruits, and then freeze them in proportions for one pie. So handy!

    In the meantime though, I’m going to have the kids help me pick the rhubarb and then we’ll try dipping it in sugar. What kid doesn’t dream of dipping their fruit/veggies in sugar?  Try this Rhubarb Fool. We’ll continue our gardening adventure, and I’ll keep you updated on how the kids eating habits change. For now though, I am seeing more interest in food, and a little more bravery in trying something new.

    How do you get your kids to enjoy Vegetables?

  • Add a Little Color to Your Porch

    Add a Little Color to Your Porch

    This is a Sponsored post written by me on behalf of Miracle-Gro. All opinions are 100% mine.
     
     
    I love spring time! All the flowers begin blooming, and the world becomes a more colorful place. Every spring, though, I look at my front porch and feel blah. There’s not much color besides the door (a dull green), and it doesn’t feel all that inviting. This year, I decided to remedy that.  After planting my vegetable garden, the porch has become my top priority! I need a little cheerful color greeting me as I leave and come back to the house each day.
    The great part is that it’s really easy to add some color, and it doesn’t have to be expensive either. I used what I had on hand, along with some flowers I received for Mothers Day to put together this bright little piece for my porch.
     
    First gather your supplies. You’ll need the following:
    A colorful bucket
    flowers, or flower seeds
    Moisture Control Potting Mix
    a little backyard dirt

    Add color to your porch with Miracle Gro


    Next fill your bucket halfway with the Potting Mix. If you are repotting flowers make a small well and transfer the flowers to your bucket. Top off with a little more potting mix, and some backyard dirt. Water the flowers, then sit back and enjoy your little splash of color.

    Don't forget to water your porch flowers
    Don’t worry if the flowers are looking a little wilted when first planted. With Miracle Gro’s potting soil, a little sun wand water, and the flowers will perk right back up.

    Add a pop of color to your spring porch

    For more fun garden projects, visit Miracle Gro’s Pinterest page. Then get out and grow something!


    Visit Sponsor's Site

  • A Beutiful Sight to See {Wordless Wednesday}

    A Beutiful Sight to See {Wordless Wednesday}

    I love this man!  I was feeling absolutely awful a few weeks ago. Day 1 – I thought it was a cold. Day 2 – I thought flu. Day 3 – just had some sniffles. Of course it was on day 2 that I really really wanted to get the garden tilled up. So when Mark came home and asked me what I wanted him to do, I politely asked if he wouldn’t mind tilling the garden. And he did. That is true LOVE!

    Of course earlier in March he also was our hero, when he dropped what he was doing at school to come home and save us from this beast of a spider.

    I think it’s safe to say, I married the right man. I just hope he knows how much I appreciate him.

    And in case you’re wondering – I finally today, almost 2 weeks later, got the peas planted. but at least it was tilled.

  • Spring Gardening: Time to Prep!

    Spring Gardening: Time to Prep!

    I can’t believe I’m already thinking about my garden. I always thought I had to wait until the snow melted and it was more spring like to get started in the garden. Obviously, I’m pretty new to this gardening thing. Last year was our first gardening attempt, and we had minimal success with it.  I’ve been itching to get started since Christmas this year though.  Thanks to my awesome present from my parents – basket, tools, and tons of seeds – and the Craftsy Gardening class I’m taking.

    When getting ready to garden, you want to start by deciding what you want to plant. For me, I’m going with the seeds my parents gave me –
    ~Corn
    ~Sweet Peas
    ~Zucchini
    ~Green Beans
    ~Onions
    ~Cucumber
    ~Tomatoes

    These are all veggies I love, and know we’ll be using plenty of.  As I go, I may toss in some peppers and herbs to make our own salsa come harvest, but I have a little time to figure that out still. Right now I need to get my onions and tomatoes started indoors.  Thanks to pinterest I found this handy website that tells me when to start the seeds – SproutRobot – you just tell them your zip code and it does the work…er the easy work of giving you info, you still have to do the planting.

    I don’t really have the money to invest into an indoor grow center, so I found some other great ideas to start my seeds indoors.  I’ve been fishing toilet paper tubes out of our bathroom trash all week, and trying to use all our eggs so I can have the cartons as well. 

    toilet paper roll seed starters 6

    What I love about both these ideas, besides being frugal, is that I can plant the “carton” with the seed, and not worry about disturbing the seeds. I’m pretty sure that’s how I killed my watermelon last year..although maybe watermelon shouldn’t be started inside either…

    I purchased the Garden Fresh class from Craftsy (affiliate link) back in the fall, but just started watching the lessons.  Lesson 1 is over, and I feel very overwhelmed, but also extremely excited to get started. We have very clay like soil here in Utah, so I need to find a good top soil to till into it. I’m also really hoping a neighbor has a rototiller I can borrow – doing our garden space with a rake and pitch fork just doesn’t sound fun…It’s a huge space! 

    This is going to be worth it though! Fresh vegetables every day, I can’t wait!

    Are you putting in a Spring Garden?

  • Fresh Produce and Menu Plan

    Fresh Produce and Menu Plan

    Don’t you just love fresh produce?  It is so good, as well as good for you!  We planted a garden this year, but due to unexpected job changes, we moved before we could get a full harvest. I did get a few carrots shortly before moving though. Aren’t they pretty?

     
    Being on a tight budget, fresh produce has been pretty scarce around here. We were extremely blessed one day however. During lunch I thought to myself how I would really love to have something fresh to feed my kids. To my surprise that night a neighbor, unknowing of my earlier wishes, dropped by unannounced with a bag of peaches from her tree. She then offered for us to come pick more. I believe we were being taken care of in a time of need, and I am forever grateful this dear lady listened to the spirit and brought us those peaches. We’ve been eating yummy peaches all week, and yesterday I canned the rest. I saved the peelings to make some peach honey later this week.
    We ended up with a total of 8 bottles! Yay for peaches!!!
     
    On this weeks menu –
     
    Monday – Pork Roast
    Tuesday – Chicken Nuggets and Coleslaw
    Wednesday – Chili in bread bowls
    Thursday – Bacon Mac and Cheese
    Friday – Sloppy joes
    Saturday – leftovers