Category: Home

  • Healthy Child Healthy World with Seventh Generation

    Healthy Child Healthy World with Seventh Generation

    *Last week I had the opportunity to speak with representatives from Seventh Generation, Healthy Child Healthy World, and The Motherhood. Compensation was given. All opinions are 100% my own*

    I just have to share this video with you all. It brought back a lot of memories of my childhood before making me realize just how different the world has become for our children.


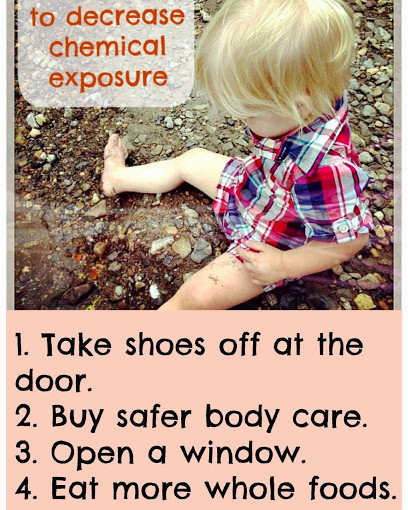
    Staggering, isn’t it? I remember going out and running through our wooded backyard without a care in the world. I often went outside without shoes on, and it was OK!  
     
    What really got me thinking, though, and really re-evaluating the everyday products I buy and use in our home was this next stat –

    In the European Union 1,328 chemicals have been banned from use in personal care items. Only 11 have been banned OR restricted in the US.

    Isn’t that crazy?  At first you might think, those Europeans just like to restrict things, they’re overly cautious. But really let’s think about it. Surely with a 1,317 difference, there’s got to be some more substance to it.

    I know I’ve shared multiple “green” cleaning products with you in the past, but truth be told, my absolute favorite cleaner is Hot Soapy water. I find it just does the best job, and it truly is the safest to use around the kids.

    I found a few more of these studies to be quite interesting and thought you’d like to look over them yourselves –

    • In a study of 10 minority newborns, more than 232 chemicals were found in the umbilical cords! Did you get that? Our babies are being exposed to hundreds of chemicals before they’re even out of the womb. Scary
    • In a study of 10 children’s face paints, all 10 tested positive for lead. Hello! You have to sign forms when buying an old house to make sure you’re aware that lead could be in the walls, but hey, let’s go paint some lead on our kids face. Sounds about right to me.
    • Studies have found flame retardant, Bisphenol-A, and other environmental chemicals in breast milk  Great, breast is best right? but how much are we losing that with the addition of chemicals into our lives. 
    • Consumer Product Safety Commission has recalled children’s toys and jewelry for high lead content. Shouldn’t we test this before we buy it? Before we expose our family to potentially dangerous chemicals?
    Knowledge is power right? I hope that this knowledge will inspire you to take action as well. 
     
     
    These are some great things you can do in your home, but if you’d like to get involved on a larger scale, I encourage you to reach out to your local Senators and urge them to pass the Chemical Safety Improvement Act.
     
    Did you know that the law regulating chemical use in our everyday products has not been updated in over 35 years?!  Seriously, I think that’s a bit long. We live in a constantly changing, and growing world, not to look at something so crucial as the way we use chemicals. 
     
    You can follow this link for more information on this Act and how to contact your state Senator. 
     
     
  • Keep Mice out!

    Keep Mice out!

    *This post is sponsored by Fresh Cab. All opinions are my own*
     
    There once was a grasshopper who didn’t save food for the winter. When the cold weather set in, he looked to the ants for food and shelter. 
     

    What does that have to do with mice you may ask?  Well, the weather is getting colder, and the mice of the world are looking for someplace warm to hole up for the winter. They will find the holes in your walls, vents, and any other way to get into your house, and storage and make their nest. Mice are NOT FUN!  I kid you not, I have had my fair share plus some, of mice in the house.

    Our first experience was when a mouse died under our fridge. We didn’t know, and it brought ants. Lots of ants. The more I tried to get rid of them, the worse they became (including sprouting wings) until we finally found the mouse. YUCK!

    Last fall we were renting a house next to a huge overgrown field. One morning I woke up and found our cereal boxes chewed through and droppings all over the top of the fridge. From there they escalated. I was still nursing Prince L at the time, with frequent late night feedings.  As I would sit there feeding Lincoln, I could hear the mice scurrying around the walls, and even watched some leap over boxes and come way too close to my feet for comfort.

    One day I was relaxing on the floor with the Princesses during some quiet time, and I literally played peek-a-boo with a mouse around one of the walls. He’d poke his head out, I’d stare daggers and laser-beams – he would duck his head back around, then pop it out again.

    This year I am not taking any chances! We have a storage shed on site, and are renting a storage unit as well while trying to purge our things and fit into 1300sq feet. We have kids clothes stored, my fabric stash, and all our holiday decorations and books. I really don’t want these things to be ruined so I’m taking some precautions, including putting everything into plastic bins, and then using Fresh Cab to detract mice from coming in.

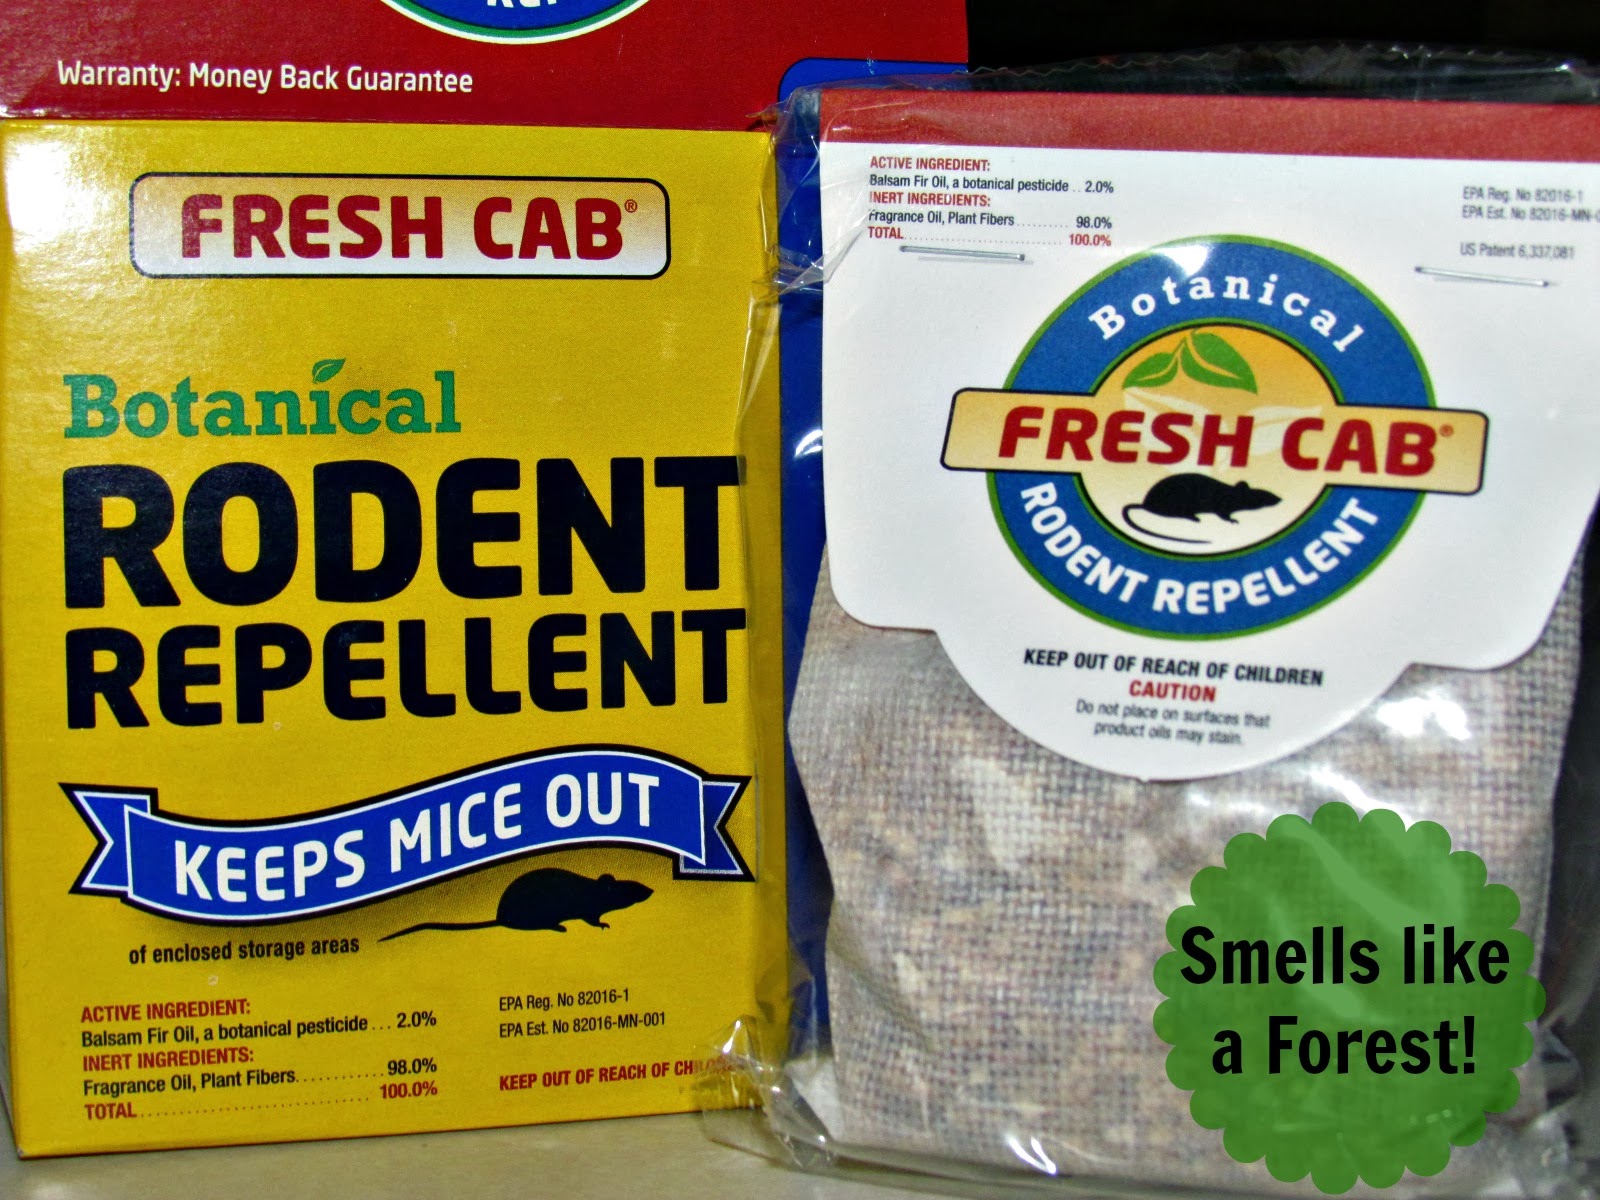
    I am really enjoying the Fresh Cab Botanical Rodent Repellent. It is completely safe to use around kids and animals. Made out of all natural fibers and oils, Fresh Cab repels mice simply by scent.

    The mixture containing Balsam Fir smells so amazing! It’s like walking into a forest. the Balsam Fir is a natural pesticide, which keeps the mice out. Once you can no longer smell the the fragrance, you know it’s time to change the pouch.

    I’ve been using Fresh Cab for about a month now in our storage shed, and have not seen any traces of mice. I hope this keeps up all winter. I’d be happy if I never saw a mouse again.

    What do you do to keep mice out?
  • DIY Tomato Cage Ghost

    DIY Tomato Cage Ghost

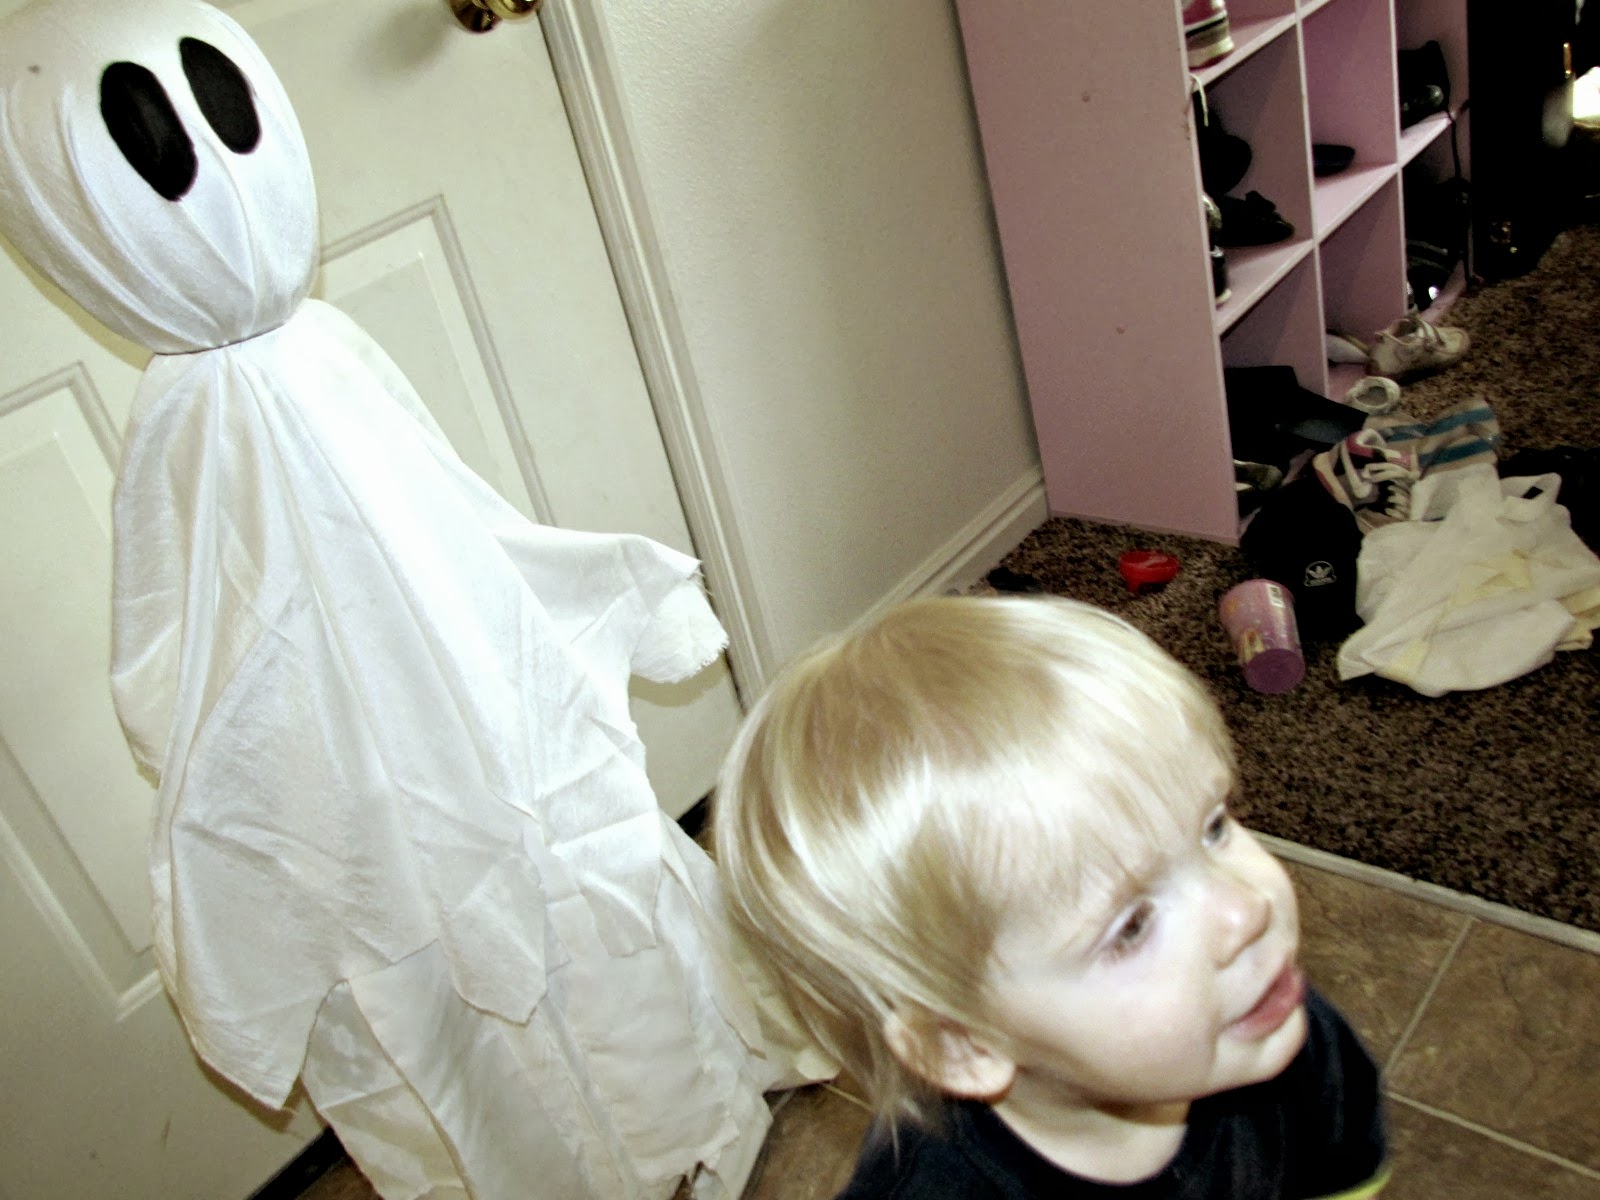
    Halloween is coming, and the spooky decor is starting to show up on porches. Make this DIY Tomato Cage Ghost with three simple items – 2 you may already have on hand! This post contains affiliate links and I will be compensated when you click on and make a purchase. 

    Do you love my DIY Tomato Cage Ghost Witch?  I truly thought I was being original when I came up with this idea. Then a fellow blogger posted some Halloween projects, and what is included – none other than tomato cage ghosts!  Well, I was still going to be original because I put mine together a bit differently than the others I looked at.

     
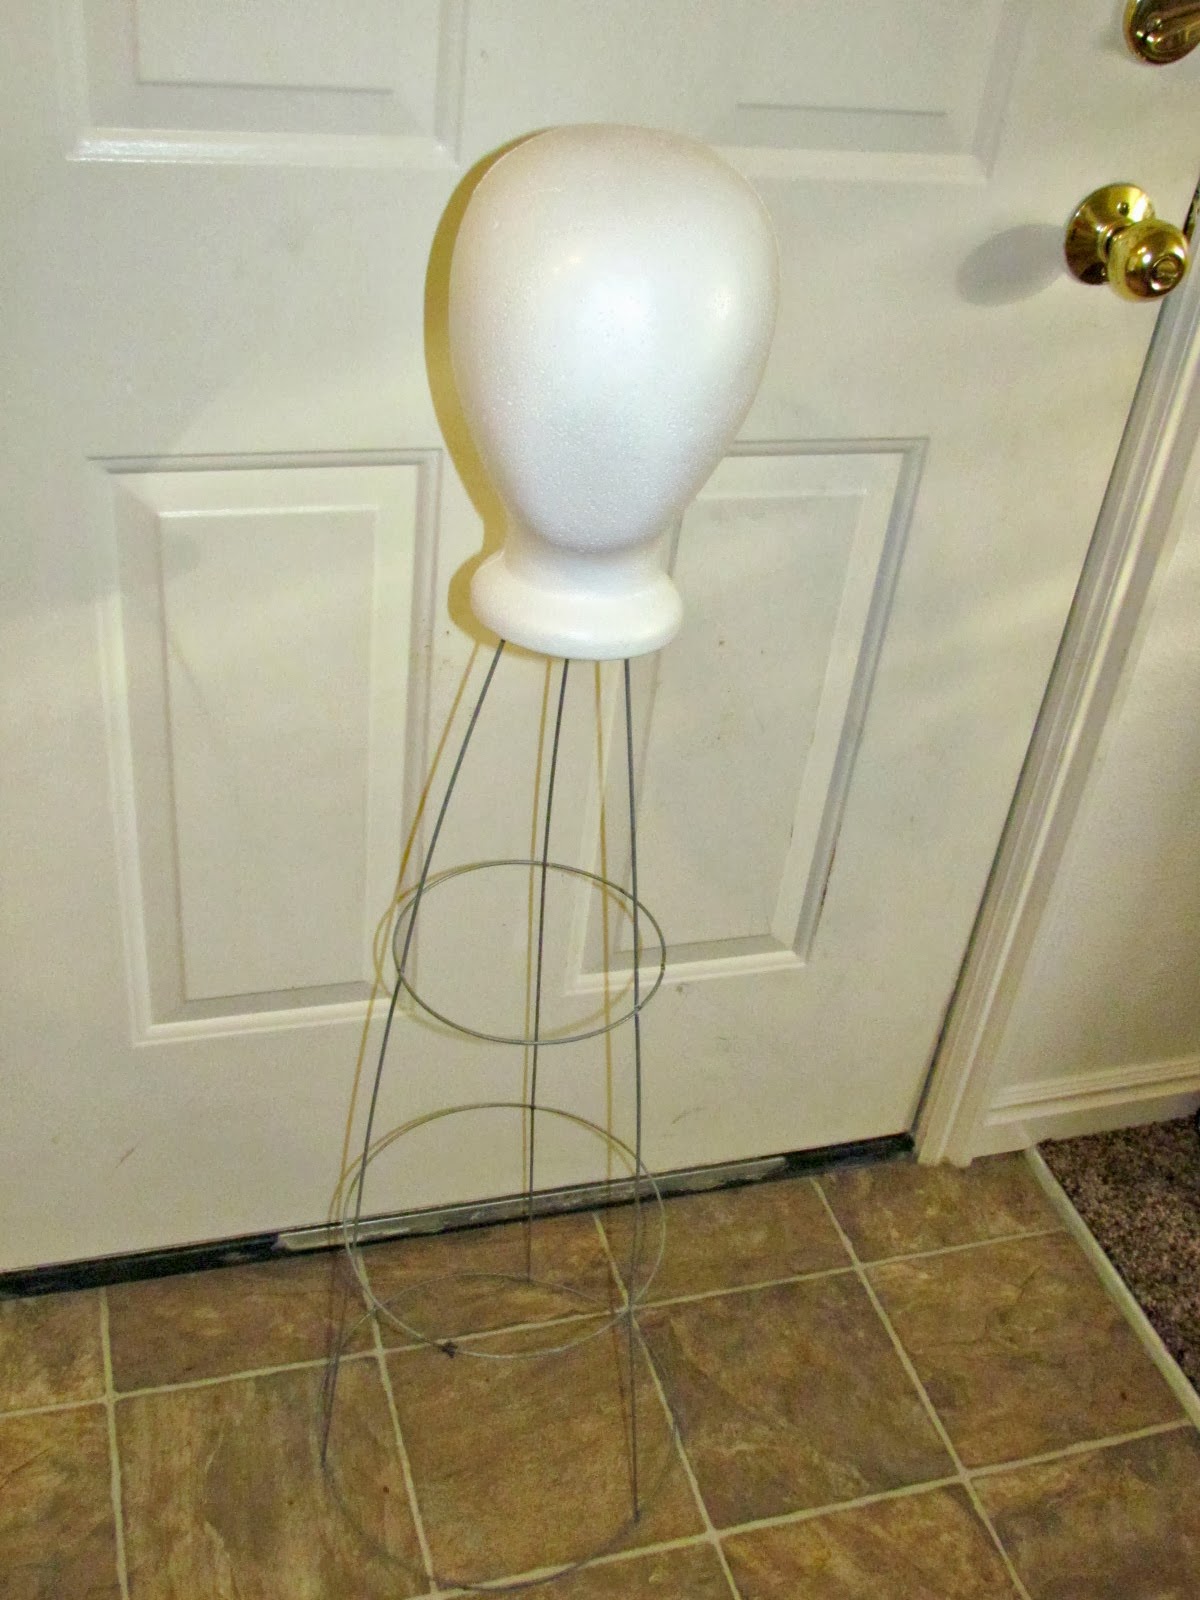
    It’s really quite simple to make your own Tomato Cage Ghost. We headed out and bought a tomato cage for $1.99, and a foam head form (hobby lobby) for $5.99. I already had a pile of white fabric in my stash, and a metal hanger in our closet. So this project cost me a total of about $8. Not too shabby for a lasting Halloween decoration. 
     
     
    You’ll start your ghost by attaching the foam head to the prongs on the tomato cage. My original idea actually used a foam ball, but the cost was similar, and we thought a head shape might give it a more ghostly look.  
     
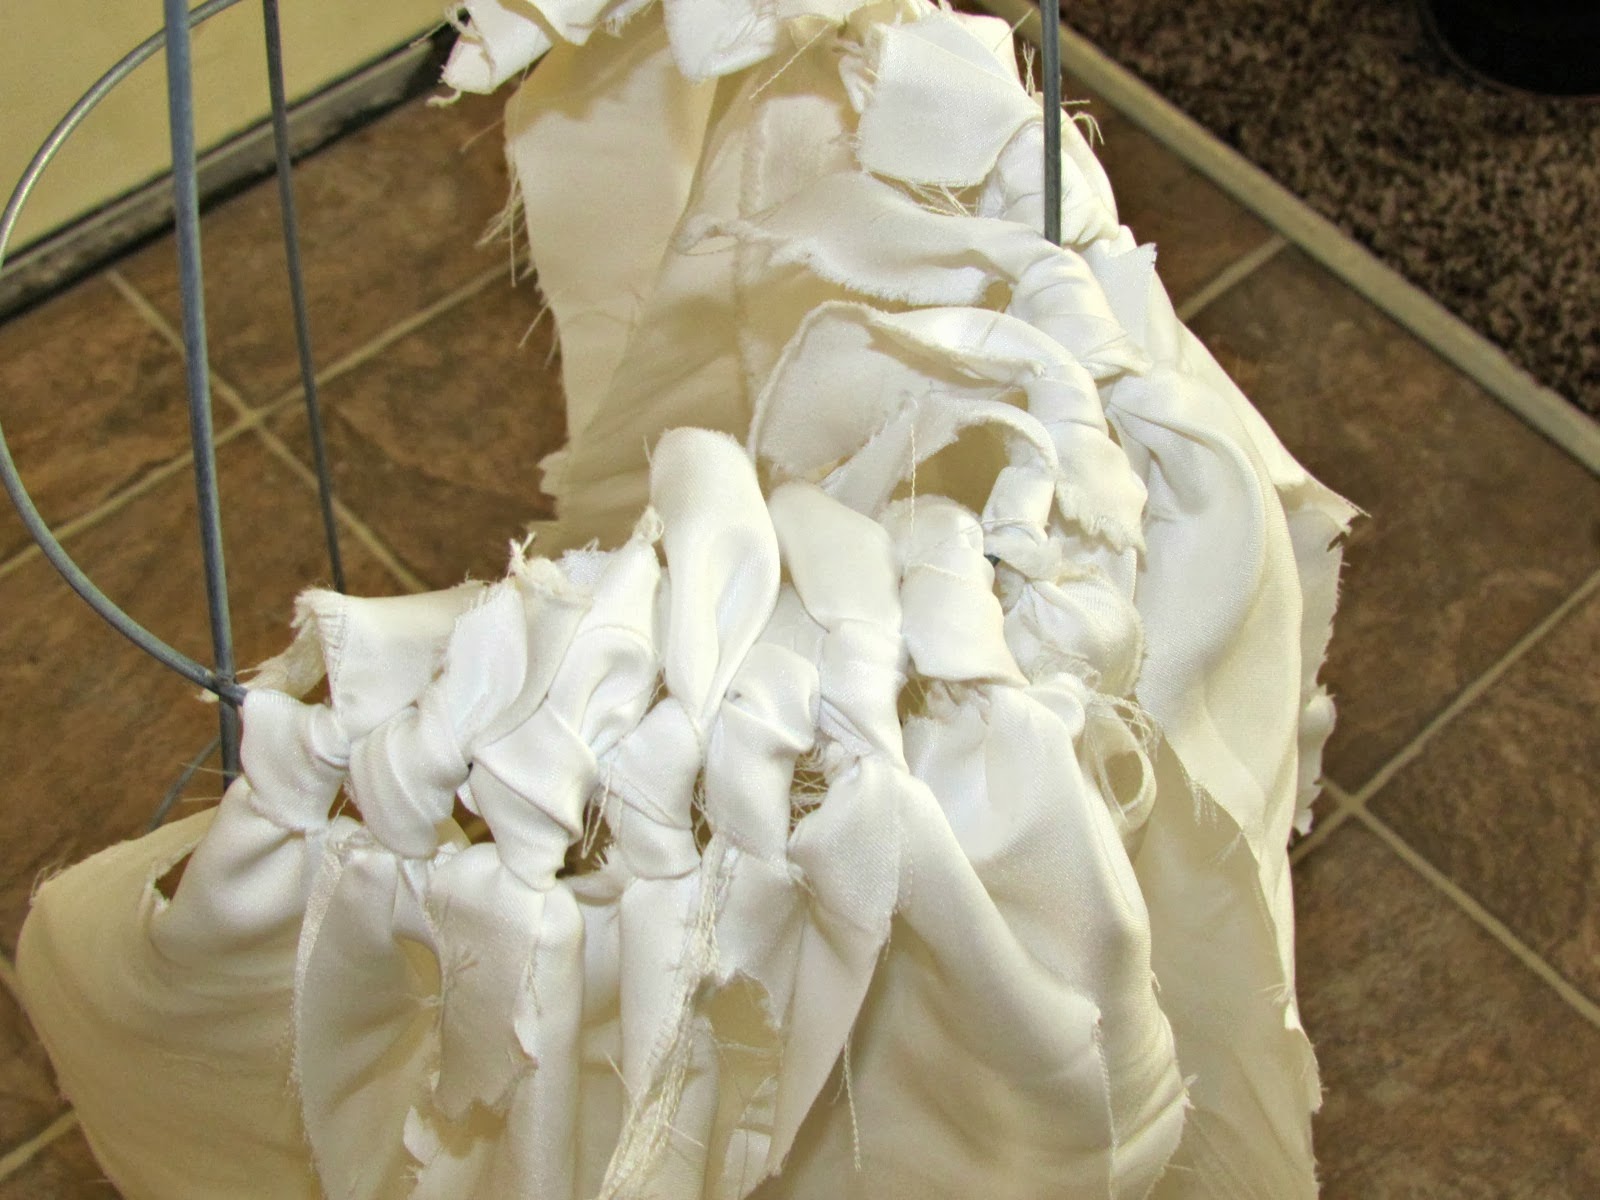
    Now you’re ready to cut and attach the fabric.  You’ll want to cut one piece approximately 3 1/2 feet by 3 feet.  Once you have that main piece, the rest you can cut into 2-3″ strips, and varying lengths. The strips you will now attach to the middle rung on the tomato cage. 


     Fill the rung tightly, and try to tie the knots from both sides, so they overlap more diversely. Mine ended up facing the same way at first, which made for a less chaotic and looking ghost.
     
    Time to attach the hanger! This will help create “arms” for your ghost. Twist the hanging end so it stick straight up, and then maneuver it into the middle of the foam head. Like so….
     
     
    You’re ready for the finishing touch. Remember the large piece of white fabric we set aside? Drape it over the head of your ghost. I used some black thread to tie it on around the bottom of the head. I wrapped it a couple times for a strong hold. The thread is thin enough that it’s not all that noticeable and gives your ghost a little more shape. 
     
    Use a permanent marker, or paint, to add some long spooky eyes and voila!  Prince L has had a blast running up to the ghost trying to knock it down, while saying “Ooooo ooooo”


    The ghost is just how it started out though. Shortly after placing our ghost on the porch for all to see, I thought it needed a little extra…and thus the Ghost Witch was born. Can you think of anything more scary than a dead witch come back as a ghost?  


  • DIY Ikea Chair Recover

    DIY Ikea Chair Recover

    While white is a beautiful color and allows any and everything to match it, it’s not very conducive for a home with many small children. Check out this Ikea chair recover, and find inspiration for recovering your chairs! 

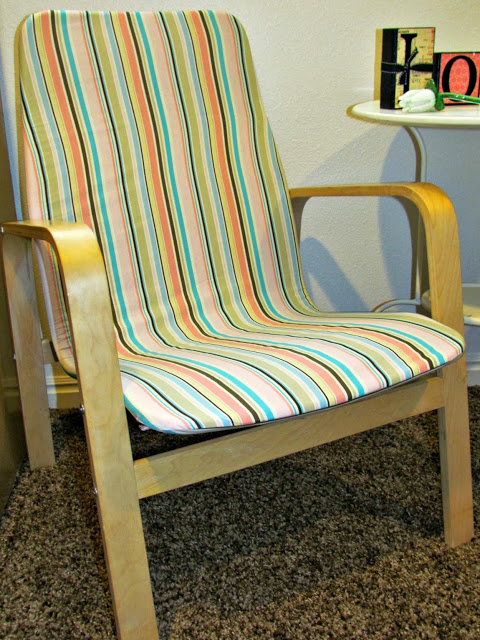
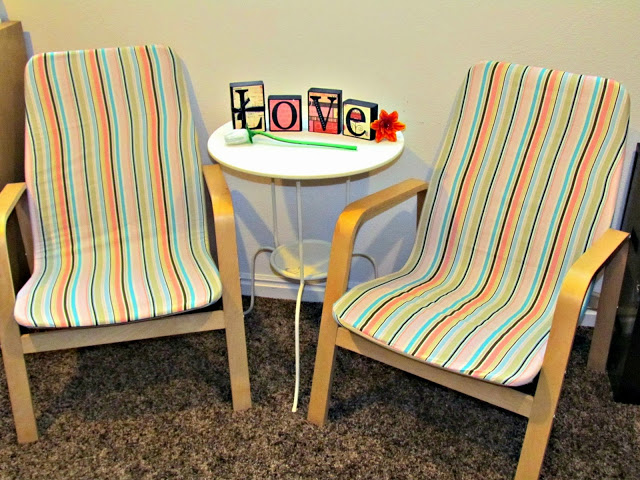
    These Ikea chairs were so much fun to recover. Back in August I asked over on Facebook some opinions on different fabrics I had, and there was a 100% vote for the striped fabric. I was a little nervous, since I’ve never done something with so many curves – all my past recovers have been pretty straight-edged – but I had to give it a try.

    Three years and 4 kids, completely killed the white fabric from the original chair. I assume I thought the white fabric would be OK, because the fabric was removable. I was pretty good at washing the covers, but it didn’t stop them from turning very grey, and pen just doesn’t come out.  Mark suggested I try bleaching them, when I first mentioned my plan to recover them, so I gave it a try, but nothing changed.

    The recover began!  I wish I wrote down the name of these chairs, but Ikea no longer sells this particular style.  They are very similar to the Pello Chair though. From what I can tell the biggest different is the Pello Chair has some padding, while my chairs are just fabric stretched over a metal frame.

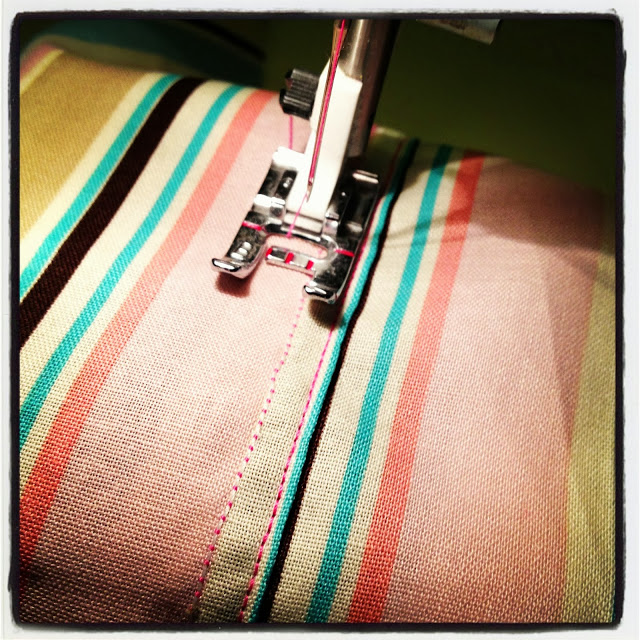
    I started the actual sewing process while the two older girls were at school and Prince L took his nap. Princess R enjoyed the time watching her favorite movies and eating snacks. It would have been great if I had a serger for some of the edges, but I had to make do with my sewing machine. If I keep up this sewing spree I’m on I may be able to justify buying one.

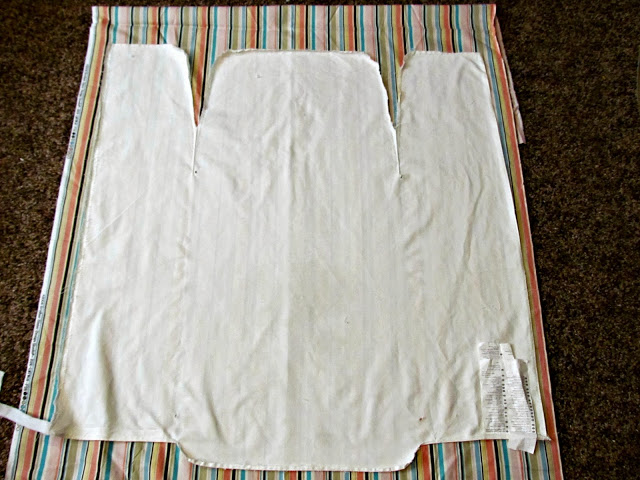
    It really was simple to do, and any easy sewer could figure this out. All I did was remove the original cover from the frame, and then carefully undo all the seams. Since I had two chairs, I kept one intact so I could refer to it later on how the seams were put together. Once I had the cover completely taken apart, I traced it out on the new fabric, giving myself an extra 1/2″ for any mistakes, and larger seams. Then I put it all back together.

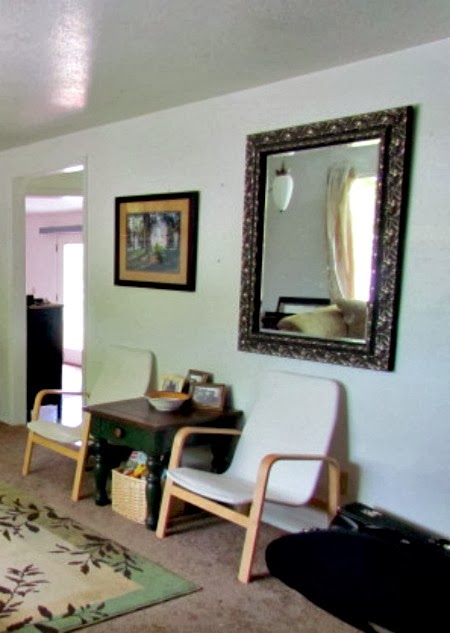
    I forgot to take an immediate before picture, so this is not the greatest quality, but you can see what the original chairs looked like here in our home. 
     
    Do you like my new chairs? Guess what! I am selling these beauties!  I know I know, why would I go through all the trouble of recovering them, just to sell them. They do look good in our new home. My problem is what you couldn’t see behind the camera….a matching love seat set practically sitting on top of each other.  All in the name of a good picture.
     

    For more Ikea Chair recover check out these links I stumbled across while trying to find the name of my chairs. 


  • Organic Pest Control: A Guide for Protecting Your Home and Family This Summer

    Organic Pest Control: A Guide for Protecting Your Home and Family This Summer

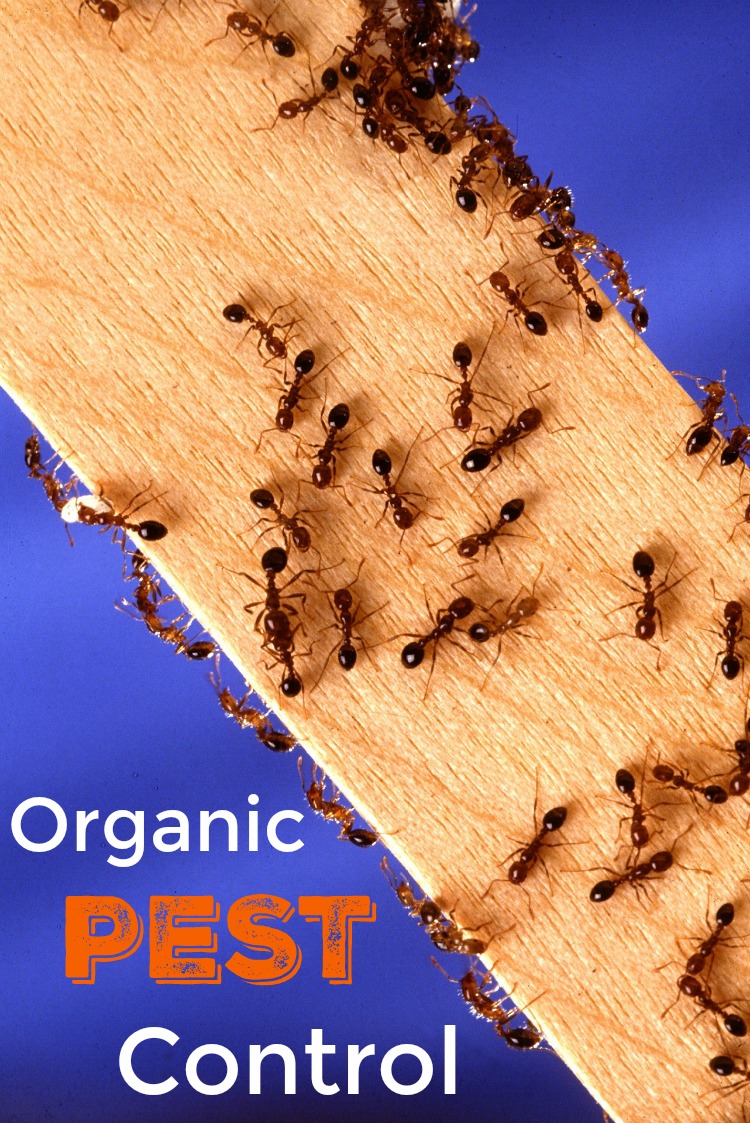
    When people think of residential pest control, they often think of exterminators and their toxins. What some don’t realize is that many natural pest control options are available that are safer and more effective than the point-and-spray methods that promise quick fixes (but no long-term results). As you work through your spring and summer cleaning list, incorporate the organic pest control tips that you learn.
     
     
    What is Organic Pest Control?
     
    Residential pest control that’s considered organic or green uses Integrated Pest Management (IPM) techniques. Instead of using dangerous chemicals to repel pests or a generic pesticide to kill them, natural pest control experts:
    • Learn about the behaviors of the pests.
    • Locate nests, remove them and/or block a pest’s access to them.
    • Change the habitat in which the pests live to make them more unfriendly.
    • Use preventive techniques to prevent an infestation or re-infestation.
    • Educate others about pests and prevention.
    In lieu of harsh chemicals, IPM is all about using the most-effective techniques that pose the least risks to humans, animals and the environment. If an expert ever does need to use a chemical application, it’s only as a last resort. He chooses the chemical based on the type of pest and makes sure that
    it’s the least toxic option available.
     
    The Benefits of Natural Pest Control
     
    • Chemical control: Natural pest control doesn’t need dangerous chemicals to be effective.
    • Environmentally friendly: The use of fewer chemicals prevents toxic runoff that can affect your property, the groundwater and the local watershed.
    • Safer for the family: When you use organic pest control, it’s safer for the kids to play outside. Pesticides with toxins can pose numerous health hazards to children, like developmental delays or conditions like attention deficit disorder.
    • Safer for pets: Every year, thousands of pets die from accidental poisonings (like after eating slug bait, for example). Because natural pest control calls for the use of chemicals as a last resort, it’s safer for your pets to be outside.
    • Effective prevention: One of the big goals of IPM is prevention. It’s simpler and less expensive to prevent an infestation than it is to control one. When there is an infestation, implementing preventive techniques will prevent a re-infestation.
    Natural Residential Pest Control Tips
     
    During the summer, fleas, ticks, mites, mosquitoes, ants and flies tend to make an appearance. The good news is that you don’t have to be an expert to practice pest control at your house. Keep following your spring cleaning and regular cleaning checklist, and add the following tips:
    Tame Clutter
    Messes look like heaven to pests because they offer food, materials for a nest or a place to call home. Tackle the piles that you’ve put off for months. Recycle the stacks of paper that you don’t need. Store your seasonal clothes inside plastic boxes with lids instead of cardboard boxes.
    Clean
    Regularly dust, vacuum and clean non-carpeted floors. Pests, like cockroaches, can live off dust particles and crumbs, so this basic cleaning task eliminates a source of food.
    While you’re at it, don’t forget to wash your pets. Bathing and/or brushing your pet can help knock off pests that have hitched a ride in its fur.
    Eliminate Sources of Food
    Homes offer pests a variety of food sources and knowing what they are can help you restrict a pest’s access to them. The following is a list of food sources and solutions:
    • Tables and counter tops: Don’t leave food out in the open.
    • Kitchen sink: Avoid leaving dirty dishes in the sink overnight.
    • Floors, tables and counter tops: Immediately clean crumbs and spills.
    • Garbage cans: Dispose of food waste in outdoor garbage cans instead of under the kitchen sink. Always use the lid on the outdoor trash cans.
    • Pantry and cupboards: Store food that comes with wrappers made of paper or thin plastic, like chips, in hard plastic or glass containers with lids. The same goes for food items in thin cardboard boxes, like cereal. 
    • The garden: Don’t let produce over-ripen or rot.
    • Pet food: Put away pet food after your animal companion eats.
    Landscape Care
     
    Normal landscape care goes a long way toward preventing pests, so weed, mow the lawn and clean debris regularly. Trim back bushes around your home and cut back tree limbs that overhang the roof. Keep your gutters clean and eliminate all sources of standing water. If you have a pool or spa, keep it covered when it’s not in use. Keep the water in a birdbath fresh.
     

    Home Maintenance
     
    Immediately fix leaky pipes. Regularly inspect the exterior of your home for cracks and holes so you can fill them with caulk or putty. If you like to have the windows or doors open during the summer, replace or repair any torn or broken window and door screens.
     
    Residential pest control is a task that’s simple to incorporate into your regular cleaning routine. If you have a pest infestation in your home, or think that you do, don’t hesitate to call a pest control expert that uses natural techniques. 
     
    Looking to prevent pests during the winter? Watch this.


    Author Bio: This post was contributed by Jen McCauley, the marketing director of Western Exterminator. Western Exterminator is a leading integrated pest management company in Western Washington and Oregon that offers green pest control solutions and advice for both residential and commercial customers.
  • Getting kids to eat and enjoy Vegetables

    Getting kids to eat and enjoy Vegetables

    I received product to review. All fresh produce, cute kids who enjoy vegetables, and opinions are my own. This post contains affiliate links, that help maintain this site. 
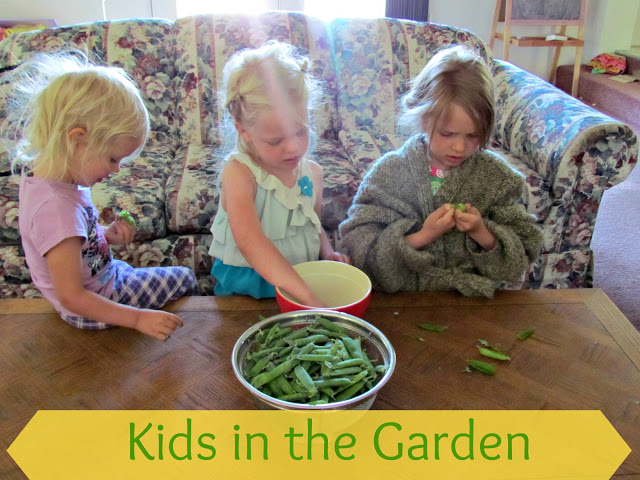
     I love gardening!  Fresh produce picked straight from the ground in your own backyard is something special.   My kids don’t particularly enjoy vegetables, but having them see the growing process has really helped encourage them to try more. Rosalina has been my biggest garden helper, but this morning I got all three princesses out helping me pick peas, then shell them – all before breakfast.
     
     
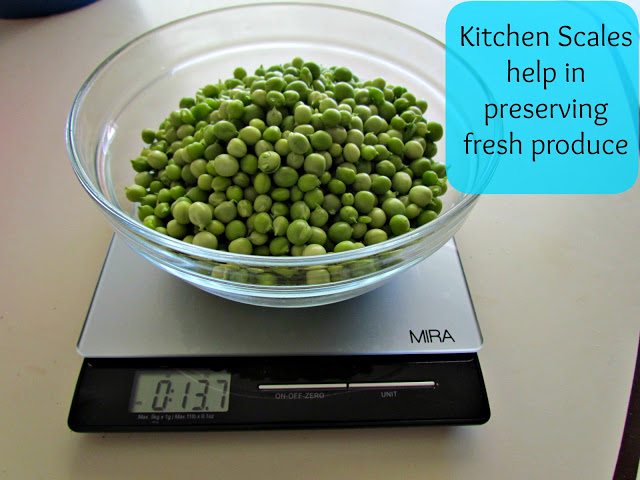
    This morning we picked about 1 lb of peas, and still have around 3-4 lbs still growing. Venice does not like vegetables at all. I mean I’m talking it’s pulling teeth to get her to eat any kind of vegetable. So this morning when she shelled her first pea and I asked if she would like to try it, I was taken back when she did!  Imagine my surprise when she then told me she liked it. I knew there was something special about homegrown produce. 


    Peas are good in so many things – by themselves, in a salad, on top of spaghetti (you should totally read Muskrat, Muskrat, Eat Your Peas!), cooked as a side. Plus they are wonderfully good for you.I ran into a problem though. Since I’ve never had such a large garden, I got a little overexcited, and planted my whole packet of peas. I’ve now got at least 20 – maybe more – pea plants growing with peas galore. As much as I would love to just sit out there and eat peas all day, I do want them to last. So although today’s pound of peas will be kept nicely in the fridge for daytime snacking by all, the next 4+ pounds I pick will need to be frozen. The great thing about frozen peas, is that they will stay fresh for up to a year. I found some easy instructions to freeze peas over at Out Standing in the Garden.

    Although I don’t need to weigh the peas before freezing, I was curious about how much I picked. I loved having the new MIRA Glass Platform Digital Kitchen Scale to do this on. There is a tare function that came in nicely to get an accurate weight. Not only that, but you can also weigh in grams, pounds, and ounces.  The scale is small in size, but in the kitchen that’s exactly what you need!  I haven’t had a problem storing it out of the way, while still having quick and easy access to it.

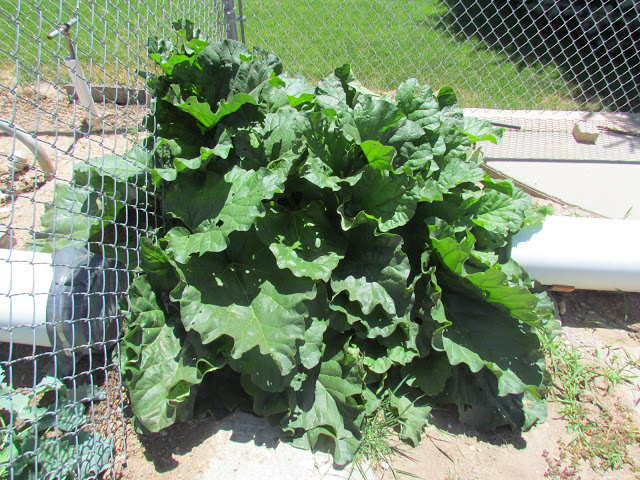
    I know I’ll be using the scale a lot in the future as I can and preserve more garden produce. The rhubarb is next on our list!  I can use the scale to measure exact amount of the fruits, and then freeze them in proportions for one pie. So handy!

    In the meantime though, I’m going to have the kids help me pick the rhubarb and then we’ll try dipping it in sugar. What kid doesn’t dream of dipping their fruit/veggies in sugar?  Try this Rhubarb Fool. We’ll continue our gardening adventure, and I’ll keep you updated on how the kids eating habits change. For now though, I am seeing more interest in food, and a little more bravery in trying something new.

    How do you get your kids to enjoy Vegetables?

  • 5 Best homemade Fathers Day Gifts

    5 Best homemade Fathers Day Gifts

    I just love Fathers Day! Holidays like this one, though make me want to get a little more simple and homemade. We buy nice things for birthdays and Christmas, but when it comes to celebrating parenthood, I like it to come a little more from the heart. These 5 homemade Fathers Day Gifts speak to Dad from the heart of children.
     

    5 Best Homemade Fathers Day Gifts 

    1. Car Shirt from The Blue Basket
    Perfect for the overworked Dad taking naps on the floor. Minimal effort for Dad, but the kids will remember an activity like this their entire lives!
    2. Tie Basket from Me – directions below.
    An easy way to keepsake kids handprints while making a useful treat basket for Dad. 
    3. Father’s Day Photo Collage from Positively Splendid
    I love this sentimental display of love from children. This would be great for any Dad’s office desk, or nightstand
    4. Father’s Day Treat Jar from My Sisters Suitcase
    One of my favorite LDS Children’s hymns is “I’m so glad when Daddy comes home”. Putting the words onto a jar full of kisses will make anyone smile. 
    5. Father’s Day Shirt and Tie from Paper Crave
    Sometimes a good mix of homemade and store-bought is needed. These treat bags are the perfect way to wrap Dad’s gift. 


    Last year I had fun putting together the Tie Basket with the Princesses. They got to put their hands in some paint, and leave their mark around the terra cotta pot.  I cut a simple tie out of fabric and hot glued it on. We then filled it with Mark’s favorite treats.  
     
    I absolutely love all these ideas I’ve come across over the years – and thanks to Pinterest can actually find again!. This year I did something similar to Positively Splendid’s Photo Collage. Instead of a single collage though, I made a photo book .  Included in it, I asked the Princesses a few different questions about their Daddy. Things like

    What’s your favorite thing about Daddy? and Why is Daddy your Superhero?

     
    I learned that I need to talk to them each separately. Otherwise, they end up all saying the same thing 

    Daddy gets us apples and bananas when they’re too high. 

    I had so much fun making this book for Mark, and going through old pictures of the kids. Now I’m trying to make one for my own Father and Mark’s Dad. Unfortunately, I’m always a little late on my timing, so the photo books are going to get here after Fathers Day, but they will be worth the wait!

    Are you looking for a few more fun and creative Fathers Day Ideas?  Check out the free PDF file from Disney Planes full of Fathers Day Activities.

    Download Spend the day with dad! Father's Day Activities
     
     
    Happy Fathers Day to all the Dad’s out there!
  • Add a Little Color to Your Porch

    Add a Little Color to Your Porch

    This is a Sponsored post written by me on behalf of Miracle-Gro. All opinions are 100% mine.
     
     
    I love spring time! All the flowers begin blooming, and the world becomes a more colorful place. Every spring, though, I look at my front porch and feel blah. There’s not much color besides the door (a dull green), and it doesn’t feel all that inviting. This year, I decided to remedy that.  After planting my vegetable garden, the porch has become my top priority! I need a little cheerful color greeting me as I leave and come back to the house each day.
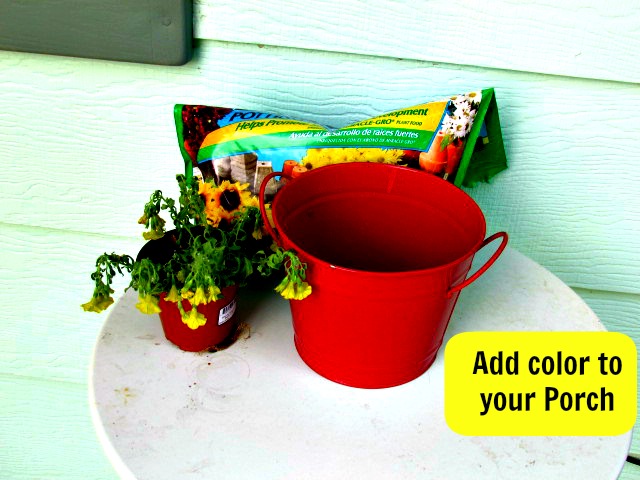
    The great part is that it’s really easy to add some color, and it doesn’t have to be expensive either. I used what I had on hand, along with some flowers I received for Mothers Day to put together this bright little piece for my porch.
     
    First gather your supplies. You’ll need the following:
    A colorful bucket
    flowers, or flower seeds
    Moisture Control Potting Mix
    a little backyard dirt

    Add color to your porch with Miracle Gro


    Next fill your bucket halfway with the Potting Mix. If you are repotting flowers make a small well and transfer the flowers to your bucket. Top off with a little more potting mix, and some backyard dirt. Water the flowers, then sit back and enjoy your little splash of color.

    Don't forget to water your porch flowers
    Don’t worry if the flowers are looking a little wilted when first planted. With Miracle Gro’s potting soil, a little sun wand water, and the flowers will perk right back up.

    Add a pop of color to your spring porch

    For more fun garden projects, visit Miracle Gro’s Pinterest page. Then get out and grow something!


    Visit Sponsor's Site

  • Spring Cleaning Day 1 – Kitchen

    Spring Cleaning Day 1 – Kitchen

     Welcome to Day 1 of the Spring Cleaning Challenge!

     Your mission, should you choose to accept it, is to Deep Clean the Kitchen.
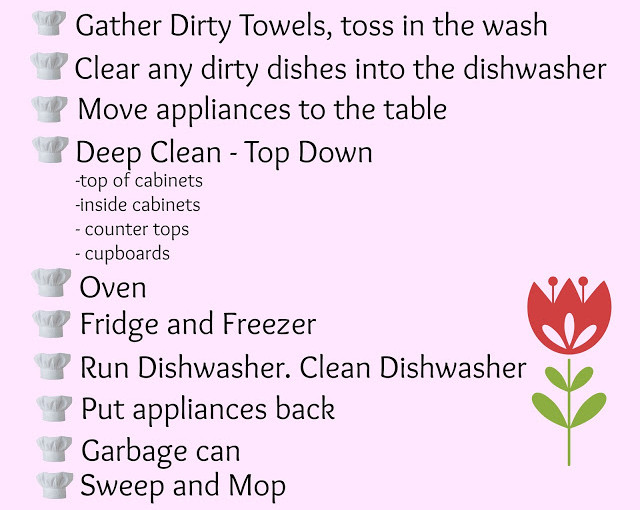
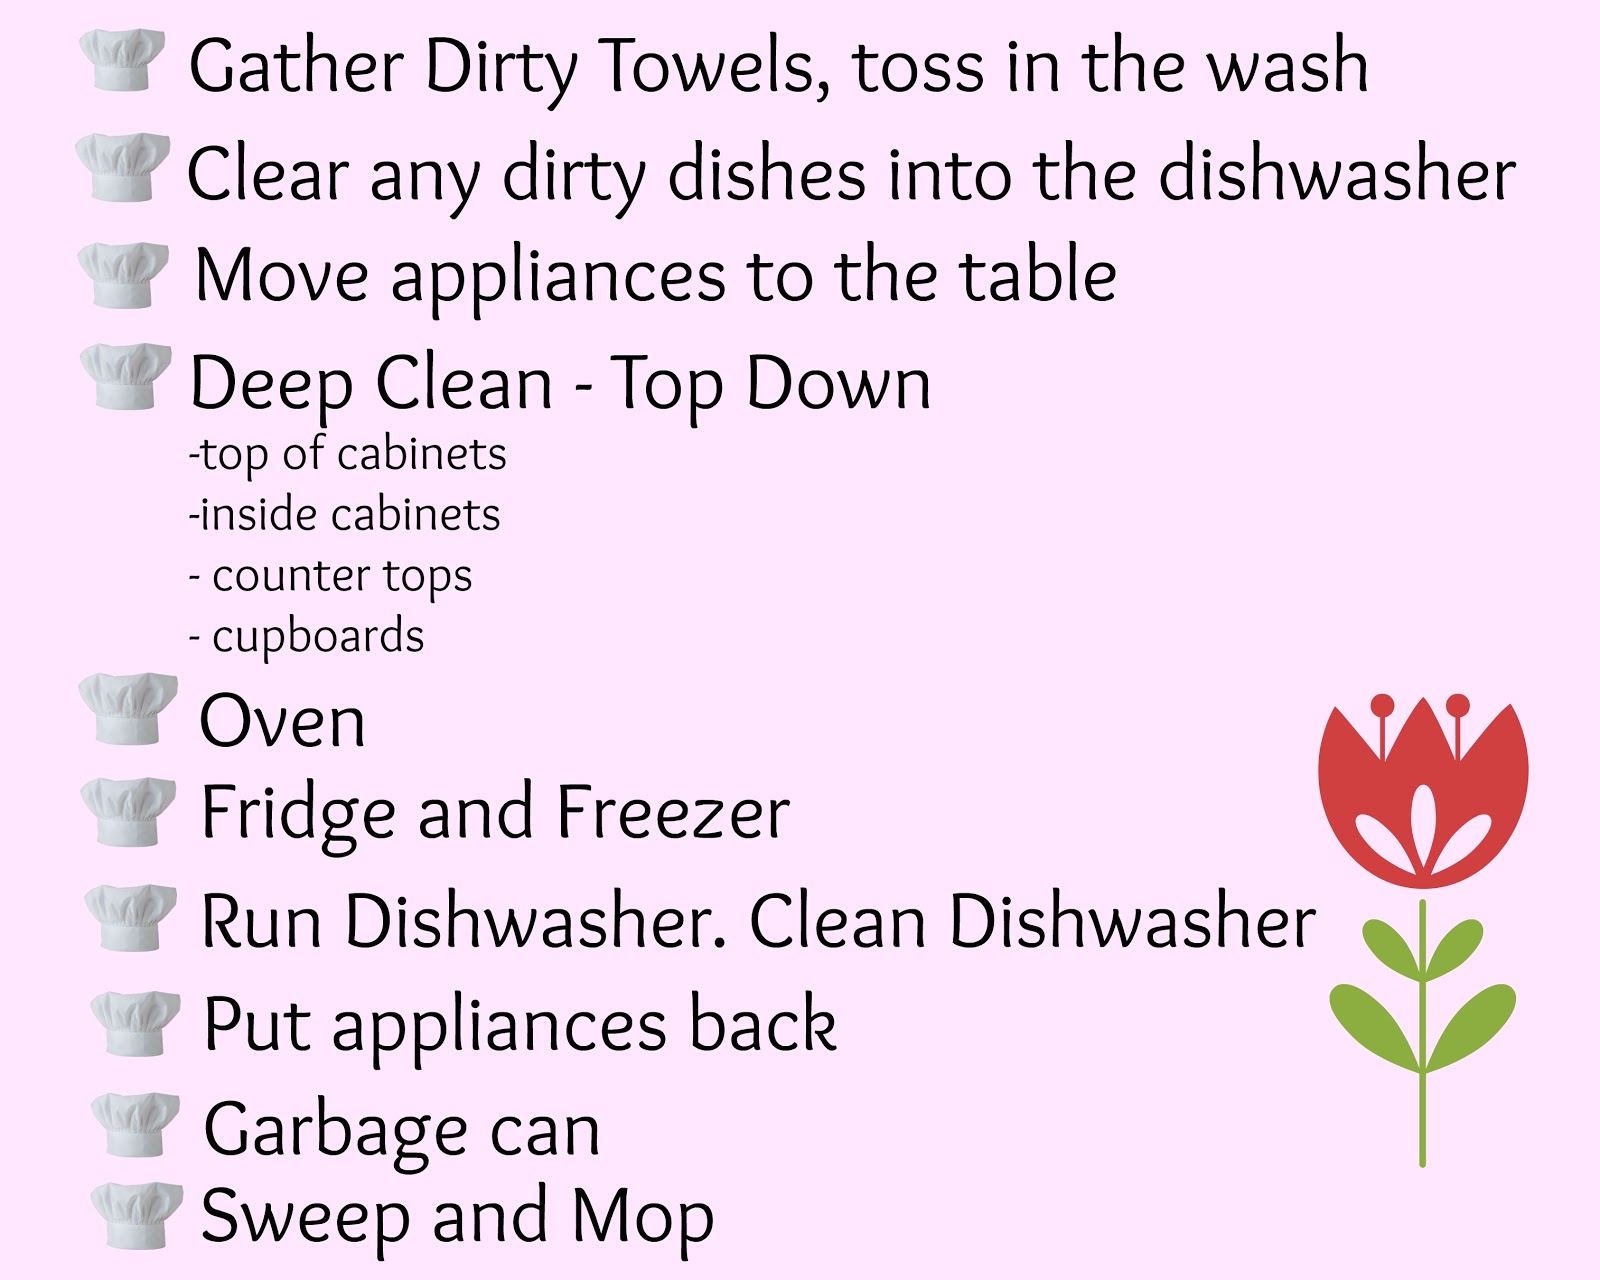
    Begin by printing off this checklist.
     

    Before I can ever get to Deep Cleaning, I have to do the surface cleaning. Any towels and dishrags I toss in the washer, then I take all the dirty dishes (you know there are always some dirty dishes), and either hand wash, or stick them in the dishwasher.

    Then clean off your table. You’ll use it for storage while you deep clean the rest of the kitchen. Move any appliances you keep on the counters to the table. Next is the real deep cleaning.

    Cabinets and Cupboards
    I suggest a ladder or tall step stool. Or if your kids are tall enough they can stand on the counters. Start with the very top of your cabinets. Of course if you’re lucky enough, your cabinets reach to the ceiling and there is no space up there to clean. If you’re like me, though, you’ve got some cleaning to do!  From there, you want to move down the cabinets. Start with one cabinet, and move everything out to the table, or another side of the counters. Start with the top shelf and wipe down, moving any crumbs from the top to the bottom. Finish one cabinet, and move to the next.  Once the cabinets are finished, wipe down the countertops and the walls behind them. Finally move to the cupboards. Do the same thing, pull everything out, wipe down top to bottom. Finish off the cabinets and cupboards by wiping down the doors.
    Before putting items back in the cupboards and cabinets – check expiration dates.  Toss out any bad food. This is also a great time to go through your Tupperware. Any lids without bottoms toss. Bottoms without lids can be tossed or re-purposed for organization in the pantry.

    Along with the counter tops, clean off the top of the stove. If you have a glass top, a product like Affresh Stove Cleaner is amazing! It’s made specifically for glass top stoves and cleans them beautifully!

    The Oven
    Now that the brunt of the work is done and the top of the stove is clean, go for the oven. If you have a self-cleaning option I suggest using it. Open up all the windows and turn your heaters down as well. It’s going to get hot!

    In a disposable bowl, pour 1 cup of ammonia. Set it in the oven and let sit all day long (or overnight).  Then wipe the grime away. For hard burned on food, you can also try baking soda and vinegar. It’s an easy, safe way to clean (and works on virtually everything).

    Fridge and Freezer
    Now the fun part! Again let’s work top to bottom.  Start with the freezer. If you have a deep freeze or second freezer somewhere, move everything from your kitchen freezer to that one. If you don’t have that option – work fast.  Take everything out of the freezer, and set on the counter. Don’t bother going through it at this point.  Once everything is out, use some hot – very hot- soapy water to wipe the inside down. 
    Once it’s wiped down begin putting the food back in.  As you do this, check for expiration dates, and freezer burn.  Toss anything out that is bad. 
    Then move onto the fridge.  Once the food is out, wipe down the shelves.  Remove the cooler drawers and give them a good scrub. Don’t forget to wipe out the bottom of the fridge before putting the drawers back in. 
    Next get a strong person or two, and move the fridge and oven from the wall. Sweep and mop behind them. Behind these two large appliances are some of your biggest fire hazards!  Don’t skip them!

    Now, make tonight leftover night.  You want to start spring off with a fresh fridge full of fresh food.

    Dishwasher
    Now that you’ve emptied a bunch of dishes, you may have a full dishwasher. Run it! Once your dishwasher is empty of clean dishes, run another cycle with a cleaner. Since it’s deep cleaning time, I suggest using something like Affresh Dishwasher Cleaner.
    Now that the counters and dirty dishes are all taken care of, move all the appliances back to the counter. Wipe them down as you go. My appliances tend to get pretty dirty on the outside, but don’t always get a good cleaning.

    Floor and Garbage
    We’re at the end of the day. Take out the trash, wipe down the inside and outside of the garbage can. Put in a new bag.
    Last thing to do is clean the floor. Move out chairs, table, microwave stand – anything that moves. Sweep and mop.  My favorite way to mop is on my hands and knees, with a bucket of hot soapy water.  I add 1 capful of ammonia to 2 gallons of hot water.  On my knees, I can see every spot, reach every corner, and really get spotless.

    You Did It!
     

    I’m also going to suggest at this point, using paper products the rest of the week. We’ve got a lot more Spring Cleaning to do, and keeping the kitchen looking nice will keep your motivation up through it all.

  • Choosing the Right Lighting

    Choosing the Right Lighting

    The end is near!  We finally closed on our house just before Christmas. It has made moving a bit of a nightmare, but the house is ours, and it is time to turn it into a home.

    Today I want to talk a little about lighting. Finding the right lights, creating the right mood with lights, and not over lighting or under lighting any area of your home. See I have a problem. Our new Front Room is very much under lighted. I’ve been browsing some of the Kartell lighting over at LBC Modern.

    Under Lighting

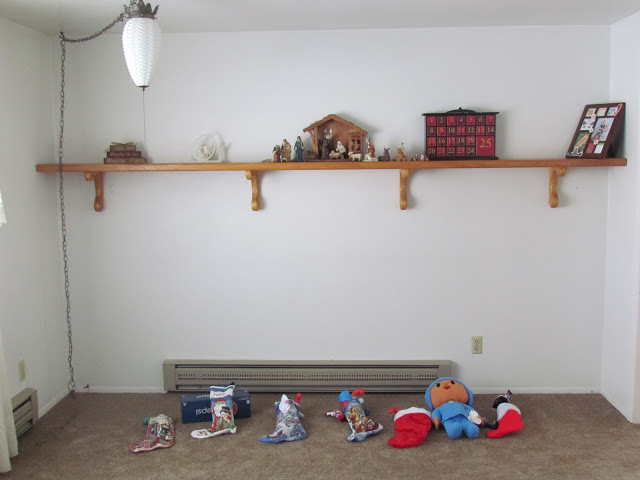
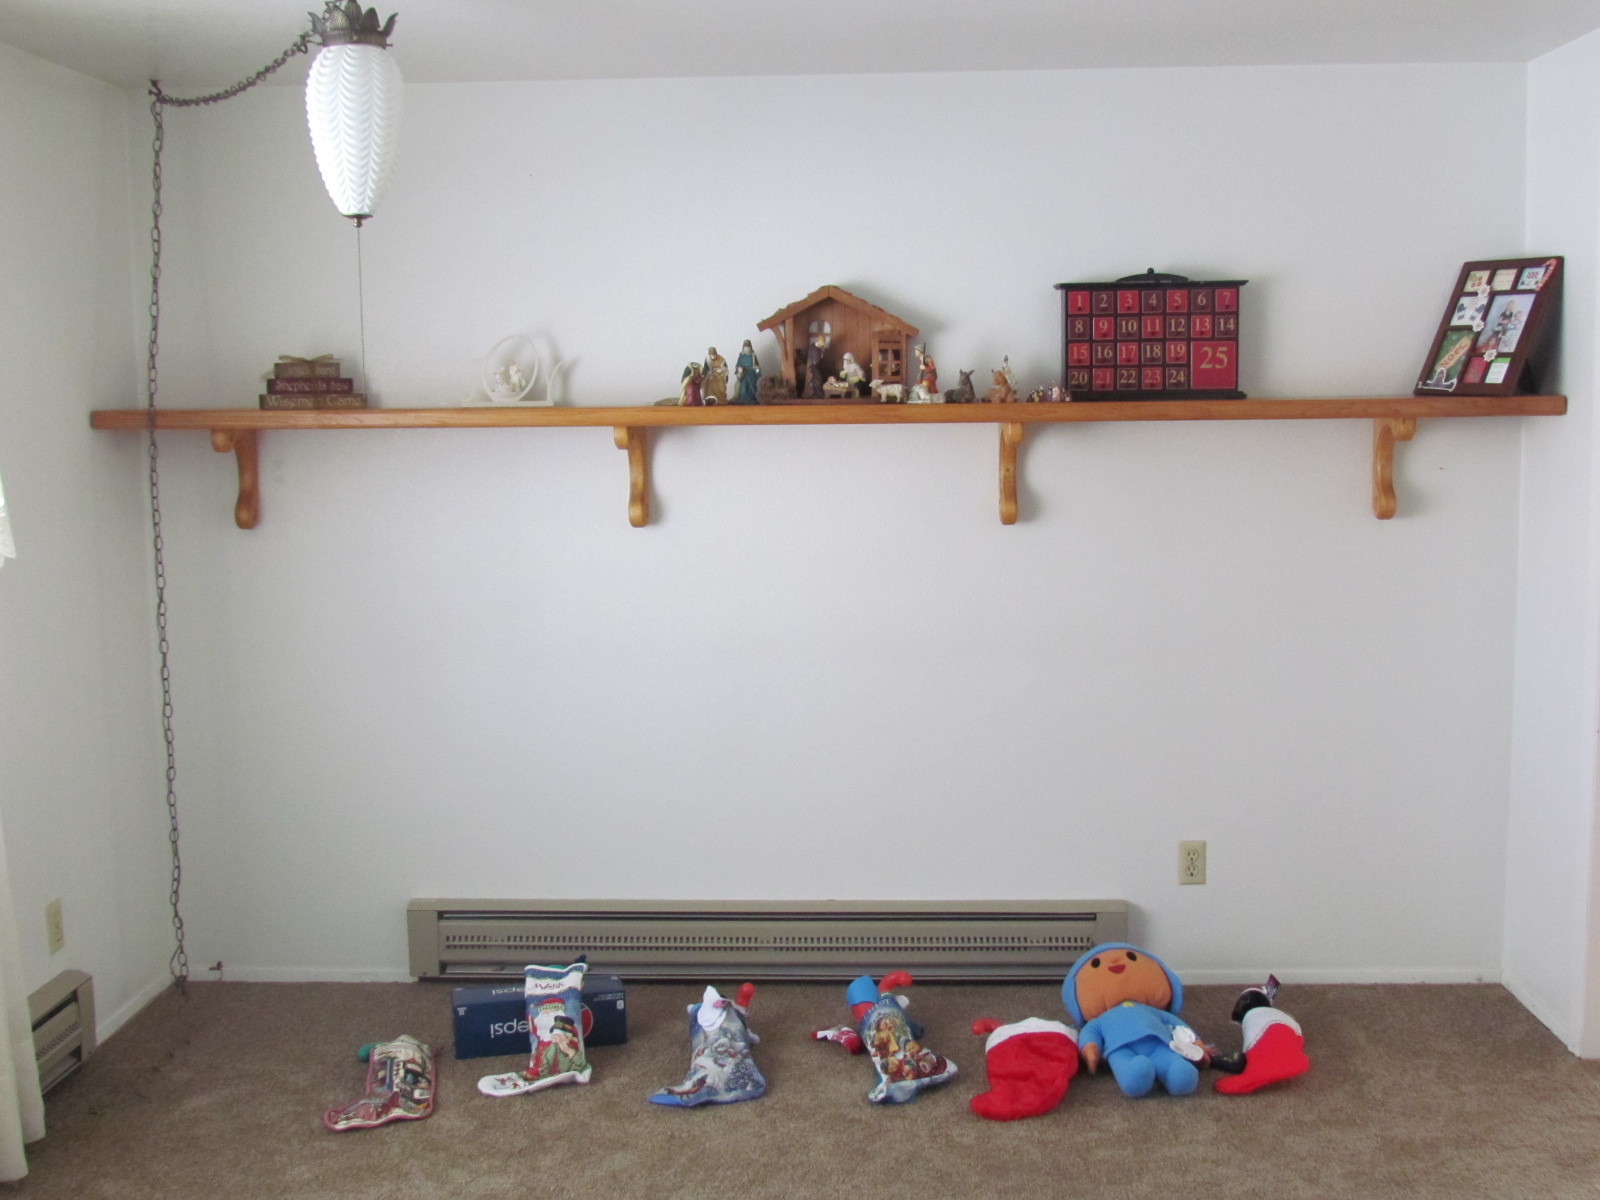
    Here is a snapshot of our front room (ignore Christmas…)

    It’s a fairly small room, and the only lighting is that old antique light hanging from the corner – which by the way, doesn’t work. So now our only light in this room is the big picture window facing north. I mention that because the north side of the home gets the cold, and not as much sun. Leaving our lighting pretty dim here.
    I want this room to be welcoming, which means it needs the right lights.  I’m thinking a bourgie table lamp next to a small couch would look pretty nice.

    Kartell "Bourgie" Table Lamp
     
    Above the shelf I would like to add some recessed can lighting as well, to spotlight any decorating I do or pictures we may hang there.
    These small lighting additions would bring this room up to the perfect lighting atmosphere to be welcoming, but not overly lit or gaudy.

    Over Lighting

    Our new kitchen has had the opposite effect with over lighting. The kitchen is a small little space in this home (yes another remodel is on the horizon!). My current issue, however, is the overabundance of lights, and the separate switch for each one. I think I counted 3 or 4 different switches in the kitchen, and each one only turned on one single light. It’s enough to spin me in circles trying to get the right light on. There is a dining area light, an above the sink light, and a laundry light. With the way it is set up right now, the laundry light is needed. It could easily be changed, though, to have one longer light in the kitchen that would give light into the laundry side of the room and extend to the dining area. This would especially work as the dining side could use the light from the south facing window it sits next to. Again, south side of the house, you’ll be getting more sun, and therefore, don’t need as much lighting.
     

    Use Lights to Set the Mood

    Lighting truly affects our moods. The more light, especially natural light from the sun, the happier we are. I strive for joy and happiness in our home, something I think we all probably do. So I love tossing open the curtains and blinds and letting in the sun. There are some areas of a home though, that don’t get the natural lighting. Areas such as a basement. They tend to be dark. By finding the right lights, you can create a joyful area in the basement, despite its lack of sun. I would go with bright lights and soft shades for a table lamp. If the ceilings are tall enough in your basement, hanging overhead lights can give off more light than those closer to the ceiling.
     
    If you’re creating a space for kids, though, you may want to try different colored lights. They can spark creativity and a joyful mood for your children. I personally love these Pablo Tube Lights I found. Not only would my kids love the colors, but they are also dimmable lights, so I can adjust them to just the right amount of light we need.
    Pablo Designs Tube Top 14
     
    Well, I’m off to pack some more boxes, and daydream of the future remodels in our new home. I can’t wait to show you pictures of what we do!
     
     
    *This sponsored post was made possible by SheHeard. I have been compensated for my time and work on this campaign, however, all thoughts and opinions are 100% my own.